20 Easy DIY Christmas Decorations
The most beautiful Christmas homes rarely come from a single shopping trip. They are built slowly, from handmade pieces that carry memories, the ornament a child painted, the garland sewn one quiet evening, the wreath that comes out of its box every December to a small cheer. A home decorated by hand never looks showroom perfect, and that is exactly why it looks so welcoming: every piece has a story, a maker, and a year attached to it.
Timing is the other honest truth about handmade Christmas. Decorations made calmly in November get enjoyed for a whole season and photographed against December's lights. Decorations attempted in a panic on December 23rd get enjoyed by nobody, least of all their maker. Every idea in this guide is chosen so you can make it early: simple materials, forgiving methods, and results that store well for next year.
Twenty easy DIY Christmas decorations, from ornaments and garlands to wreaths, window and table decor, fill this guide, each with the practical details that make it work: where it looks best, who can make it, the example that makes it sing, and the mistake that catches beginners. You will also find the classic mistakes to avoid across all Christmas crafting, budget friendly ways to decorate an entire home, and answers to the questions every December crafter asks.
What are the easiest DIY Christmas decorations to make at home?
The easiest decorations use what you already have and forgive everything: paper stars and snowflakes, paper chain and popcorn garlands, dried orange slices, salt dough or air dry clay ornaments, and a greenery wreath from garden clippings. Pick three or four across different zones, tree, window, table, door, and your home reads as decorated, cohesive, and handmade rather than bought in a rush.
One starter set works in almost any home: clay ornaments and dried orange slices on the tree, a paper chain garland along the stairs or mantel, paper stars in the windows, a greenery wreath on the door, and one candle and greenery centerpiece on the table. Five projects, most of them free or nearly free, and the whole house feels like Christmas by the first weekend of December.
Air Dry Clay Ornaments
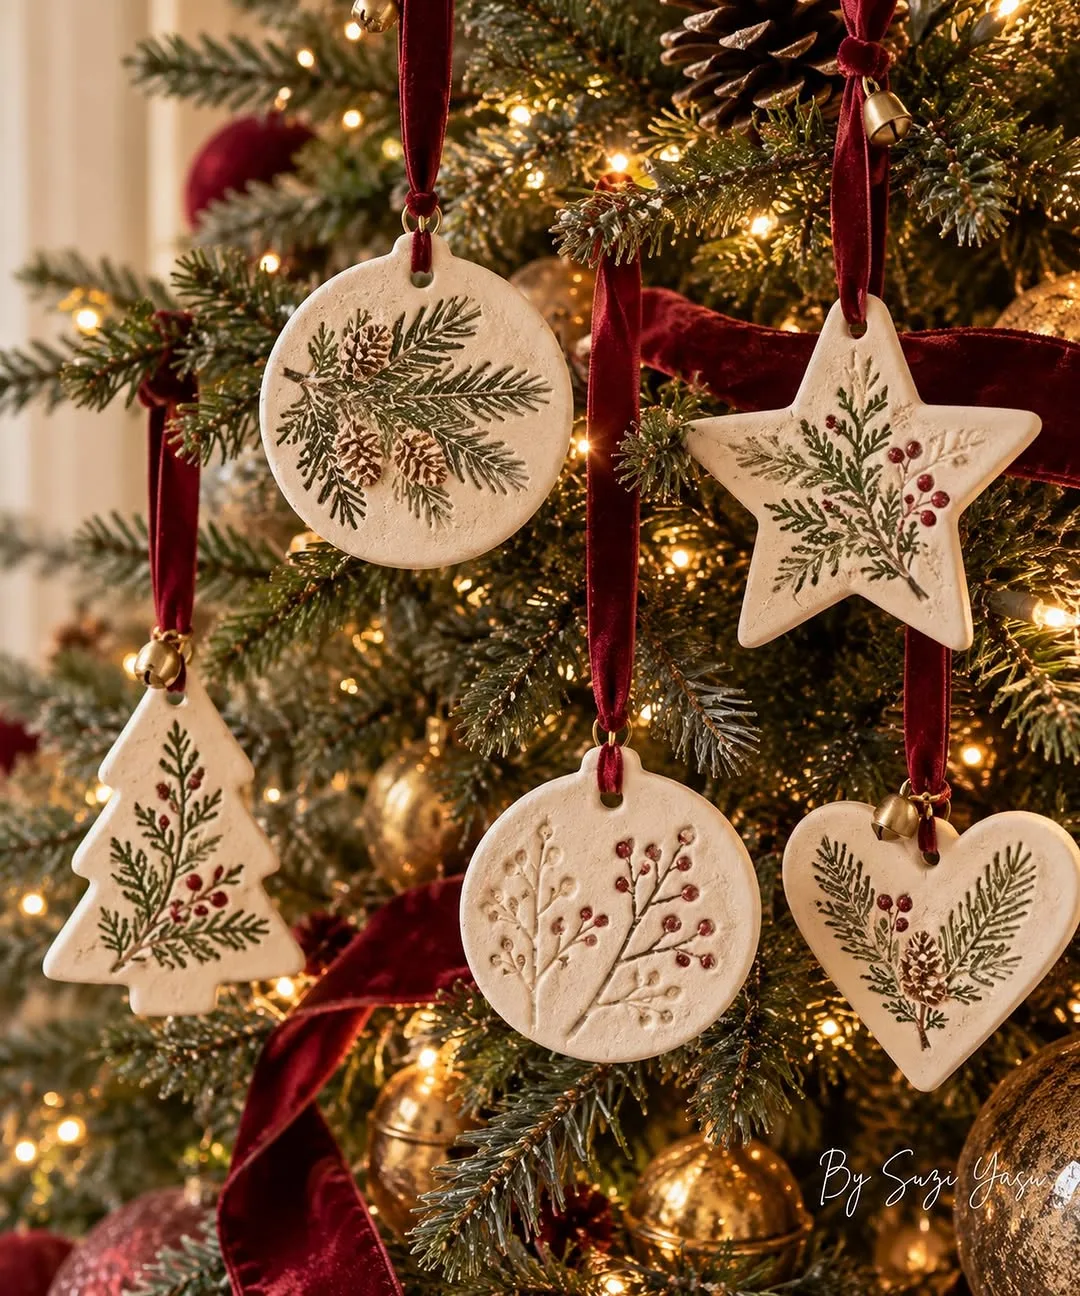
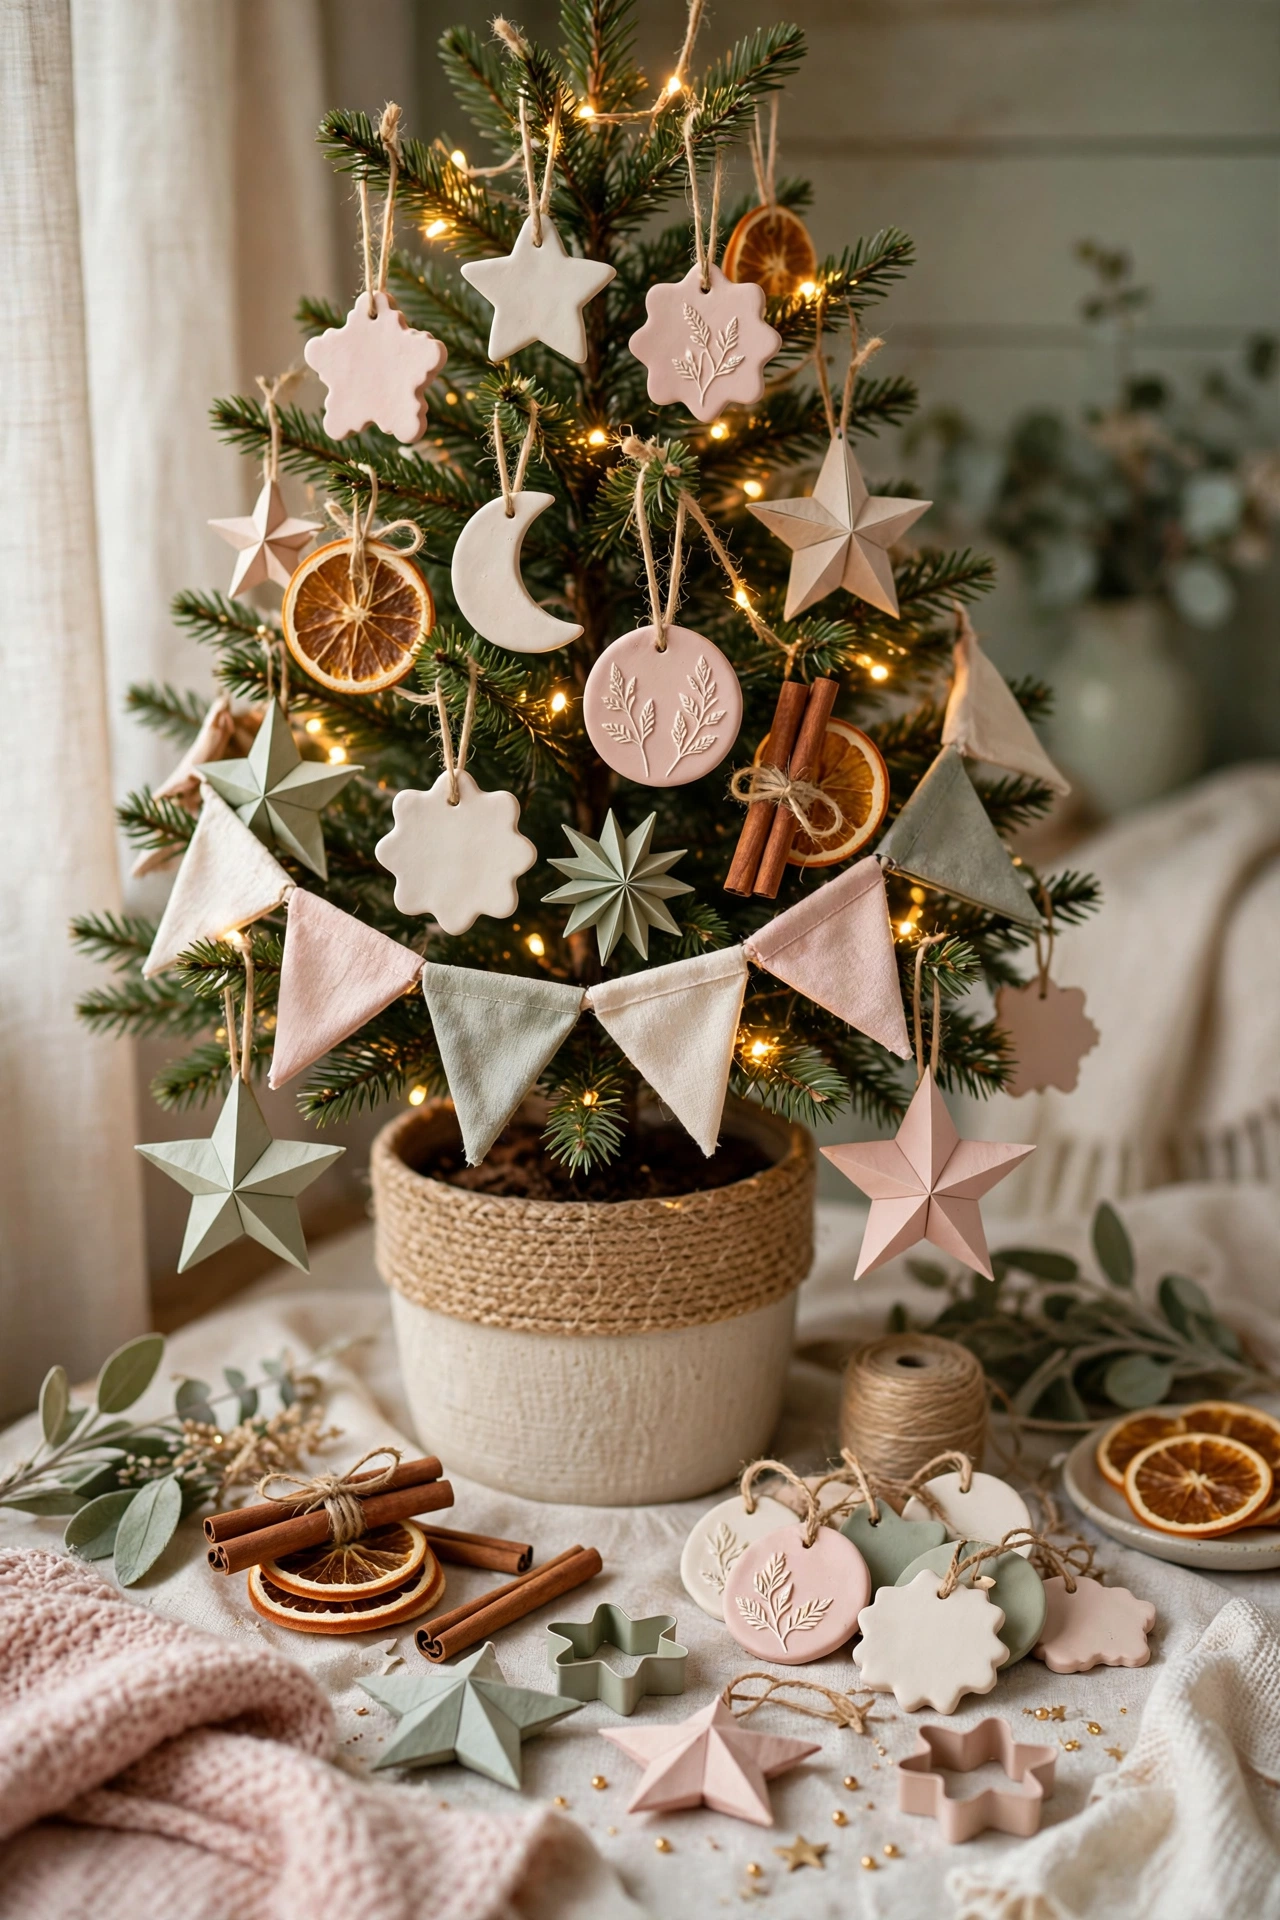
Air dry clay ornaments are the grown up version of a childhood classic, and they look far more expensive than they are. Roll the clay flat, cut simple shapes, stars, trees, hearts, little houses, and press texture into the surface with a pinecone, a fern leaf, or a piece of lace before they dry.
They work because the material does the elegance for you. Painted matte white, clay ornaments look like porcelain against a green tree; left natural with a slightly rough edge, they suit a rustic scheme; stamped with a tiny initial or the year, they become dated keepsakes that families genuinely keep for decades. They are light enough for the thinnest branches and strong enough to survive the occasional fall onto a rug.
Clay ornaments are best for makers who like a calm craft done sitting at the table, an evening with the radio on, and for gifting, since a small stack tied with ribbon is a present in itself. Remember to poke the hanging hole before the clay dries, and give pieces a full day or two to dry flat before painting or hanging.
One beautiful example: a whole tree of white clay stars and hearts, nothing else except warm lights, in a cream and sage living room. Guests will ask which boutique they came from.
The common mistake is rolling the clay too thin. Paper thin pieces warp and snap; aim for the thickness of two coins, dry them on a flat surface, and turn them once halfway through drying so both sides dry evenly.
Salt Dough Ornaments
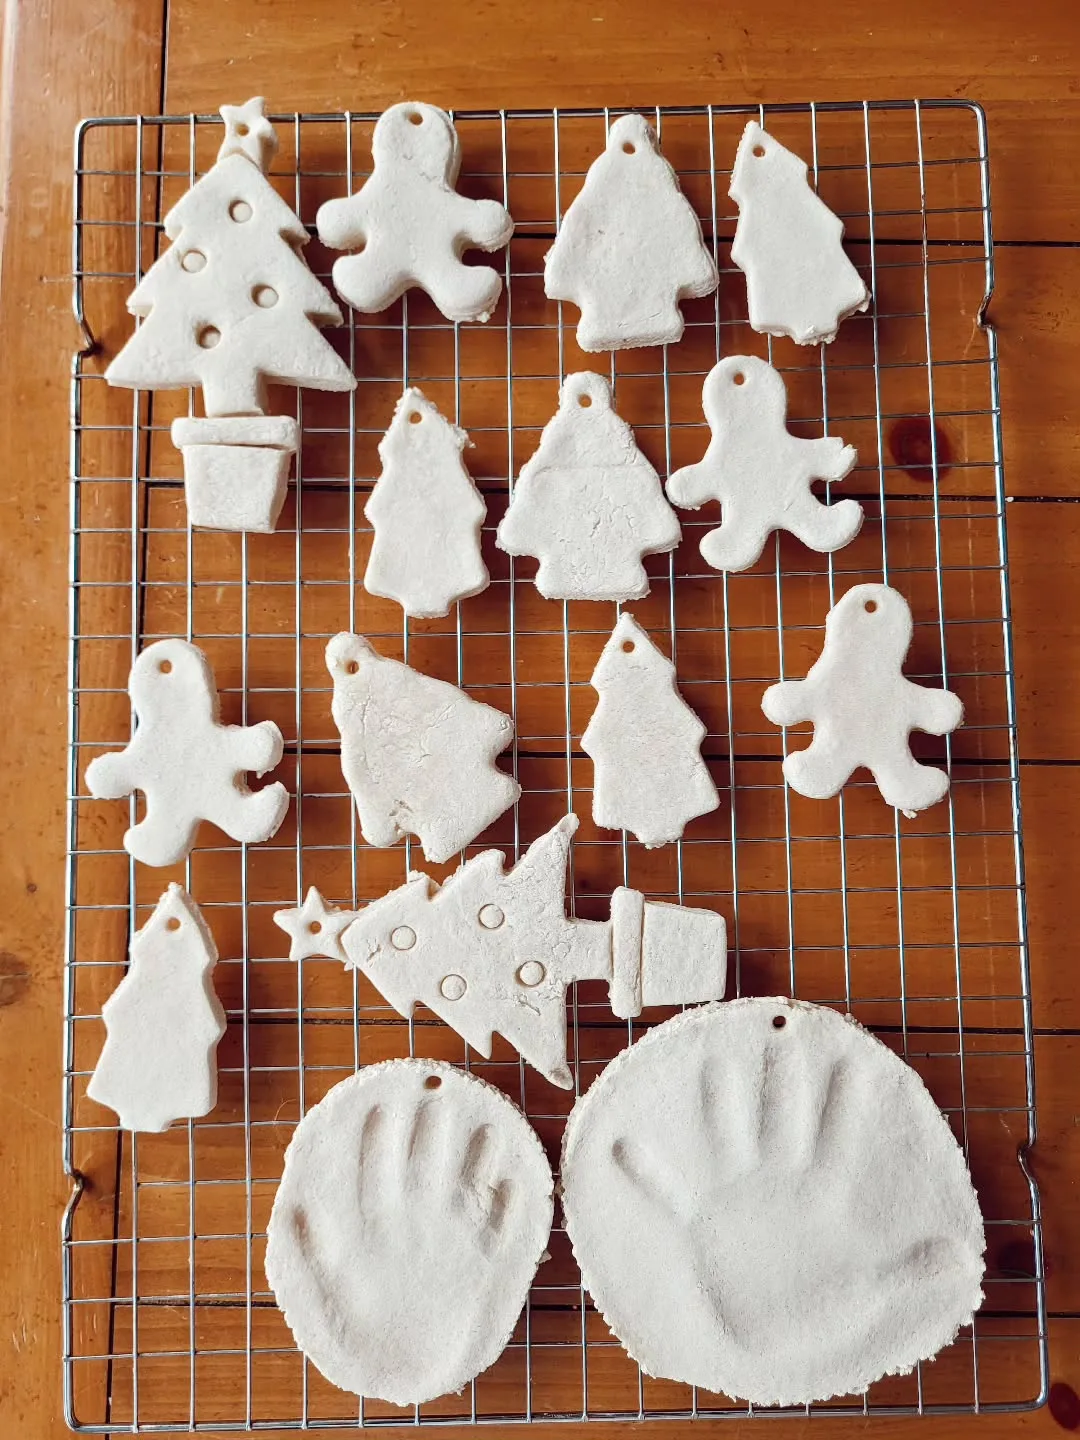
Salt dough is the original budget ornament, flour, salt, and water, and it remains unbeatable for crafting with children. The dough rolls, cuts, and bakes like a biscuit, takes paint happily, and produces ornaments that, kept dry, survive for years.
It works because it asks for nothing you do not already own, and because children can own the whole process: rolling, cutting shapes, pressing a handprint into a circle for grandparents, painting once baked. A handprint salt dough ornament from a three year old is not a decoration, it is an heirloom with a date on the back, and families guard them accordingly.
Salt dough suits family crafting afternoons and classroom or group makes, where buying craft clay for twenty children is not an option. Bake pieces low and slow until they are completely hard and dry all the way through, cool them fully, then paint and seal with a clear craft sealant if you want them to last many seasons.
Try one batch in three shapes: stars painted gold, trees painted green, and handprints left natural with just the name and year written on the back. Mixed on the tree, they look like a collection gathered over years.
The mistake to avoid is impatience with drying. Salt dough that is even slightly soft in the middle will mold or crumble in storage. When in doubt, give it more time in a low oven, and store finished pieces in a dry box with tissue between layers.
Dried Orange Slice Ornaments
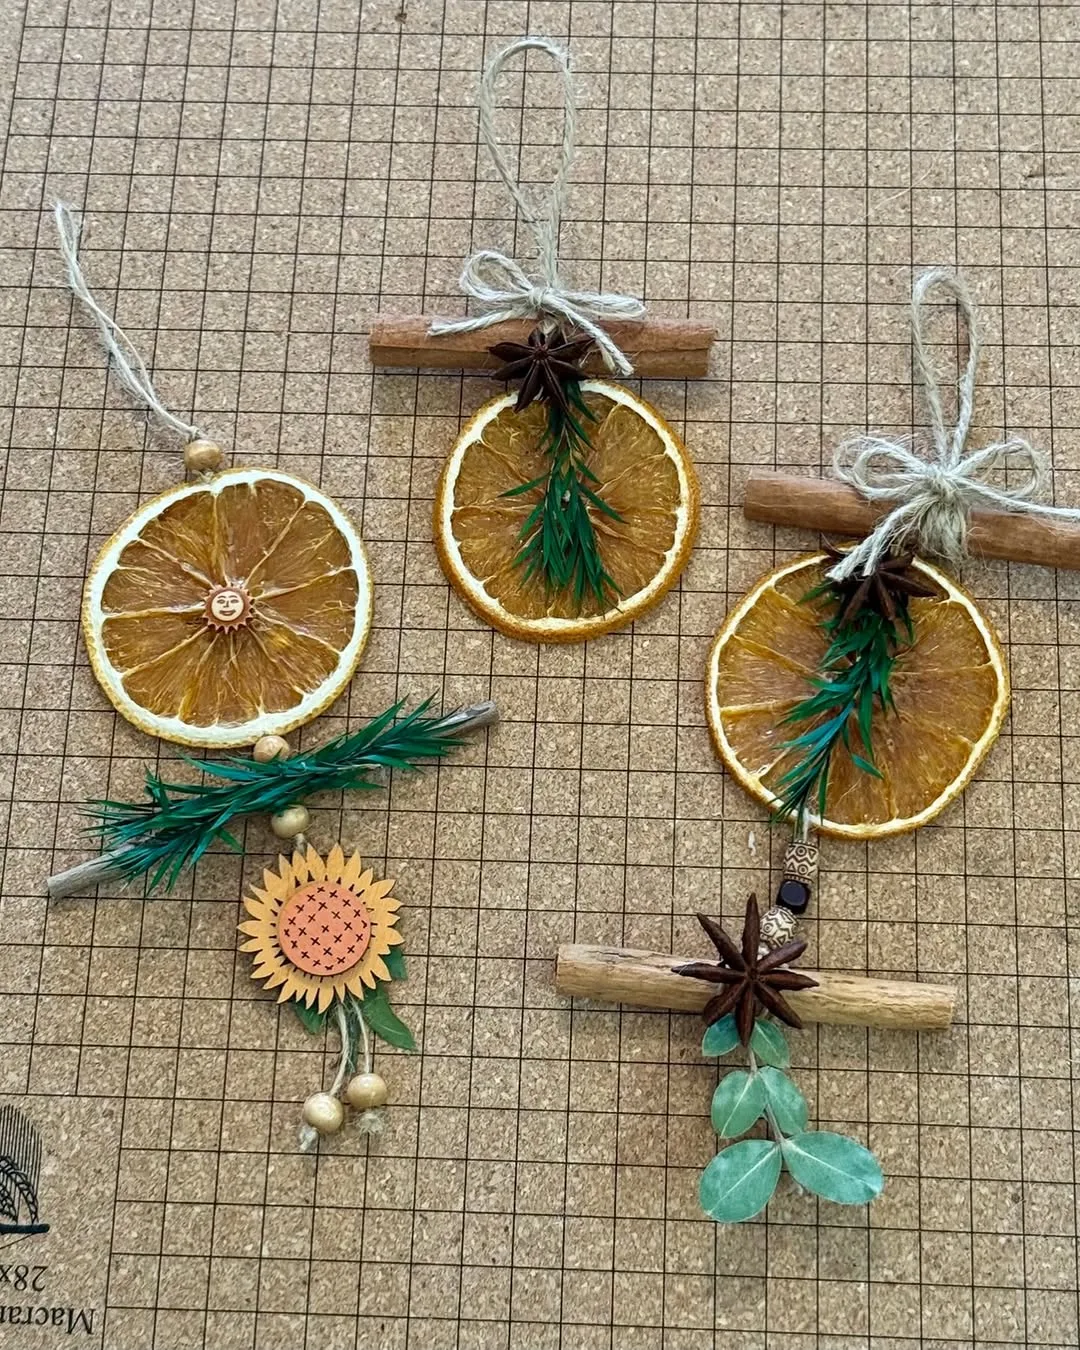
Dried orange slices glow. Hung against tree lights, the translucent fruit catches the light like stained glass, and a tree dressed with orange slices, cinnamon, and greenery smells as good as it looks, no scented candle required. Few DIY Christmas decorations give you color, scent, and light from one grocery item.
They work because nature did the design. Each slice is a perfect little sun of segments and rind, and strung on twine or fine ribbon they suit every style from Scandinavian minimal to full traditional. The slices also last: dried properly and stored in a dry box, the same slices can return for several Christmases, deepening slightly in color like good wood.
Orange slices are best for natural and rustic decorating schemes, for wreaths and garlands as well as the tree, and for crafters who prefer making in the kitchen with the oven doing the work. Slice evenly, pat dry, and dry them low and slow in the oven, turning occasionally, until they feel papery and light with no stickiness left.
For an unforgettable garland, alternate dried orange slices with bay leaves and wooden beads on twine across a mantel. It costs almost nothing and looks like a magazine photograph.
Avoid the mistake of slicing by eye in mixed thicknesses. Thick slices dry slowly and can stay tacky (and attract problems in storage); thin, even slices dry fully and glow best. A steady knife and patience at the cutting board is the entire skill involved.
Paper Stars and Snowflakes
Paper stars and snowflakes are the fastest transformation in Christmas decorating: an hour with white paper and scissors, and every window in the house turns into a winter scene. Folded paper stars, the puffy three dimensional kind, also hang beautifully from ceilings and light fittings.
They work because white paper against winter light is inherently beautiful, and because the method scales from a child's first scissor snowflake to intricate folded stars that look like origami. Make them in one color family, all white, or white with kraft brown and one soft red, and a whole room of them reads as a design choice rather than a craft session.
Paper decorations are best for windows, glass doors, and hanging clusters above a table or in a hallway, where they move gently in warm air. They go up with nothing more than a thread and a dot of removable putty, and they are the ideal project for the week before Christmas when time is short.
The classic arrangement: three large stars hung at different heights in one big window, with a sill of small snowflakes below. Drivers slow down for windows like that.
Hanging paper stars near candles or hot light bulbs is the common mistake here. Paper stays far from flames and heat, battery candles and the tree's modern LED lights only, and stars stored flat between book pages come back perfect next year.
Cinnamon Stick Bundles
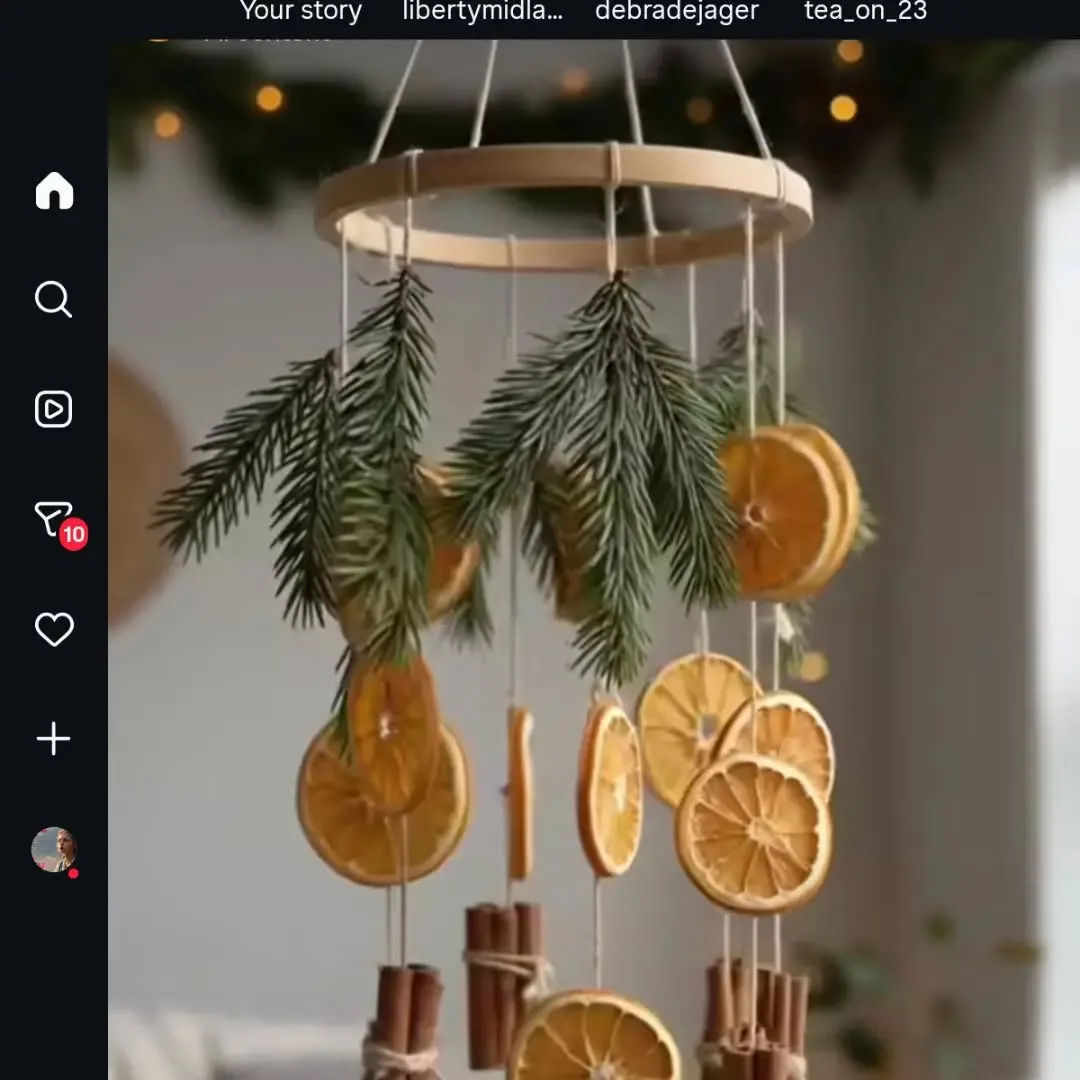
Tiny bundles of cinnamon sticks, tied with twine or ribbon and finished with a sprig of greenery or a dried orange slice, decorate and scent the house at the same time. Hang them on the tree, tie them to napkin rings and gift parcels, or pile them in a bowl on the table.
They work because Christmas is a scent as much as a sight, and real cinnamon delivers it honestly. A bundle is also the perfect scale of craft: three sticks, one knot, thirty seconds, a project that fits between other jobs and suits makers who want handmade touches without handmade projects.
Cinnamon bundles are best as finishing touches rather than a scheme on their own: the tree ornament that perfumes one branch, the place setting detail, the parcel topper that makes a simple gift look considered. Buy sticks in a bulk bag from a food shop rather than tiny craft packets, and the cost per bundle drops to almost nothing.
One generous example: a bowl of cinnamon bundles, pinecones, and orange slices as a hallway centerpiece, with one bundle tied to the front door wreath. Guests smell Christmas before they see it.
Avoid using your best baking cinnamon decoratively and then cooking with it in January, keep decoration sticks and kitchen sticks separate. Decorated sticks retire to the compost or the fire after the season, carrying the scent out with them.
Felt Ornaments
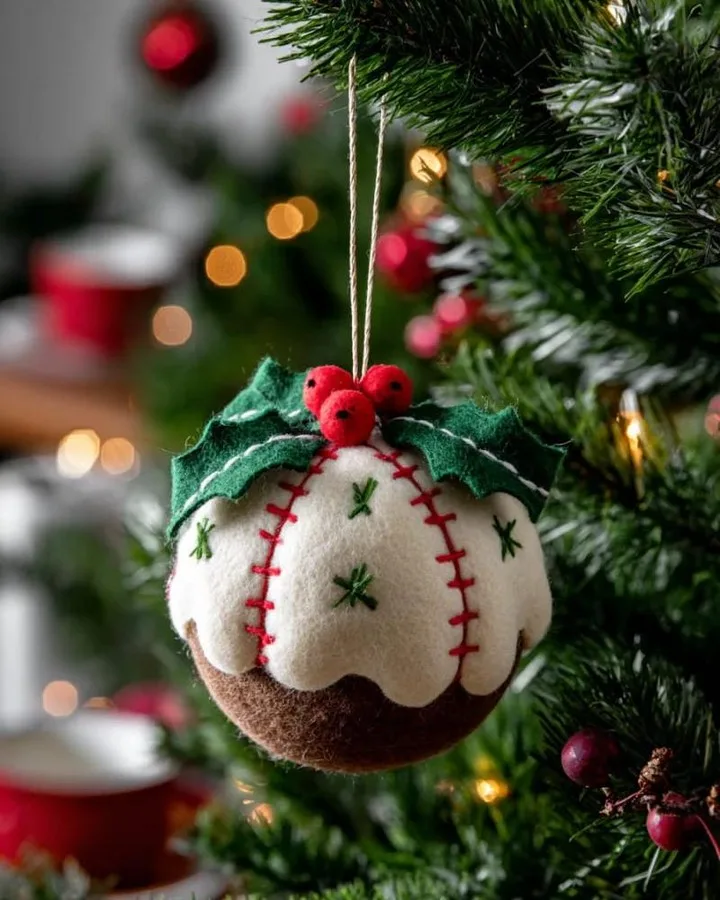
Felt is the beginner's most forgiving Christmas material: it does not fray, it cuts cleanly, it comes in every color, and a simple running stitch around two felt shapes with a pinch of stuffing makes an ornament that looks charming precisely because it is simple.
Ornaments made from felt work because the shapes carry them, a red heart, a white star, a tiny gingerbread house with white "icing" stitches, a sage green tree. The stitching is decorative rather than structural, so wobbly stitches read as handmade character instead of errors. Children of seven and up can genuinely make these, with a blunt needle and supervision, and their ornaments will be the family's favorites.
Felt suits makers who sew a little (or want to start), families crafting together, and anyone building a soft, unbreakable ornament set for a house with toddlers or cats, a felt ornament survives being thrown, chewed on by the dog, and stored badly, and still reports for duty next December.
One set always delights: twelve small felt shapes in just three colors, cream, soft red, sage, each with one tiny embroidered detail. On the tree together they look curated; separately, they make perfect parcel toppers and stocking gifts.
The common mistake is over stuffing. A felt ornament should be padded just enough to hold its shape; stuffed hard, the seams strain and the shape distorts. A pinch of stuffing, spread evenly, is the professional finish.
Popcorn and Cranberry Garland

Popcorn and cranberry garlands bring Christmas nostalgia you can snack on while you make them. Thread plain popped popcorn and fresh cranberries onto strong thread with a needle, in a pattern, a run of white, a run of red, and drape the finished strings on the tree or along a mantel.
It works because the colors are Christmas itself and the texture is unlike anything bought: soft white puffs and glossy red beads, handmade irregular in the most charming way. It is also a genuinely social craft, a bowl of popcorn in the middle of the table, everyone threading and talking, is an evening that manufactures the feeling of Christmas while it manufactures a garland.
Hang this garland as the tree's final dressing, on porch and stair rails outdoors (where birds will eventually thank you), and anywhere a family enjoys an edible, temporary decoration rather than another box in the attic. Use slightly stale popcorn, a day old, which threads without crumbling the way fresh popcorn does.
Thread a long evening's worth and measure against the tree before you start; garlands always need to be longer than intuition says. Three strands draped in swags transform a tree more than one long strand wound tightly.
The mistake is planning to store it. Popcorn garlands last one season and get made fresh each year, which is their virtue, not a flaw. Compost the old garland in January or feed it to the birds and look forward to making next year's.
Paper Chain Garland in Christmas Colors
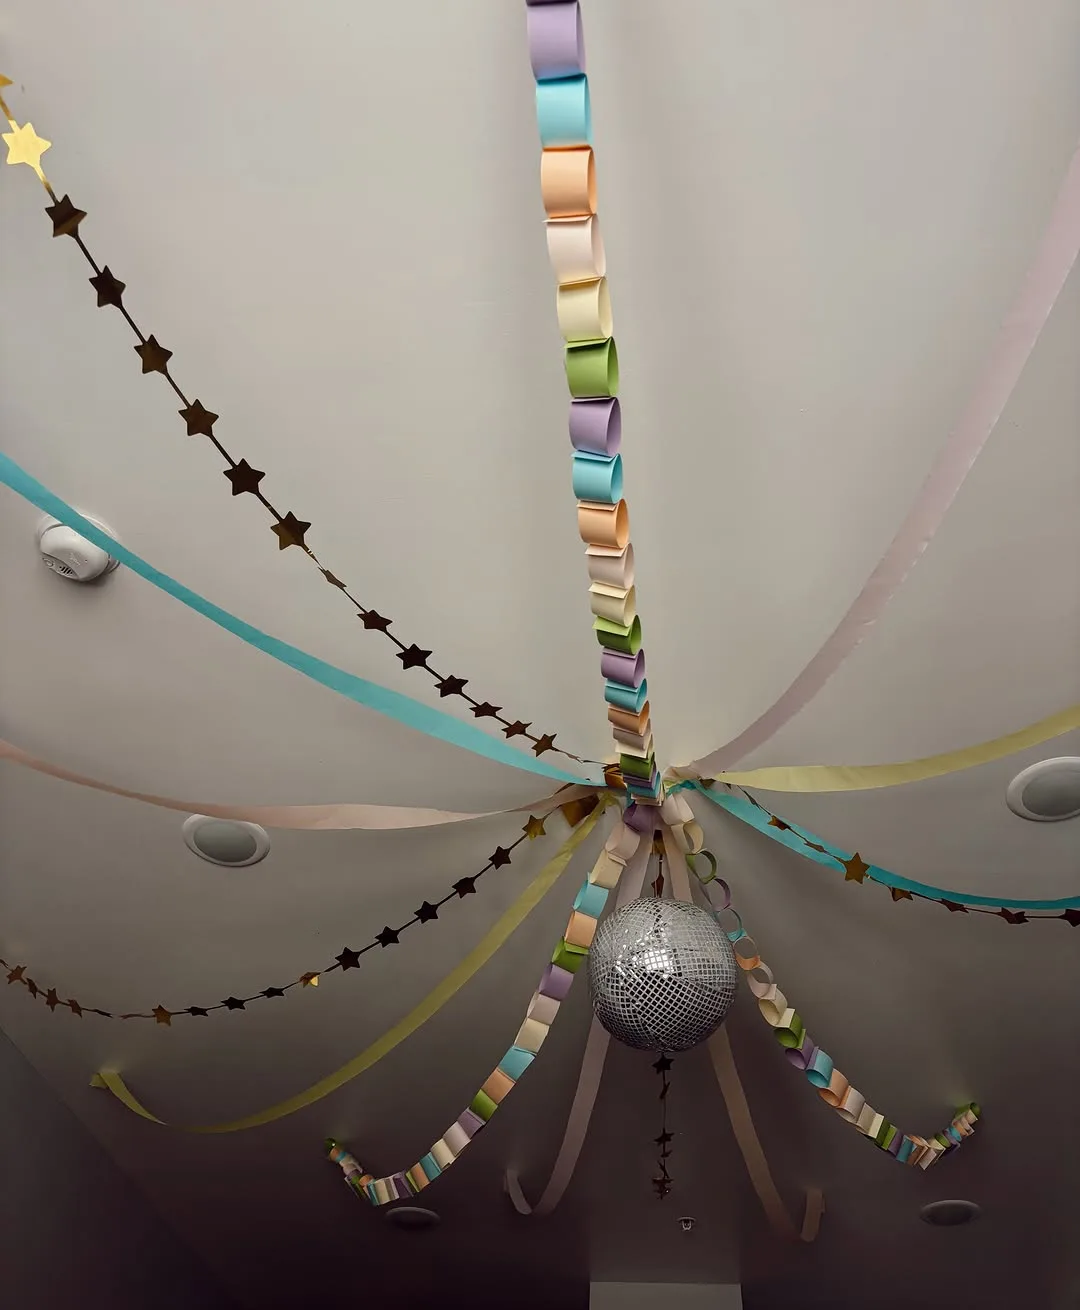
Humble paper chains are the hardest working decorations in this guide. Strips of paper, loops, and a dab of glue or a staple, and suddenly you have meters of garland in exactly your color scheme, made for pennies, by anyone old enough to hold a strip of paper.
Paper chains work because of repetition and color. Choose your papers deliberately, deep red, cream, and sage; or kraft brown, white, and gold, and a chain stops looking like a school project and starts looking like a design decision. The chain's rhythm of loops reads as texture on a mantel, up a staircase, or in swags across a ceiling, where it moves the eye around the whole room.
Chains are best for big spaces to fill on a small budget: hallways, stair rails, school and community rooms, and the tops of kitchen cupboards where nothing else survives. They are also the definitive group project, set a table of children or cousins to chaining and a whole house is decorated by lunch.
Make the strips uniform (a paper trimmer or careful ruler work) and alternate colors in a strict pattern; uniformity is the whole secret. A chain of perfectly even loops in a planned palette looks genuinely elegant.
Avoid hanging paper chains where steam, rain, or candle heat reaches them, and avoid glitter paper near food tables, glitter sheds into everything. Stored loosely in a big box, chains survive several seasons; crushed into a small bag, they retire after one.
Fabric Scrap Garland

If you sew, you already own this garland, it is sitting in your scrap box. Strips of fabric tied or stitched onto a length of twine or ribbon make a rag garland with wonderful texture, and it consumes exactly the scraps that no other project wants.
Fabric garlands work because cloth does what paper cannot: it hangs with weight and movement, survives storage indefinitely, and improves with a little fraying. Choose scraps in your Christmas palette, leftover red prints, cream linens, sage cottons, a strip of something gold, and the garland carries your home's actual fabric history along the mantel. People who do not sew can tie strips; sewers can stitch flags; both versions look abundant.
Hang fabric garlands above fireplaces, along headboards and stair rails, across the top of a bookcase, and anywhere a garland will live all season without being moved. It is also the best answer in this guide to "what do I do with Christmas fabric scraps after a sewing project", next year's garland, already made.
Cut strips longer than you think (they shrink visually once tied), vary the fabrics but not the palette, and thread or tie them densely, sparse rag garlands look sad, dense ones look luxurious.
The common mistake is using heavy fabrics that drag the twine down between fixing points. Keep to light cottons and linens, support long runs with a hook or nail in the middle, and your garland will hang in perfect swags all season.
Pinecone Wreath
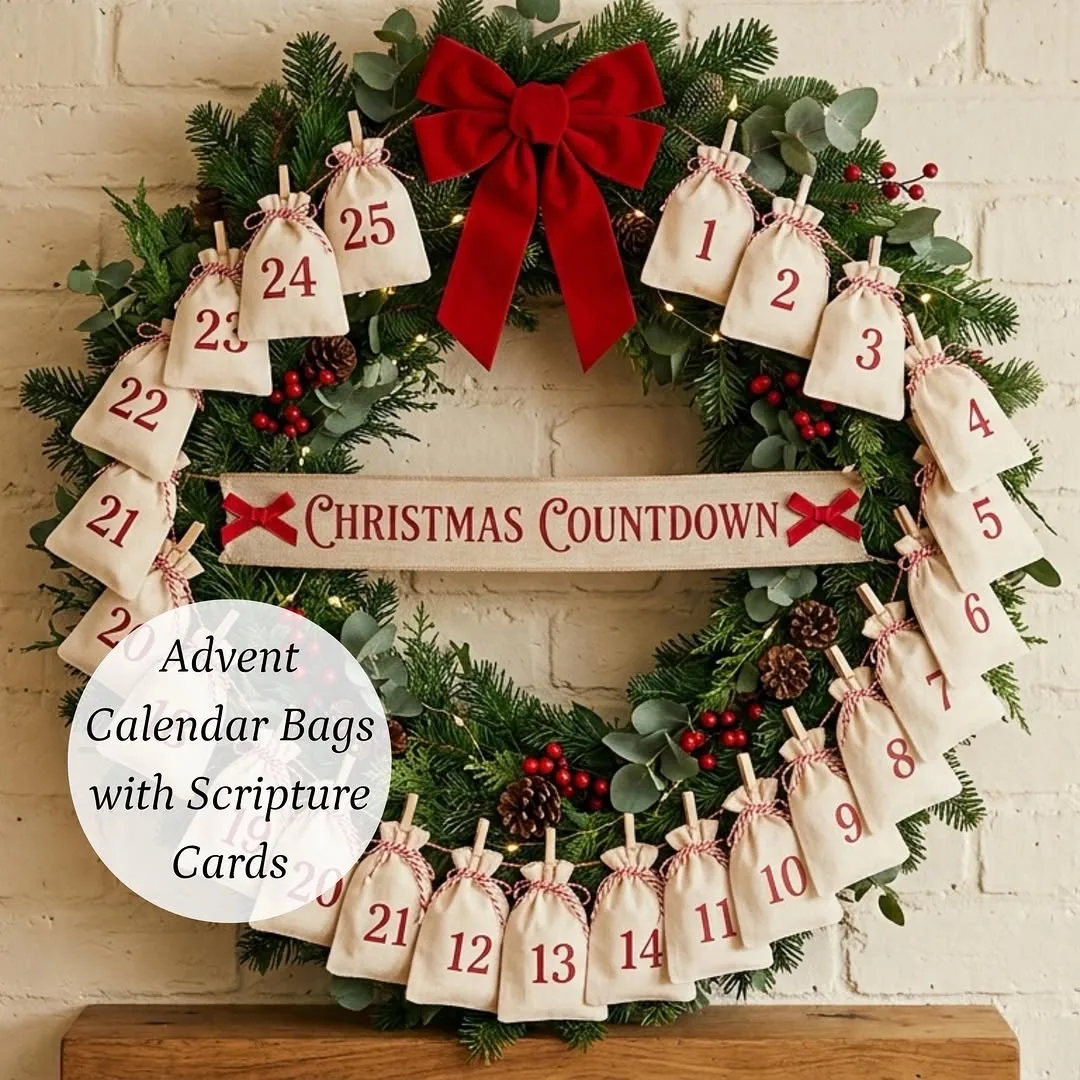
Pinecone wreaths are gathered, free, and genuinely impressive front door statements: cones wired or glued onto a wreath base, finished with a ribbon, and hung where its texture can be admired up close. A walk in any pine wood in autumn stocks the entire project.
It works because pinecones are small sculptures, no two alike, all beautiful, and massed together they create the rich, architectural texture that expensive bought wreaths imitate in plastic. Left natural, the wreath suits rustic and traditional doors; tipped with a little white paint on the cone edges, it reads as frost touched and elegant.
Pinecone wreaths suit front doors, mantel displays, and homes in a natural, woodland style. Collect cones after dry weather, shake and brush them clean, and let them dry fully indoors, a low oven session opens closed cones and ensures no tiny residents move into your hallway.
Add a few small extras between the cones once the base is covered: a sprig of faux berries, a small bow at the base, or a string of tiny warm lights woven through for evening doors. Keep additions few; the cones are the show.
The mistake is building on a flimsy base. A full pinecone wreath is heavier than it looks; use a sturdy wire or grapevine base and fix cones firmly, or December winds will redecorate your doorstep with individual cones.
Greenery Wreath from Garden Clippings
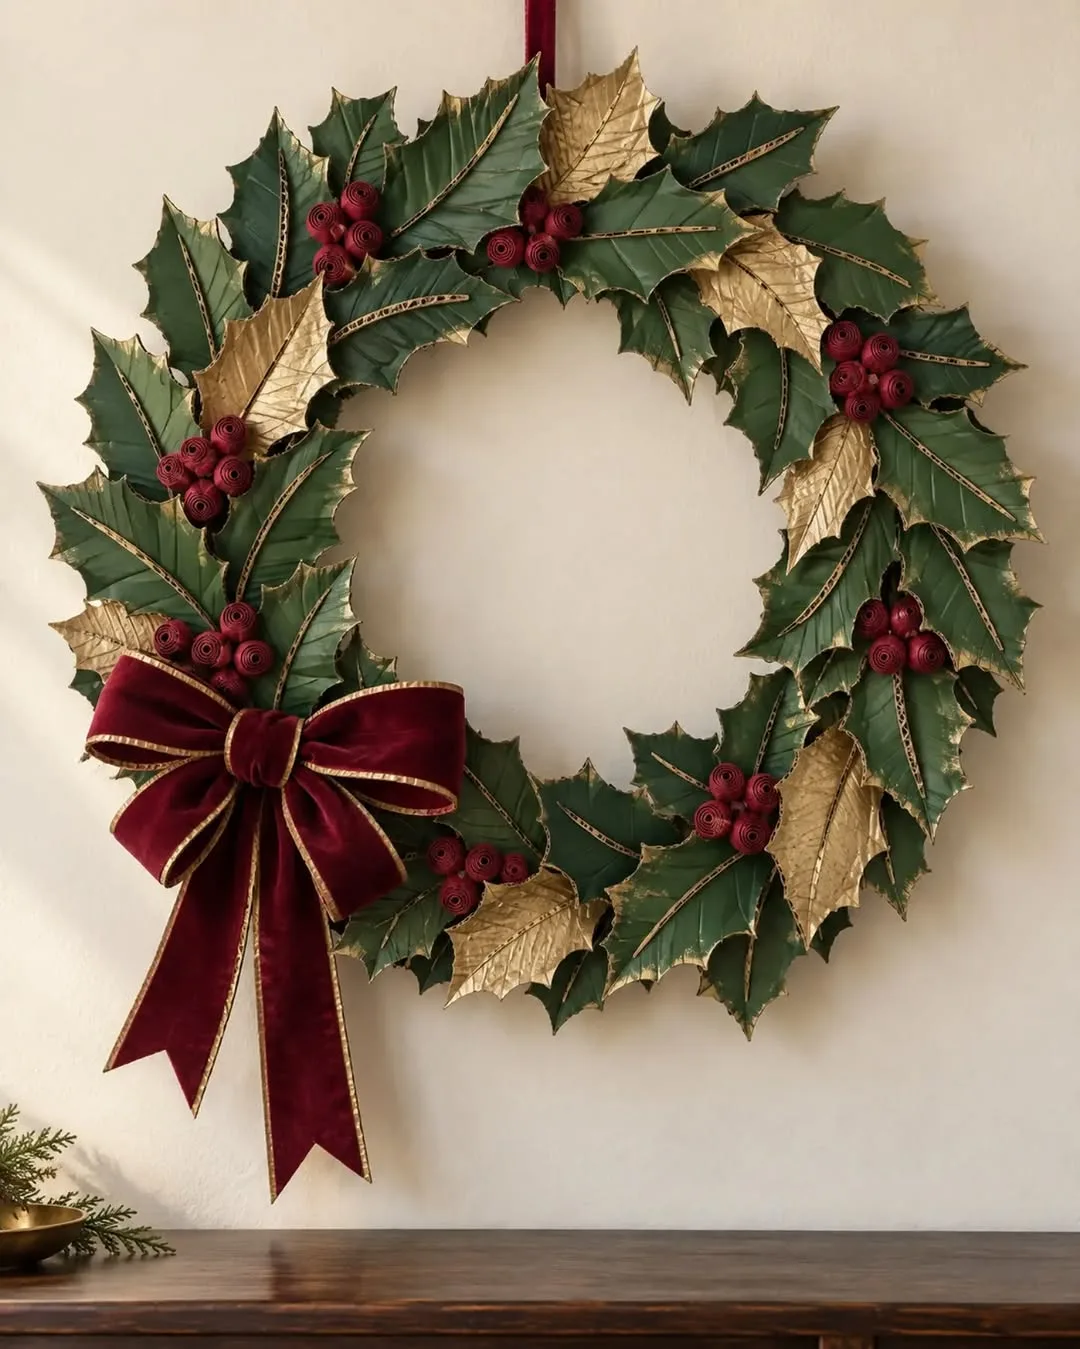
Fresh greenery wreaths cost nothing at all: clippings from your own garden (or a friendly neighbor's, asked first) wired onto a base in overlapping handfuls until the wreath is full and green. Fir, pine, eucalyptus, olive, rosemary, and holly all work, and a mixed wreath has more life than any single greenery version.
It works because fresh greenery has a color, scent, and looseness that faux versions spend fortunes imitating. Work in one direction, tucking each new handful over the stems of the last, wiring as you go, and the wreath builds like scales, full, even, and naturally shaped. A ribbon, three pinecones, or a cluster of dried orange slices finishes it for this year; next year it can finish differently. Garden wreaths prove that the best DIY Christmas decorations often grow within sight of the front door.
Garden wreaths work best made in early December rather than November, since fresh clippings look their finest for three to four weeks, mist it lightly if it hangs indoors, and hang it on the outside of the door where cool air keeps it fresh longest. This is the wreath to make when guests are coming and the house needs one grand, generous gesture.
Make the base reusable: a sturdy wire frame kept from year to year means each December's wreath is only clippings and twenty minutes of wiring.
The common mistake is clipping everything the same length. Varied lengths, long pieces at the back, shorter at the front, give the wreath its full, natural silhouette. Perfect uniformity is what makes homemade wreaths look stiff.
Mason Jar Snow Scenes
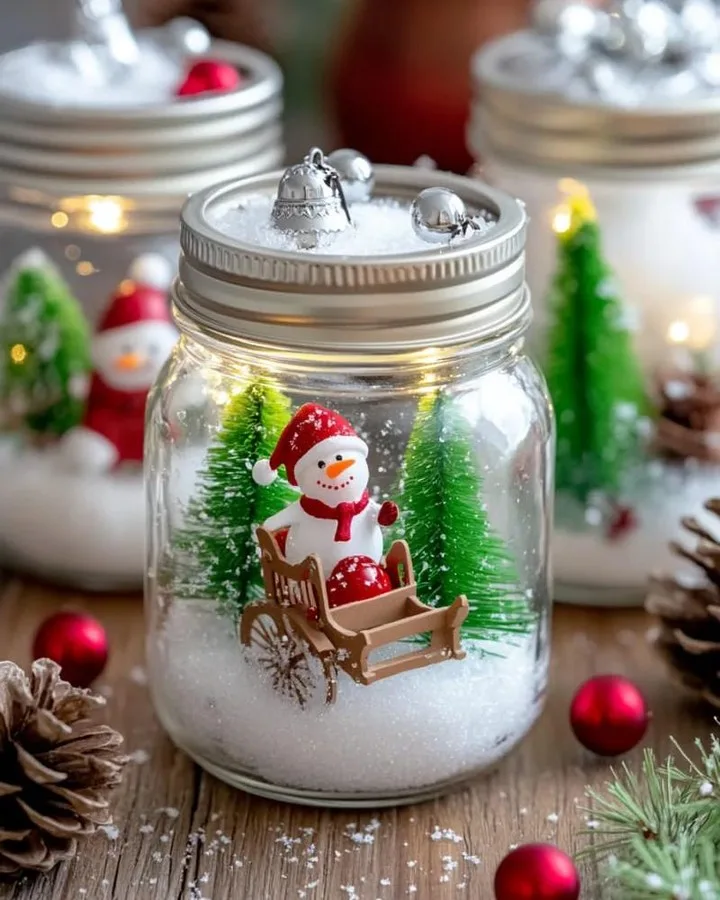
Mason jar snow scenes work like snow globes without the globe: a miniature tree, a tiny house or deer figure, a drift of fake snow or Epsom salt in the base of the jar, and the lid screwed on (or left off as a little diorama). Lined along a windowsill or mantel, they make a small village of winter.
They work because the glass does the magic, it turns three humble objects into a "scene" that the eye reads as crafted and precious. Scenes reward restraint: one tree, one figure, snow, done. Cluster jars in odd numbers, vary the jar heights, and put a battery tealight behind or inside a few for evening glow.
Snow scenes are best for windowsills, mantels, and as the world's most appreciated small gift, teachers, neighbors, and hosts receive these with genuine delight, because they are handmade, finished objects that need nothing else. All the materials keep forever, so a November batch session can cover decorating and gifting in one sitting.
Use jars you already own, jam jars and sauce jars, washed and label free; mismatched sizes are a feature in a village, not a flaw.
The mistake is overfilling. A jar stuffed with five figures and glitter and snow reads as clutter through glass. If in doubt, remove one thing, the scene will thank you.
Window Snowflakes and Stars
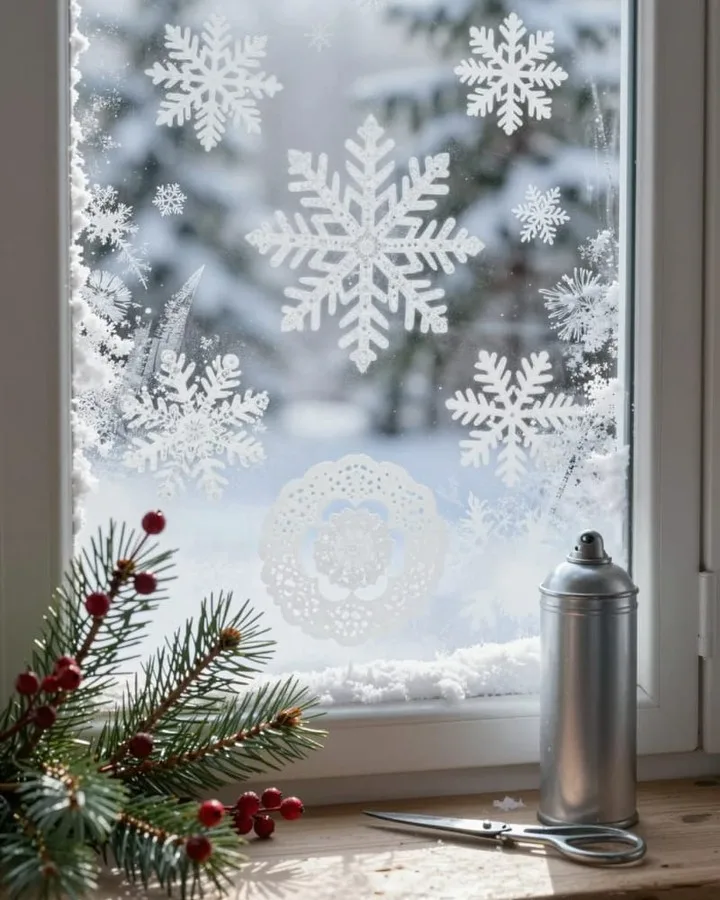
Beyond the single paper snowflake lies the great winter window: layers of paper snowflakes and stars arranged across the glass until the window itself becomes the decoration. In daylight they are crisp white silhouettes; at night, backlit from the street, they are the house's Christmas card to the neighborhood.
Windows work so well because they are the one decorating surface visible from both inside and out, and paper costs nothing to cover them generously. Plan the arrangement loosely, largest pieces at the corners and edges, small flakes filling inward, and fix each with the tiniest dot of removable putty or a loop of clear tape on the frame, not the glass.
Window displays suit street facing rooms, glass doors, and any home that wants its decorating to start at the pavement. They are also the kindest project for a tight budget or a first Christmas in a new home: one pack of paper dresses every window in the house.
For a scene rather than a scatter, cut a row of simple paper houses and trees along the bottom of the pane, a skyline, with snowflakes falling above it. Children can design entire villages this way, and they will check the window from the street to admire their work.
Avoid covering windows you need for light and ventilation entirely; decorate the edges and upper panes, and leave the middle clear. And bring paper displays inside before taking windows down in January, flat storage means next year's set is already half made.
Christmas Bunting
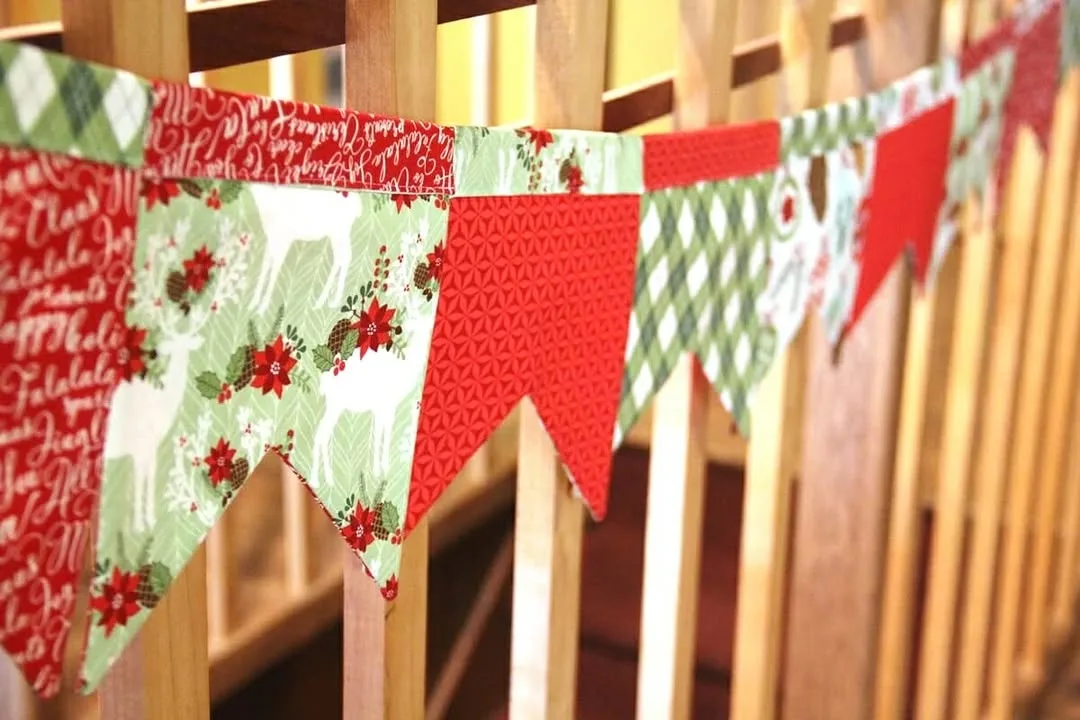
Bunting is not only for birthdays. A string of fabric or paper flags in Christmas colors, red, green, cream, a little gold, transforms mantels, stair rails, doorways, and the front of a sideboard in ten minutes of hanging.
It works because flags bring movement and rhythm to a room, and because bunting fills horizontal space, which is exactly where most rooms look emptiest at Christmas. Fabric bunting (sewn once, used for decades, our fabric banner tutorial covers templates and finishing) is the heirloom version; paper flags on string are the same evening version, and both look festive.
Christmas bunting is best where other decorations cannot go: across a wide doorway, above a sofa, along a bare hallway wall, over a child's bed for a December surprise. Mix in a few flags of the season's wrapping paper pattern or a child's drawing, and the bunting becomes a gallery of this year's Christmas specifically.
Keep the palette tight, three fabrics or papers repeating, and the flags even in size, and bunting looks designed rather than improvised.
The common mistake is hanging it too high and too tight. Bunting wants a gentle swag, hung at or just above eye level, where its flags can be seen and its curve can be appreciated.
Advent Calendar You Fill Yourself
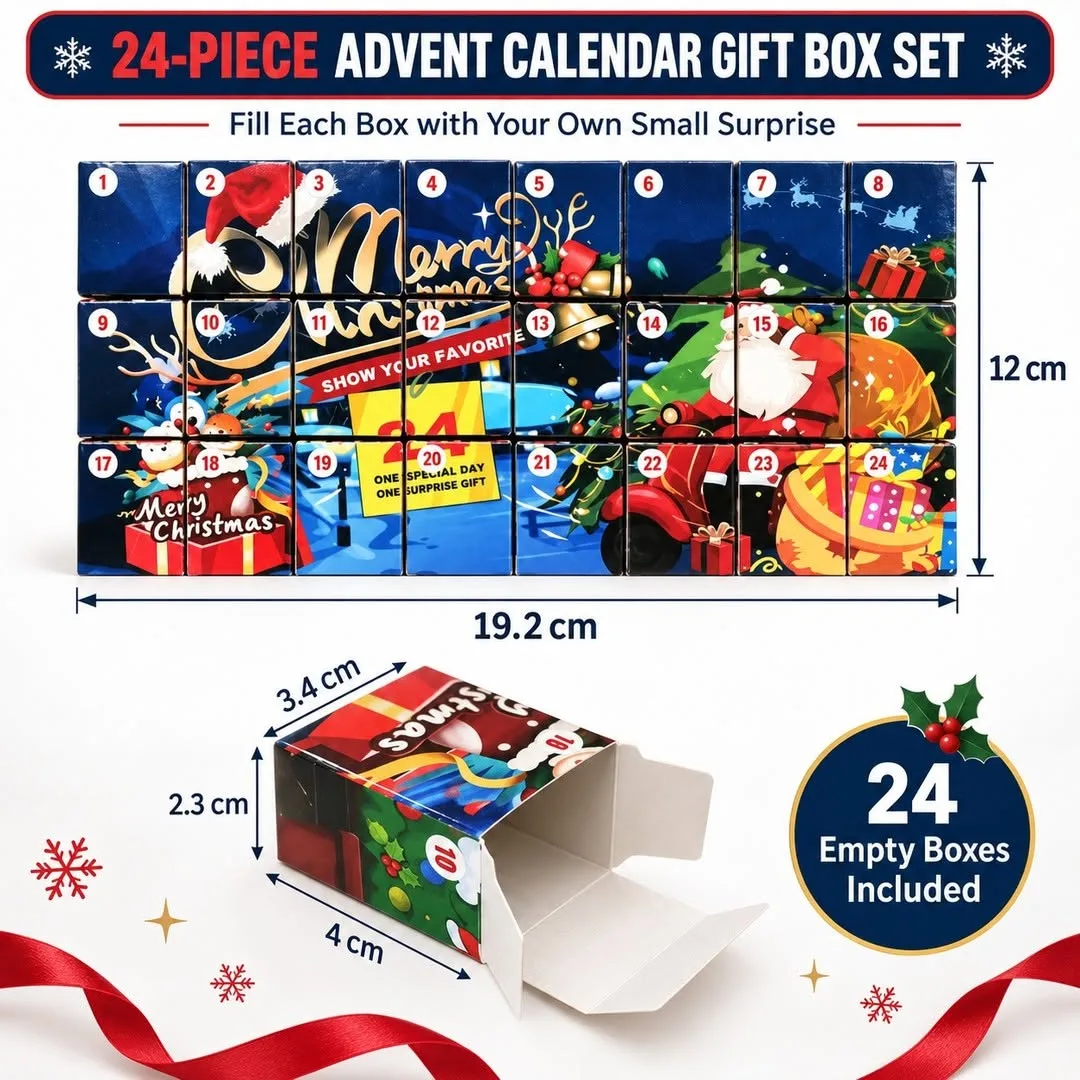
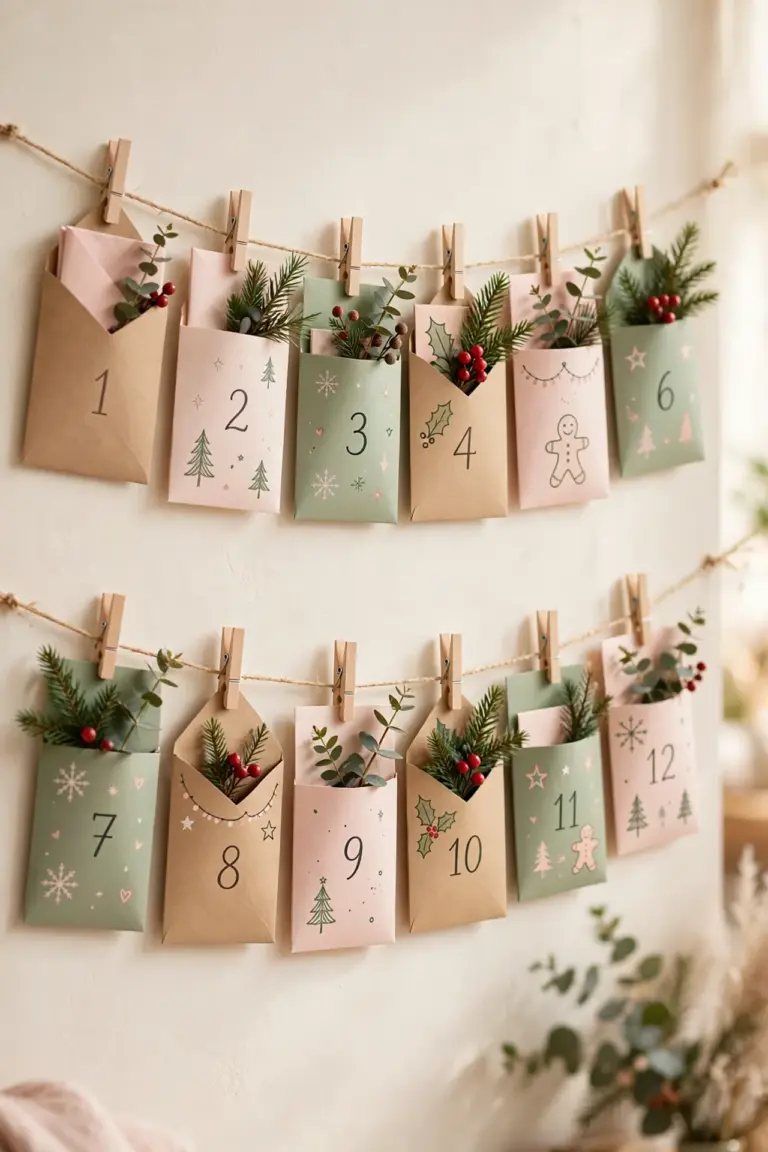
Homemade advent calendars, with twenty four small pockets, envelopes, boxes, or numbered bags on a board or string, beat any shop calendar for one reason: you choose what goes inside, and what goes inside can be more than chocolate.
It works because anticipation is the product. Fill pockets with a mix of tiny treats, jokes, small acts of kindness to do that day, a clue to a weekend activity, a photo from a past Christmas, a line from a favorite carol. Children remember an activity advent for years; adults, honestly, even more so. The calendar itself can be sewn fabric pockets (a keepsake), kraft envelopes on a board (an evening's make), or small jars on a shelf.
Start the calendar in November, because it must exist by December 1st, and filling twenty four pockets takes a thoughtful hour, not a panicked evening. Reuse the same calendar structure every year and refill it; the ritual of its reappearance is half the pleasure. Calendars you fill yourself sit at the heart of DIY Christmas decorations, because the making becomes part of the season.
Write the fillers list secretly in your phone as you think of them through November: tiny ideas accumulate easily when you collect them gradually and feel impossible when demanded all at once on November 30th.
The mistake is filling every pocket with sweets. By December 15th the sugar has lost all meaning and the calendar becomes a chore. The mix, treats, words, activities, silly things, is what makes every morning a small event.
Wrapped "Gift" Boxes as Decor
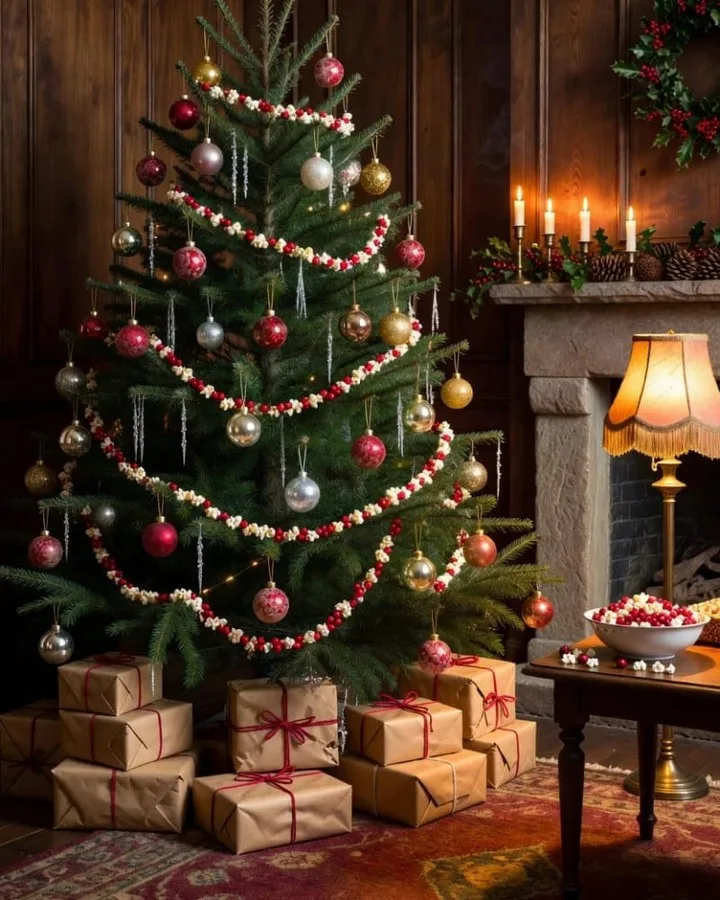
Empty boxes, wrapped beautifully in your Christmas papers and ribbons and stacked around the house, are a decorator's secret weapon. Under the tree before real gifts arrive, beside the fireplace, on the stairs, in an empty corner, wrapped boxes say "Christmas abundance" with zero shopping.
They work because wrapping paper is the season's cheapest large scale color. A stack of coordinated wrapped boxes carries your palette across a room the way cushions and throws do in other seasons, and they fill the awkward visual gaps that make decorated rooms look unfinished, the bare hearth side, the empty space under the tree in early December.
Use sturdy boxes (shoe boxes, delivery boxes), wrap once with care, and store them wrapped, nested if possible, for next year. Mix heights and sizes like a gift pile, finish the top box with the grandest bow, and keep the palette to your two or three papers so the stack looks curated.
Large spaces benefit most from wrapped boxes, places like a hall, a shop window, or a church room, where bought decorations would cost a fortune. Twenty wrapped empties and good lighting look like a fortune already spent.
The only mistake is using boxes someone will need, or wrapping so loosely the corners tear in storage. Wrap snugly, store dry, and label the box set "decor only" so no helpful person tries to post your decorations in January.
A Simple Centerpiece of Candles and Greenery
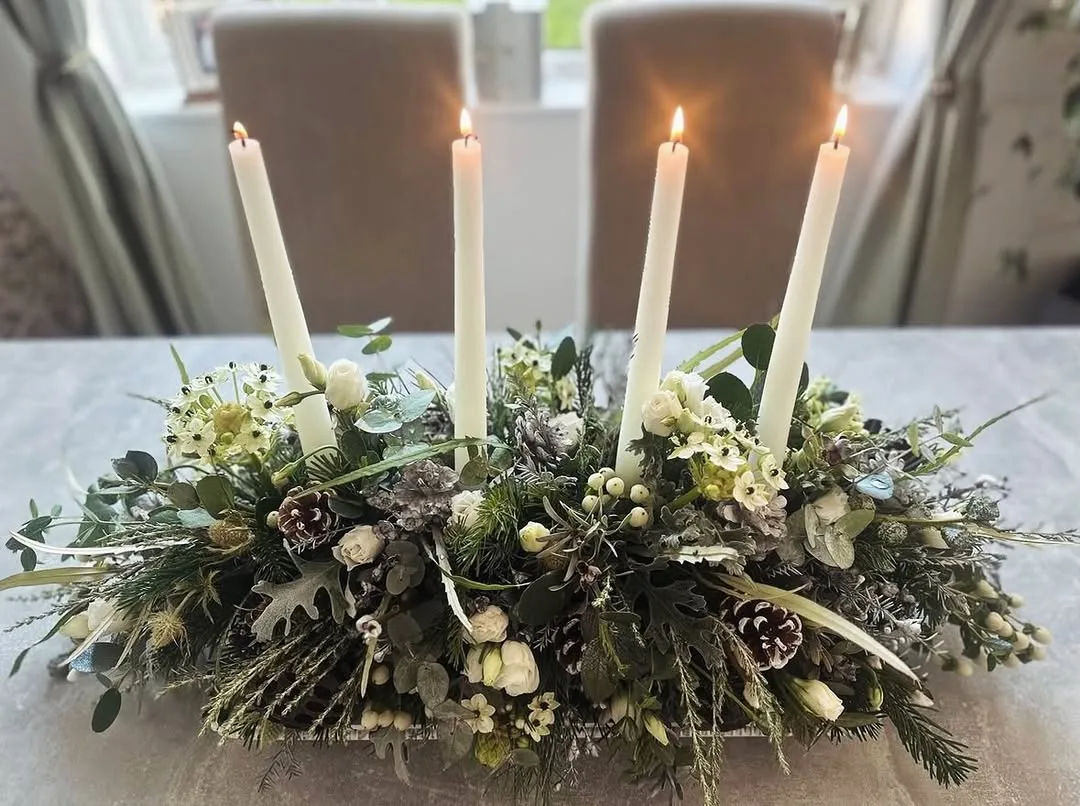
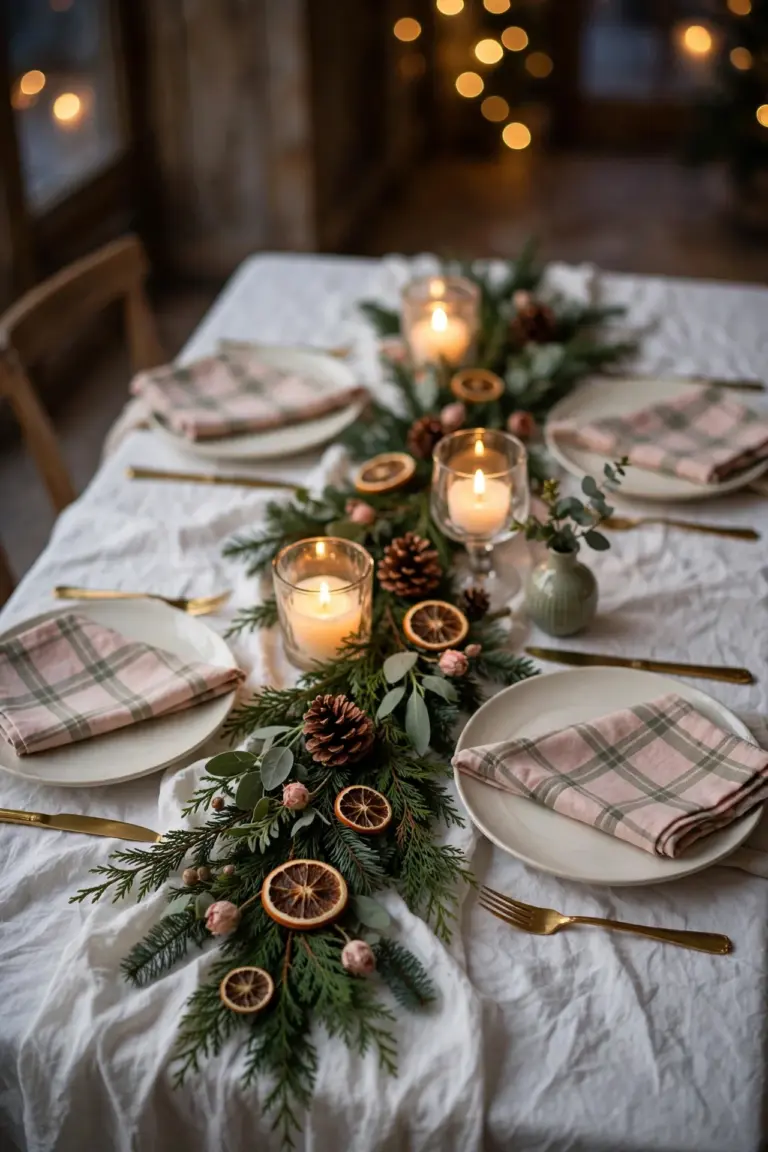
Classic Christmas table centerpieces need no florist: a low arrangement of greenery laid along the table's center, candles of varied heights standing among it, and a few ornaments, pinecones, or orange slices tucked in. Built in fifteen minutes, it makes an ordinary dinner feel like an occasion every night of the season.
It works because candlelight is the most flattering light in the world, and greenery is its perfect frame. Keep the arrangement LOW, guests must see each other over it, and long rather than tall: a green river down the table's middle, candles rising from it like a skyline. Battery candles give the same glow with zero worry near paper, children, and Christmas crackers. Hosts building DIY Christmas decorations on a budget should start with a centerpiece, because one arrangement improves every meal of the season.
Build your centerpiece on the table it will live on, directly in place, rather than assembling it elsewhere and carrying it. Lay a runner or a strip of kraft paper first to protect the table and define the arrangement's footprint, and build from the middle outward.
Real greenery centerpieces last one to two weeks before drying; build them mid December, mist lightly, and refresh tired sprigs as needed. A faux greenery base, refreshed with a few real sprigs for scent, is the practical compromise many hosts swear by.
The critical rule is fire sense: real candles stand in holders, well clear of greenery edges, paper, and passing sleeves, and are never left burning in an empty room. When in doubt, the battery versions have become so good that guests rarely notice, and you will relax all evening.
Handmade Place Cards
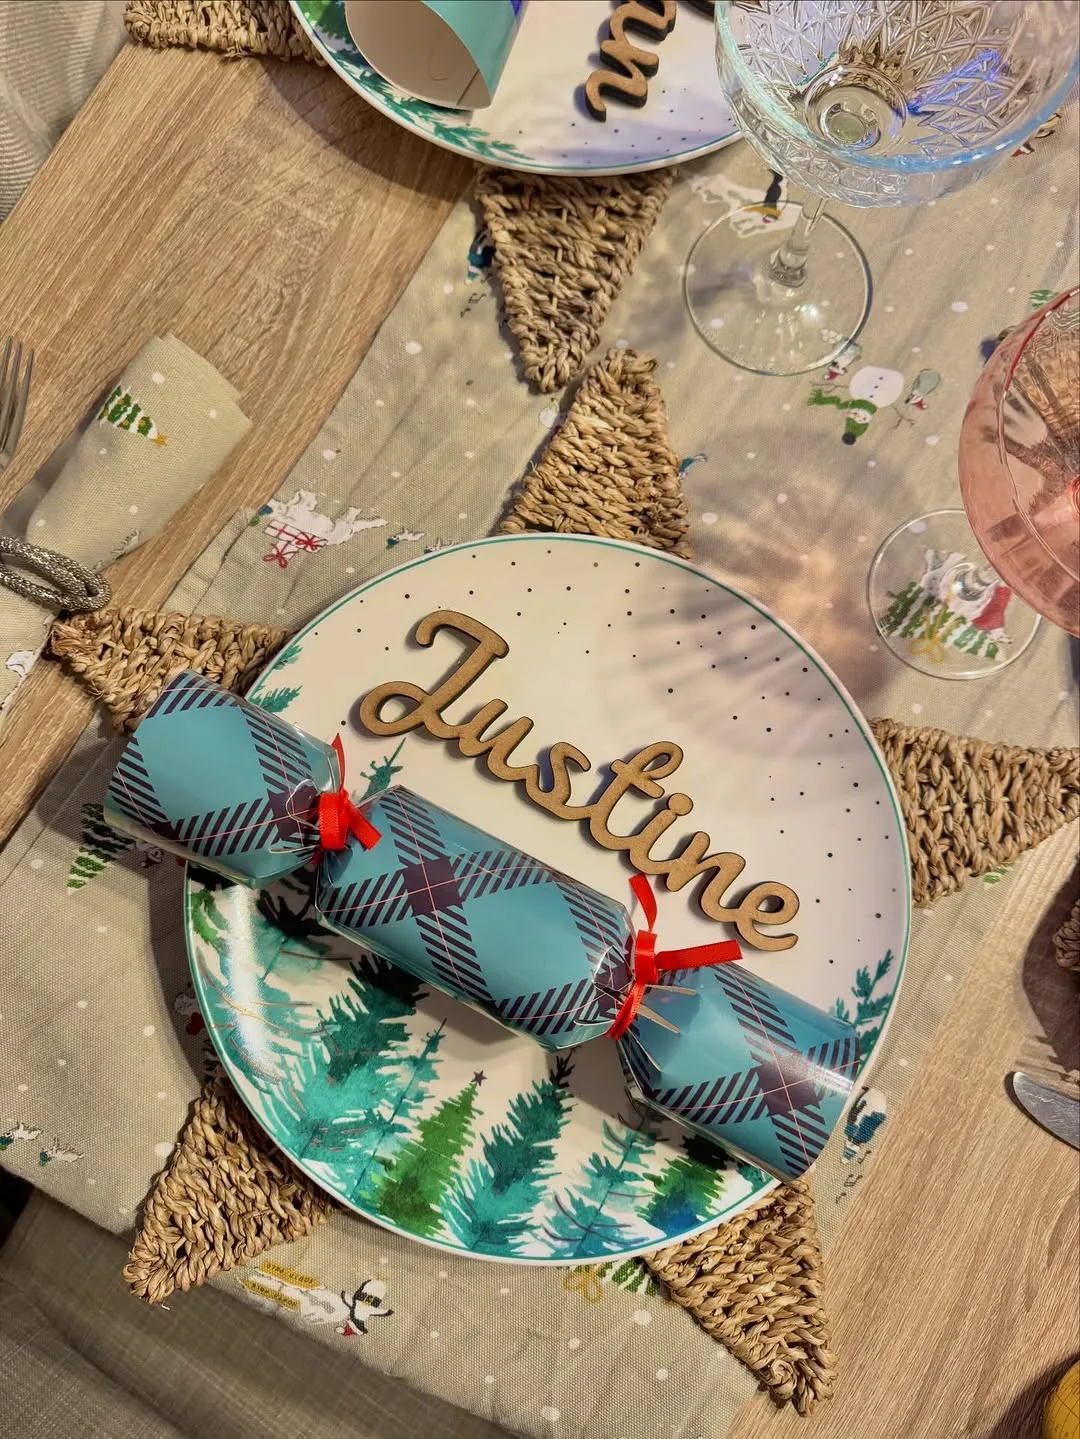
Place cards are the smallest possible personal decoration: each guest's name, written beautifully on a small card, perhaps tied to a sprig of rosemary, a cinnamon bundle, a tiny ornament, or a pinecone. They take minutes each and make every person at the table feel expected.
They work because being named is being welcomed. A Christmas table with place cards tells guests: we planned for YOU, specifically. They also perform quiet social magic, seating friends who will enjoy each other together, separating the two uncles who debate, placing the shy guest beside the warm one, all without a word of fuss.
Place cards are best for the main Christmas meal and any seated festive dinner in the season. Make them as simple as folded card with your best handwriting, or as crafted as a clay tag stamped with each name (matching your clay ornaments), a leaf written on with a metallic pen, or a luggage tag tied with ribbon.
Make the cards a week early, store them alphabetically, and place them when the table is laid on the day. Keep one or two blanks and a matching pen in a drawer, there is always one extra guest, and a blank card saves the set.
The mistake is cards so elaborate they crowd the setting or topple into the soup course. Small, sturdy, and legible beats tall, fragile, and artistic at a working dinner table.
Napkin Rings from Ribbon or Twine and a Tiny Ornament
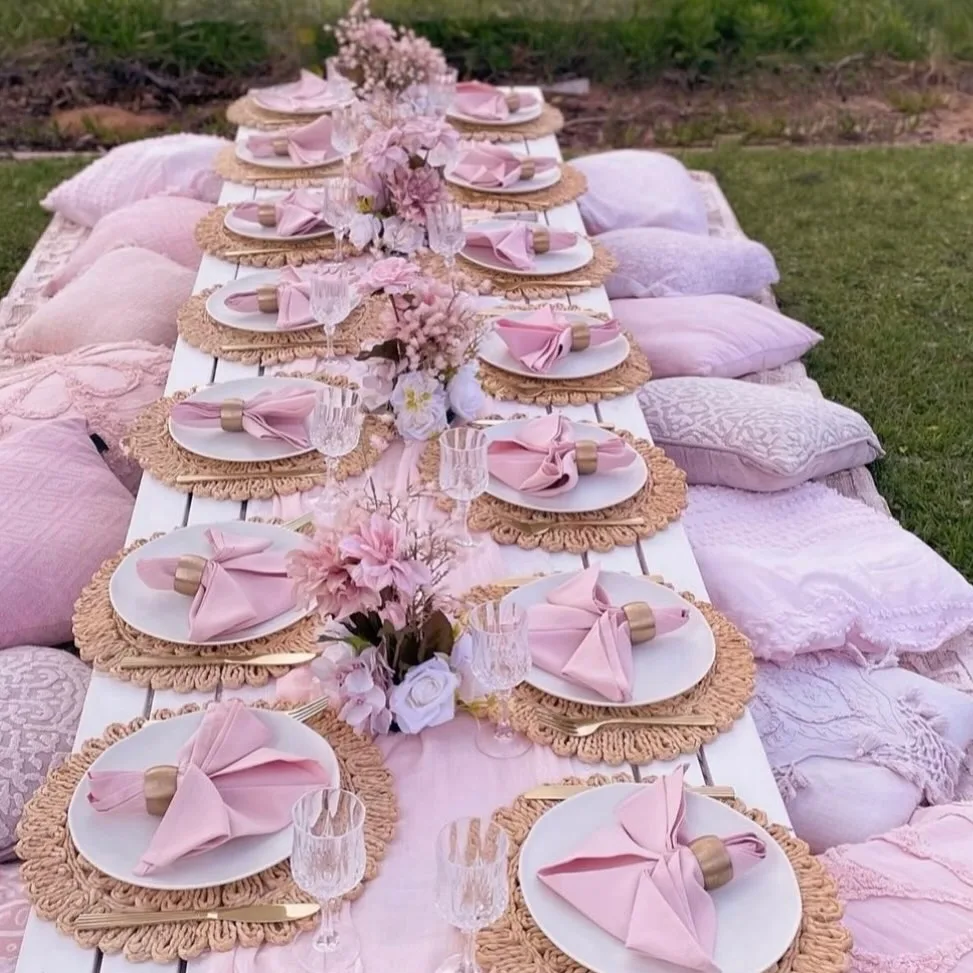
Napkin rings made from a loop of wide ribbon or several wraps of twine, finished with one tiny ornament, bead, bell, or sprig, are the fastest table upgrade in this entire guide. Five minutes per ring, and plain napkins become part of the decorations.
They work because tables are seen from above, in pattern, and a ring of repeated little circles of color around every plate is pattern in its most satisfying form. The tiny ornament also doubles as a keepsake: guests take their mini bell or star home, and it appears on their trees for years with your Christmas attached to it.
Napkin rings suit every level of Christmas table from family lunch to formal dinner, and they are an excellent use of ribbon offcuts, single leftover ornaments, and the last beads of a craft kit. Coordinate the ribbon with your table palette and keep the ornament tiny, it is an accent, not a centerpiece, at each setting.
Make rings snug enough to hold a rolled or folded napkin without crushing it, and test one fully dressed setting before making twelve: proportion checks on one plate save a set of almost right rings.
Avoid anything on the ring that sheds into food (loose glitter, crumbly dried flowers) or rings so precious that a gravy splash becomes a tragedy. The point is easy elegance, not anxiety at the table.
A Christmas Village from Cardboard Houses
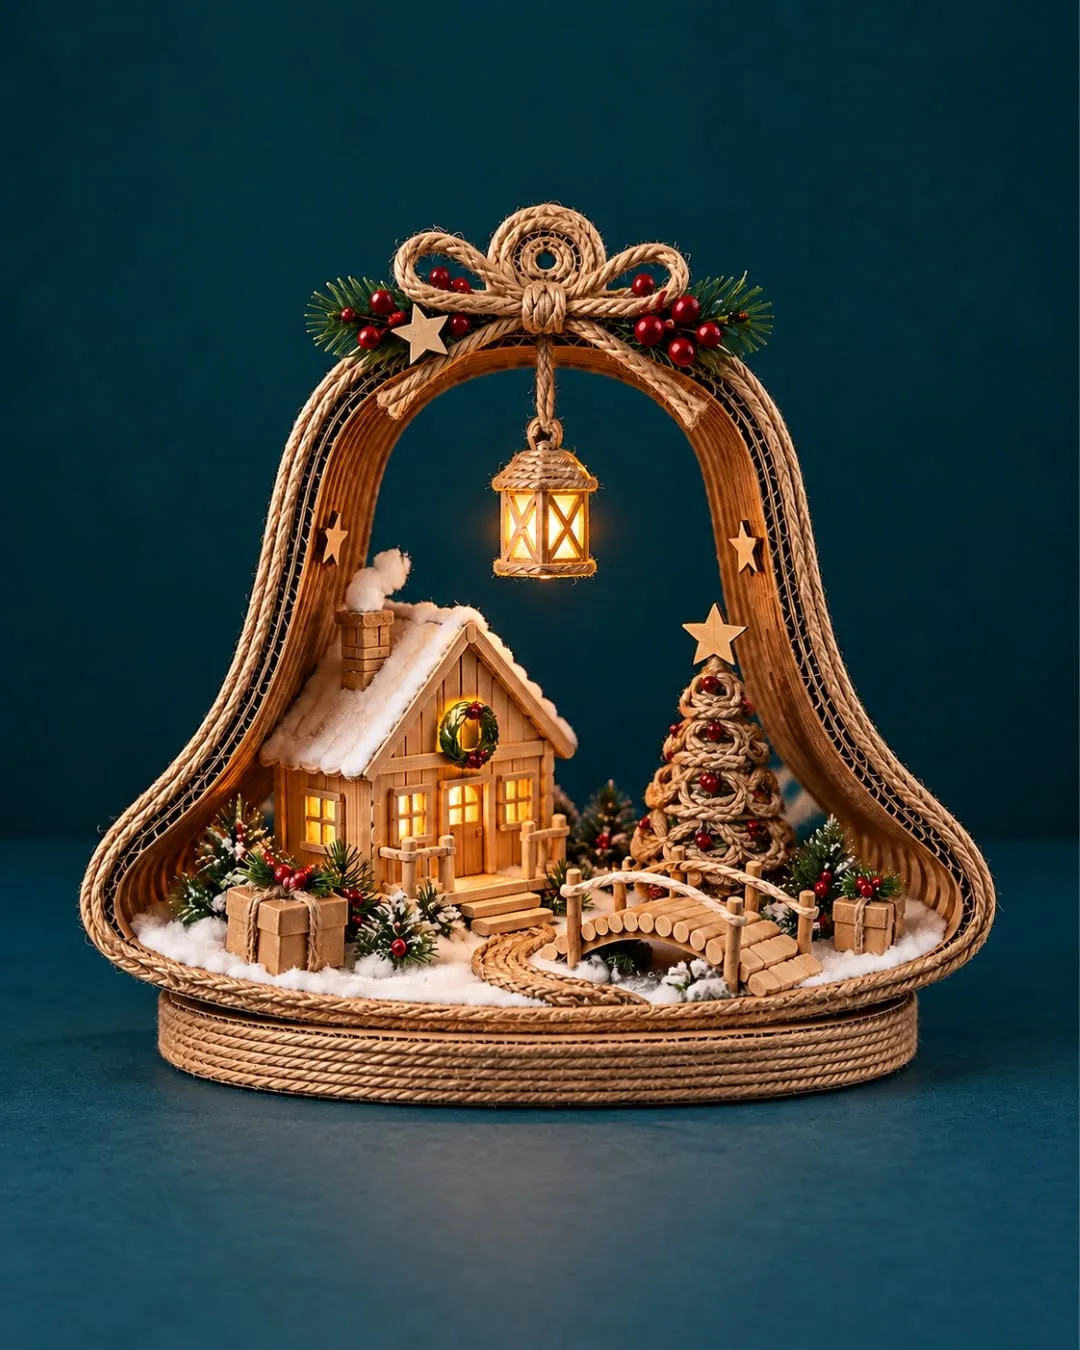
Save your delivery boxes in November: cut, folded, and painted, cardboard becomes a Christmas village of little houses, roofs dusted with white paint or glitter snow, windows glowing with a battery tealight behind them or yellow paper inside. Lined along a mantel, a shelf, or a windowsill, the village is the decoration children gravitate to all season.
It works because it is a world, not an object. Houses invite stories: who lives there, which one is the bakery, where the tiny trees go. Use simple house shapes, a box body, a folded roof, in one paint color family (all white is stunning and the easiest to make look designed), and let repetition and warm light do the artistry. Cardboard villages show how DIY Christmas decorations can cost nothing and still hold a room.
Villages are best built as a family or slow evening project across several days, adding a house or two at a time, and it suits any shelf that needs a scene. Templates are forgiving: crooked houses look hand crafted, varied sizes look like a real village, and a little cotton wool snow hides every join.
Light the village from behind with a string of warm battery lights or a few tealights, and it becomes the room's evening focal point, the thing guests photograph and children say goodnight to.
The mistakes are structural: thin card warps with paint, so use sturdy boxes and paint in light coats; and real candles near cardboard are forbidden, battery lights only, always, no exceptions for "just a minute."
Common Mistakes to Avoid With DIY Christmas Decorations
First comes the timing mistake, starting in December. Almost every decoration in this guide is simple, in November. In the last frantic week, the same projects compete with shopping, cooking, and travel, and handmade loses. Choose your projects early, make them across a few calm evenings, and let December be for enjoying them.
No palette is the second mistake. Twenty lovely decorations in twenty unrelated color schemes make a house look like a craft fair exploded. Choose two or three colors plus one metallic, repeat them in every room, and individual simple pieces become one designed, generous whole house of Christmas.
All tree, no rooms is the third mistake. Hosts pour everything into the tree and leave hallways, windows, and the table bare, so the house feels decorated in one corner only. Spread the budget and effort: something for the door, something for the windows, something for the table, something for the tree, the system this guide follows.
Fourth comes unsafe shortcuts with heat and flame. Paper near candles, cardboard near real flames, overloaded sockets of lights, December asks for extra care precisely because the house is full of flammable beauty. Battery lights and candles, sensible placement, and a working smoke alarm check are part of decorating, not a footnote to it.
Finally, hosts decorate for photographs instead of for people. If a decoration cannot survive a toddler, a cat, a spilled drink, or a hug at the door, it does not belong in a family Christmas. Choose the sturdy, the soft, and the replaceable, and keep the one fragile heirloom high on the tree where it belongs.
Budget Friendly DIY Christmas Decoration Ideas
The gathered decorations in this guide cost nothing but a walk: pinecones, garden clippings for the wreath, and branches for arrangements. Start there, a home can be three quarters decorated from the garden and the park before a penny is spent, and gathered decor always looks richer than its price.
Kitchen supplies form the next tier: salt dough from the cupboard, oranges dried in the oven, popcorn and cranberries from the food shop, cinnamon from a bulk bag. These are decorations priced in pennies that look like boutique purchases, especially massed together with confidence.
Paper is the third budget hero, one pack of good white and colored paper becomes stars, chains, snowflakes, houses, and bunting. Buy paper in your palette once, in November, and let it carry windows, ceilings, and walls all season.
Spend your actual budget on the reusable skeleton: a good wreath base, warm lights, decent ribbon, a craft glue gun, and storage boxes. Those purchases serve a decade of Decembers, while the perishable beauty on top of them, greenery, paper, fruit, dough, costs almost nothing each year.
Finally, make next year's decorating budget smaller this January: pack everything carefully, labeled by room, with a note of what ran out or broke. The most expensive Christmas decoration is the one you buy twice because the first is lost in an unmarked bag.
DIY Christmas Decoration Tips for a Home That Feels Cohesive
Choose the palette before the projects. Two colors plus a metallic, written down and stuck on the fridge. Every supply purchase and project choice gets checked against it.
Decorate in zones. Door, windows, tree, table, one hallway moment. Five zones covered simply beats one zone buried in effort.
Repeat one motif. Stars everywhere, or orange slices everywhere, or tiny bells everywhere, the repetition is what makes handmade look like a collection.
Light is a decoration. Warm lights at different heights, tree, mantel jars, village glow, do more for a room than any single object. Budget for bulbs before baubles.
Let children own one area completely. Their window, their shelf, their paper chain ceiling. The house keeps its palette; they keep their pride.
Photograph the finished rooms. Not for anyone else, for next November, when "what did we do last year that worked?" is answered in one scroll.
Stop one project earlier than you want to. A decorated enough home enjoyed calmly beats a perfect home finished by an exhausted host on Christmas Eve.
FAQ
When should I start making DIY Christmas decorations?
Early November is ideal for the keepsake projects (clay, felt, sewn pieces) and mid to late November for paper and gathered decorations. Fresh greenery belongs to early December. Spreading makes across six weekends keeps every project a pleasure and gives drying, painting, and storing time without pressure.
What are the cheapest Christmas decorations to make?
Paper chains and snowflakes, salt dough ornaments, a greenery wreath from garden clippings, pinecone decorations, and wrapped empty boxes, all cost pennies or nothing. Popcorn garlands and dried orange slices follow closely, priced from the grocery list rather than the craft shop.
How do I make handmade decorations look cohesive, not crafty?
One palette, repeated motifs, and restraint. Limit colors to two or three plus a metallic, repeat one shape or material in every room, group handmade pieces in odd numbers, and mix them with a few plain bought basics (lights, candles, ribbon). Cohesion comes from repetition, not from complexity.
How do I store handmade decorations so they last?
Dry, dark, and not crushed. Wrap fragile pieces in tissue, store paper flat, keep natural decorations in ventilated boxes with a note of anything perishable, and label every box by room. Salt dough and dried fruit must be completely dry before boxing, and stored away from damp, a dry cupboard beats a cold garage.
What Christmas decorations can children make?
Salt dough ornaments, paper chains and snowflakes, popcorn garlands, felt ornaments with supervision, cardboard village houses, and pinecone crafts suit a wide range of ages. Choose projects by the child's patience as much as their skill, a finished small thing beats an abandoned big one, and let them sign and date one piece each year.
Can I decorate a whole home with DIY only?
Yes, this guide is designed for exactly that: tree, door, windows, table, stairs, and shelves, all covered by hand. The two bought elements most DIY decorators still rely on are lights and a sturdy wreath base; everything else can be gathered, made from the kitchen, the garden, the paper drawer, and the scrap box.
Conclusion
Handmade Christmas is not a lesser Christmas bought cheaply, it is a richer one, built slowly from clay and paper, oranges and greenery, children's handprints and evenings of threading popcorn with people you love. Twenty ideas deep, there is something here for every room, every budget, and every level of crafting confidence, and most of them cost less than the wrapping paper on a single shop bought gift.
Choose three or four projects for this year, one for the door, one for the tree, one for the windows, one for the table, and your whole home will feel decorated through and through. Next year, add two more. That is how the beautiful handmade homes you admire were actually built: not in one heroic season, but December by December, by people who started exactly where you are. Your own DIY Christmas decorations will grow the same way, one calm project at a time.
So put the kettle on, clear the table, and begin with the project that made you smile. Christmas is coming, and this year, your house will be ready, made by hand, and made with love.