15 Easy Crafts for Beginners (No Experience Needed)
Every confident crafter you have ever admired started exactly where you are: with a first project, slightly wobbly, made from simple supplies, and finished with more pride than the object probably deserved. Crafting is not a talent some people are issued at birth. It is a stack of small, finished things, and the stack only grows if the first few projects are kind to the beginner holding the scissors.
That is what this list is for. These fifteen crafts were chosen by strict beginner rules: cheap and ordinary supplies, no special skills, no expensive tools, finished in an afternoon or less, and genuinely good looking when done, because a first craft that looks beautiful makes a second craft happen, while a first craft that looks like a school project often ends the hobby before it begins.
Each craft below explains what it is, why it works for a complete beginner, what you need, and the one mistake that spoils it. You will also find the common beginner mistakes that have nothing to do with skill, honest budget guidance, quick tips, and answers to the questions every new crafter asks. Pick the craft that makes you smile first, because enthusiasm is the only supply that cannot be bought. Think of the fifteen as a tasting menu of easy crafts for beginners: sample widely first, then settle into favorites.
What is the easiest craft for a complete beginner?
Paper garlands, painted rocks, decorated jars, and handmade cards top every list of easy crafts for beginners: they need only paper, paint, jars, and glue, they cannot really go wrong, and they finish within the hour. If you want a first project that looks impressive immediately, choose paper flowers or a no sew fleece blanket, since both look far more skilled than they are.
Picture a perfect first afternoon: paint three rocks while the kettle boils, decorate a jar while they dry, and string a short paper garland before tea. Three crafts finished on day one, three objects cheering up your home by evening; that is how a crafter is made.
Paper Garlands
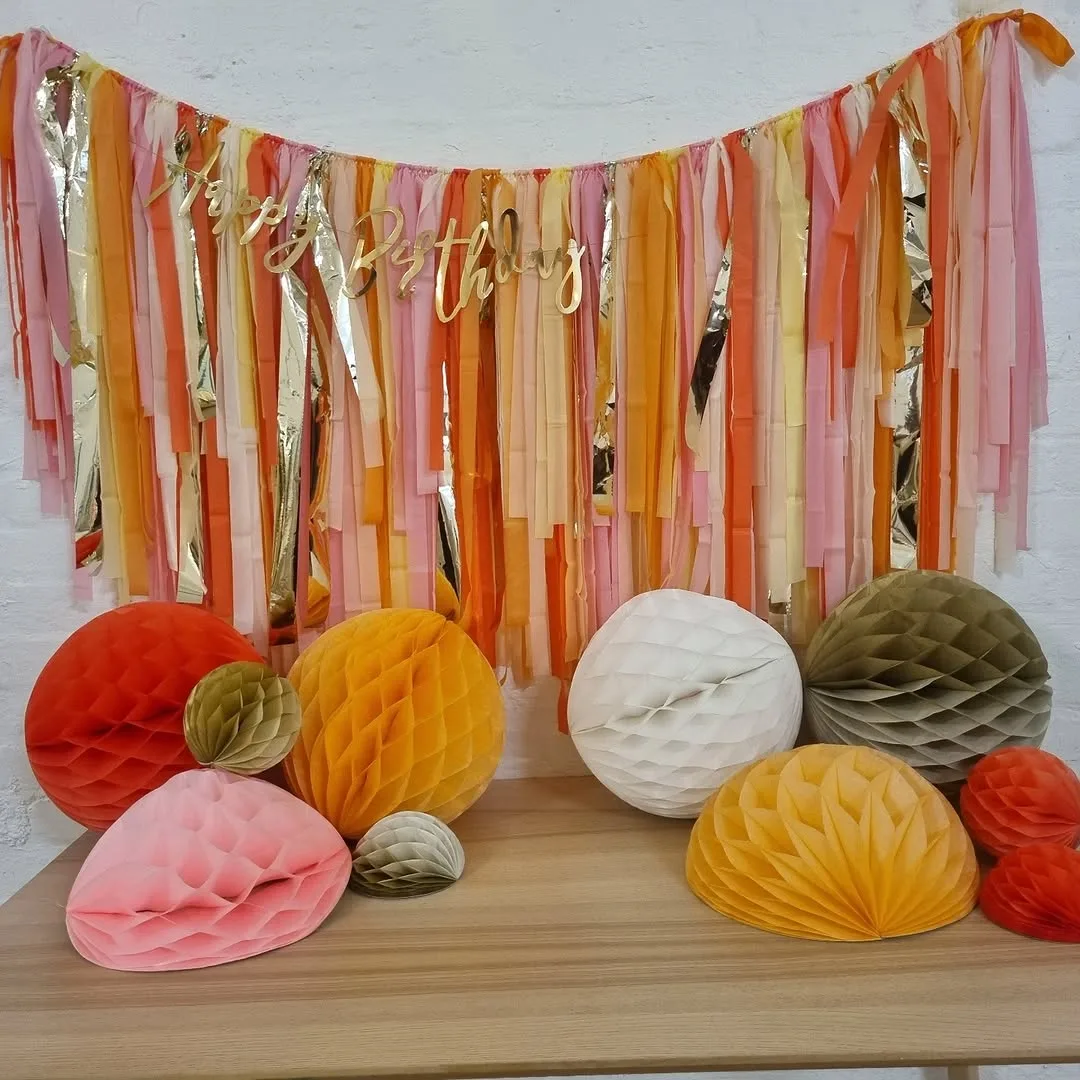
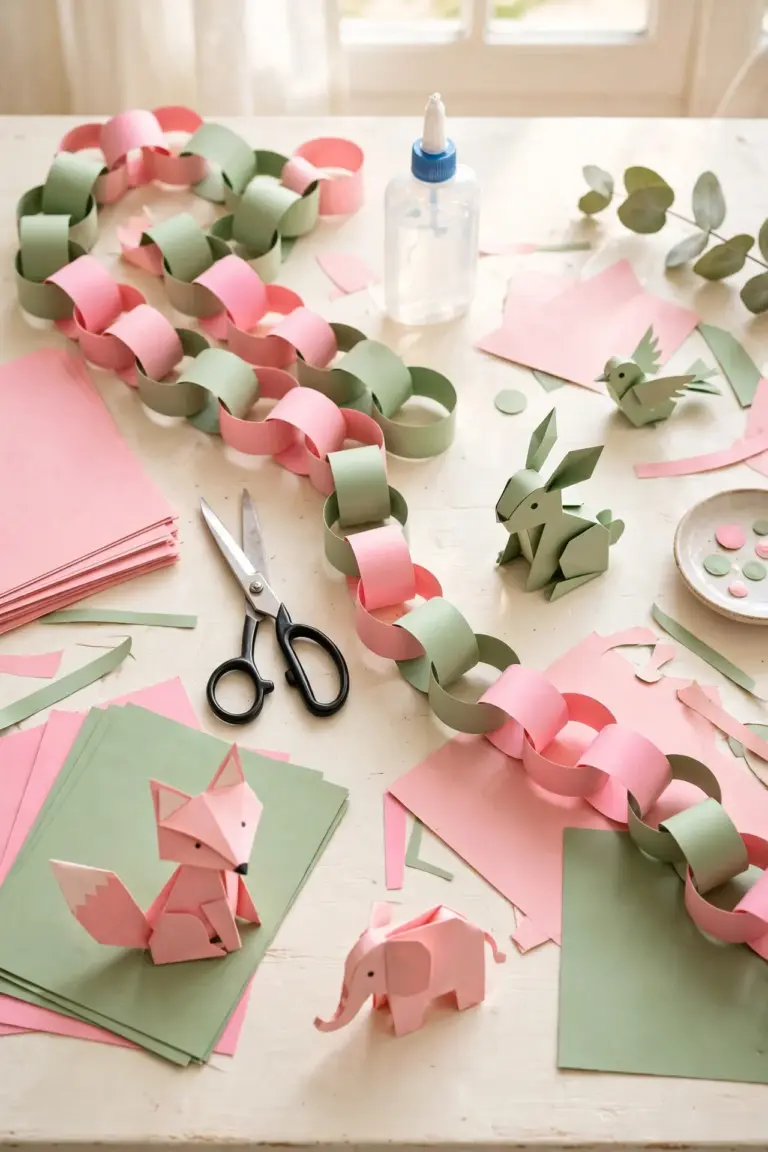
Paper garlands are the friendliest craft in the world: shapes cut from paper, circles, hearts, stars, flags, strung or stitched along a line until you have meters of cheerful decoration. It is also useful forever: birthdays, seasons, a child's bedroom, a bare shelf.
Garlands earn their spot among easy crafts for beginners because paper forgives. A wobbly circle is still a circle; a whole garland of handmade shapes looks intentional precisely because they are not machine perfect. Use one paper color family (all the pastels, all the kraft and cream, all the Christmas reds) and the garland reads as designed.
You need paper or light card, scissors, a shape template (the rim of a glass works), and string, twine, or a needle and thread for the stitched version, which hangs the most professionally. Cut twenty to thirty shapes per meter for a full look.
The mistake is mixed random colors and sparse spacing. Shapes nearly touching, in a planned palette, look abundant; three lonely shapes per meter look like washing. Be generous, because paper is the cheapest supply in crafting.
Handmade Greeting Cards
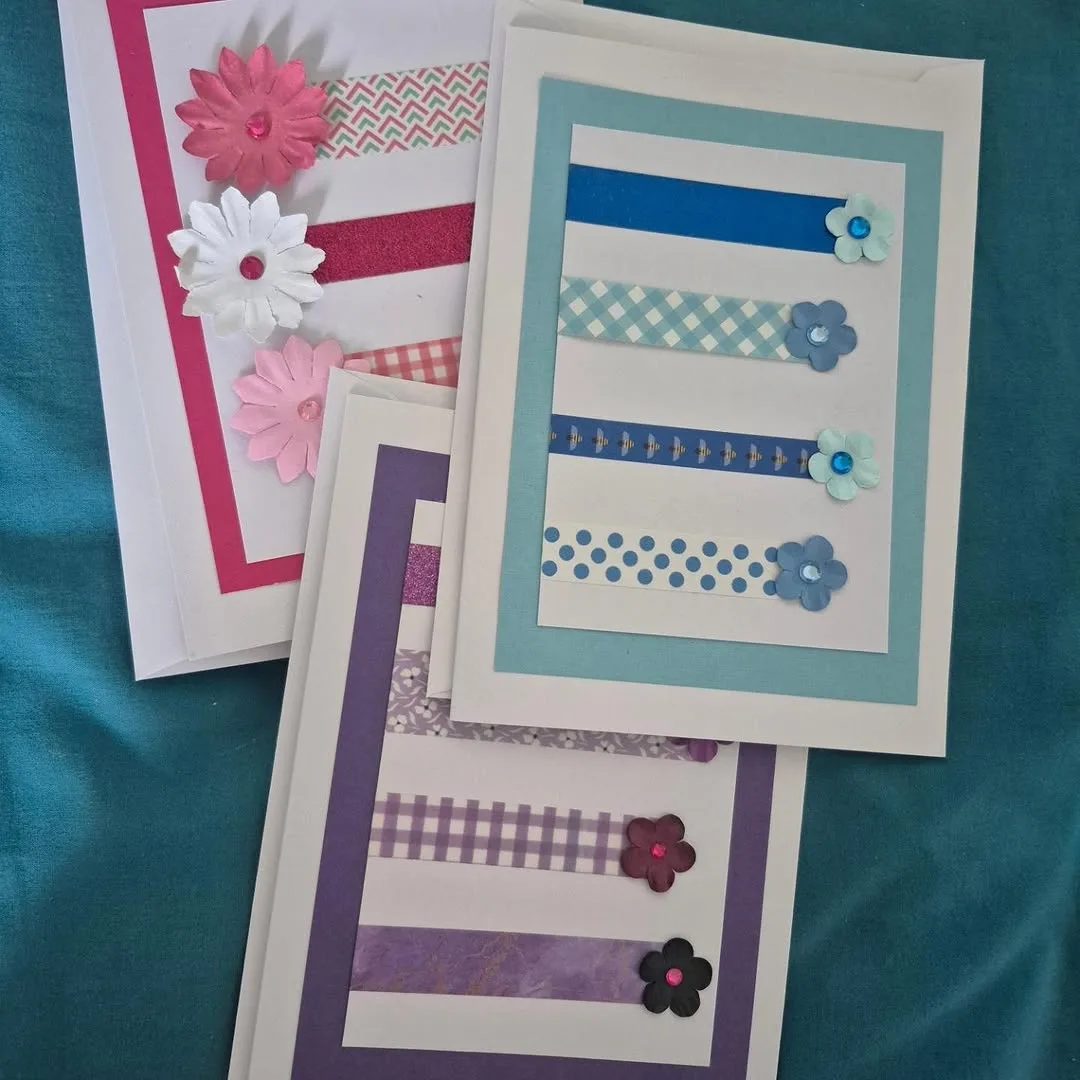
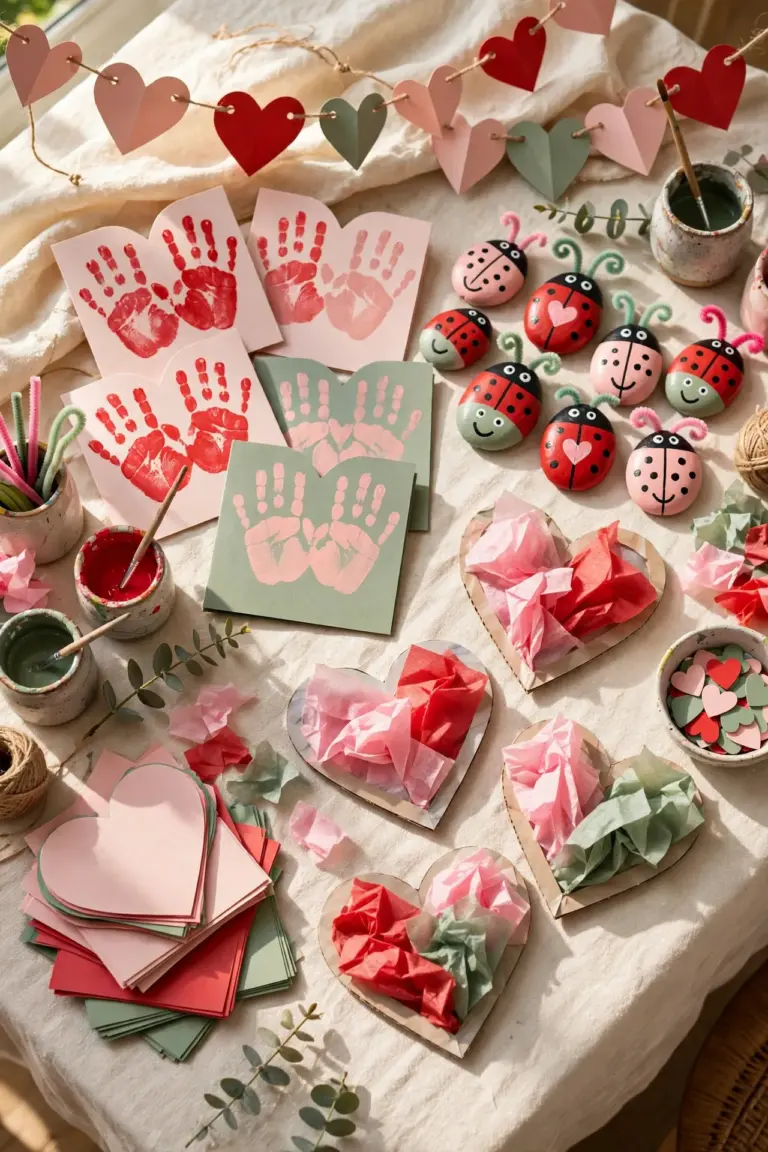
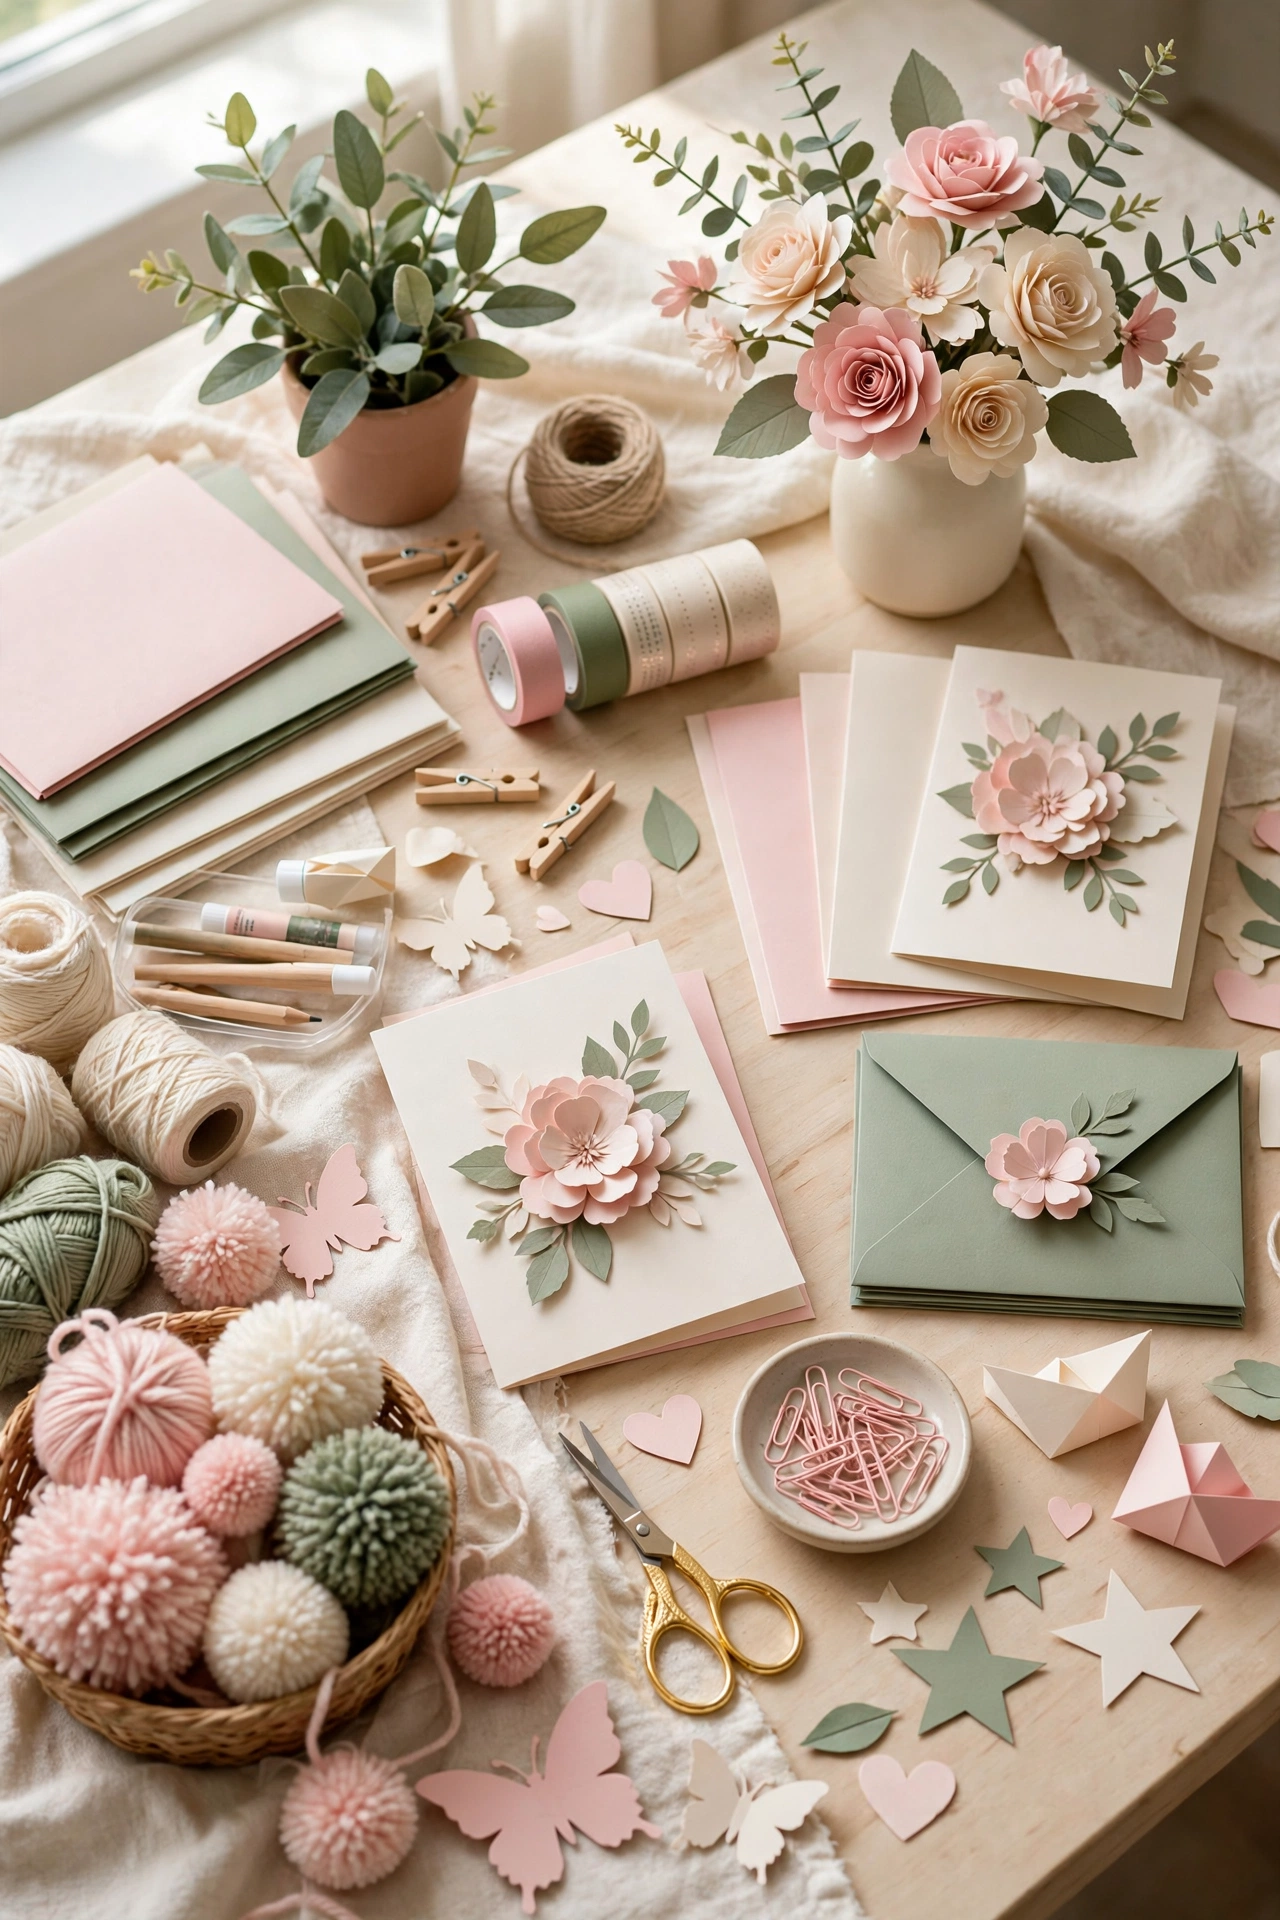
Handmade cards, folded card stock with a simple design on the front and your words inside, carry more love per gram than any gift. And a card is a complete craft in twenty minutes: no drying overnight, no tools beyond scissors, glue, and whatever decorates it, such as stamps, washi tape, pressed flowers, a child's drawing, or a beautiful scrap of fabric.
Cards work for beginners because the canvas is small. A design that would fail on a poster succeeds on a card, where charm beats scale. Start with the classics: a paper heart or flower on a plain card, a strip of washi tape as a border, a hand lettered "thank you" in your best slow writing.
Keep a small card making box stocked with blank cards, envelopes, and a few decorations, and birthdays stop being a shop errand forever. Make cards in batches of five when the box is open; future you is always grateful.
The mistake is copying elaborate internet cards on your first try. Layers, pop ups, and perfect calligraphy are chapter ten. Chapter one is a clean fold, one beautiful element, and a message written like you mean it.
Paper Flowers
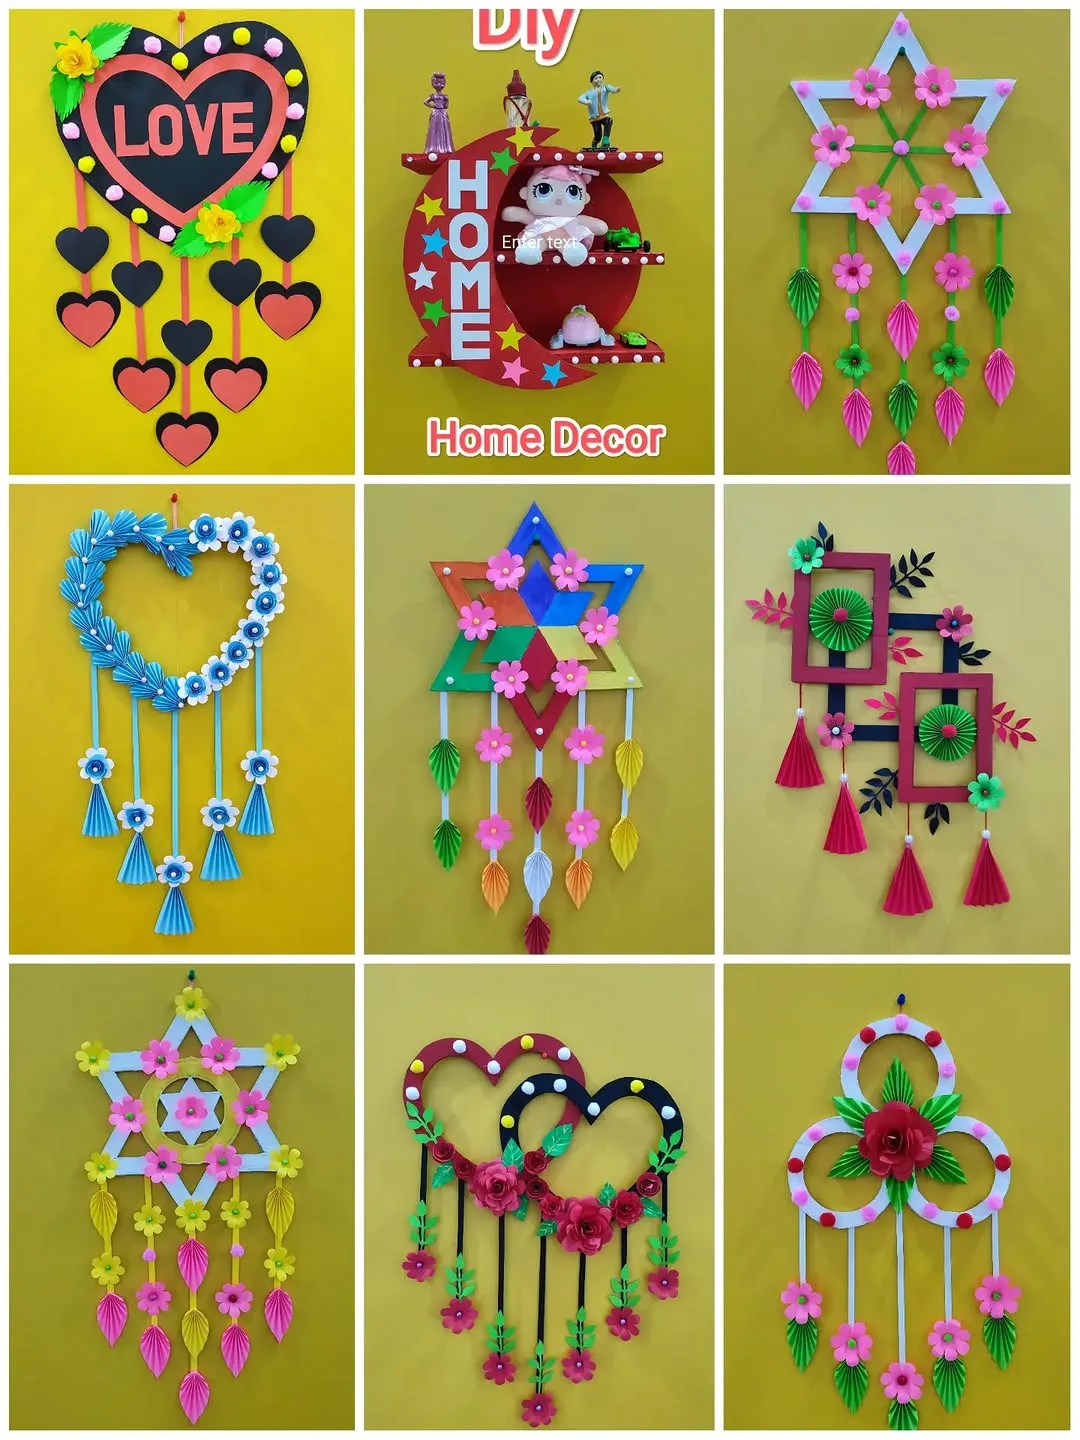
Paper flowers, tissue or crepe paper blooms, folded, cut, and fluffed into roses, peonies, and pom pom flowers, look lush, expensive, and permanent, and they are genuinely easy, a combination that earns them a place in nearly every roundup of easy crafts for beginners: the petals are just layers, and fluffing hides everything.
They work because paper does the sculpting. Fold tissue into a fan, cut a petal edge, tie the middle, and tease the layers apart one by one; a flower appears that fools guests at two meters. Make them big for wall displays and party backdrops, small for cards, wreaths, and gift toppers.
You need tissue or crepe paper in two or three colors, scissors, and wire or twine for stems and ties. A whole bouquet costs less than one real rose and blooms for years in a jar on the shelf, the craft that decorates your home while you learn.
The mistake is rushing the fluff. Tear rates come from impatience: separate layers slowly, from the top down, one sheet at a time, and even your first flower will look like your tenth.
Origami Basics
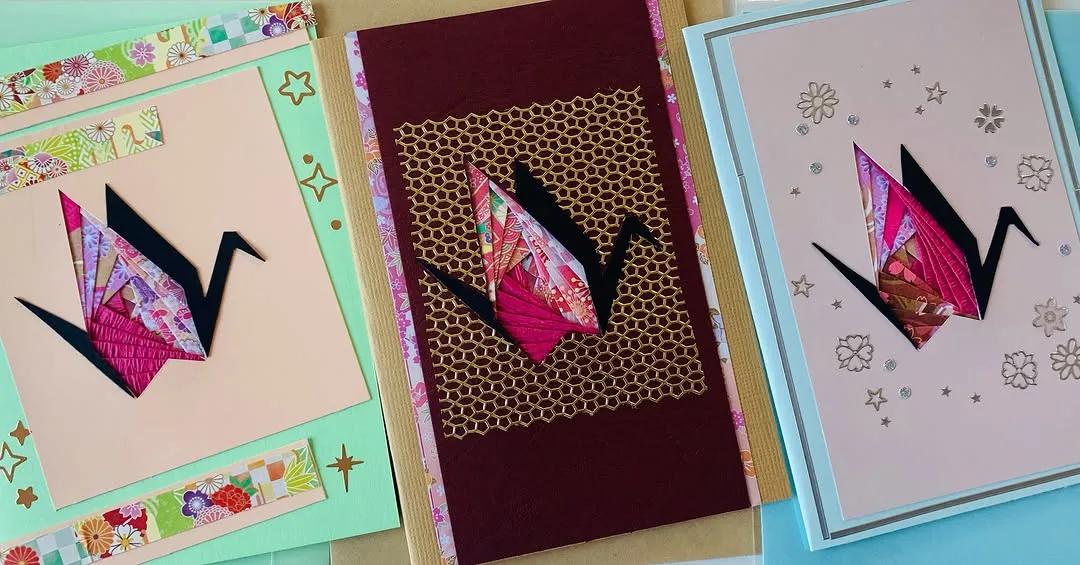
Origami, folding paper into cranes, boats, hearts, boxes, and stars, is the purest beginner craft: one supply (paper), no tools, no glue, no mess, and a finished object in minutes. A paper boat that floats and a heart that stands are victories any first timer can hold.
It works because the instructions are the skill: follow the folds in order, crease sharply with a fingernail, and the shape assembles itself. Square origami paper helps (thin, crisp, colored on one side), but printer paper cut square teaches the same lessons free and keeps origami among the most affordable easy crafts for beginners anywhere.
Start with the forgiving models, boat, heart, box, jumping frog, before the crane, which is origami's chapter five, not chapter one. A small garland or mobile of folded stars is a beautiful first "collection" to hang.
The mistake is sloppy early folds. Origami is compound interest: a millimeter off at fold two is a centimeter at fold ten. Align edges before every crease and the model forgives you everything else.
Decorated Notebooks
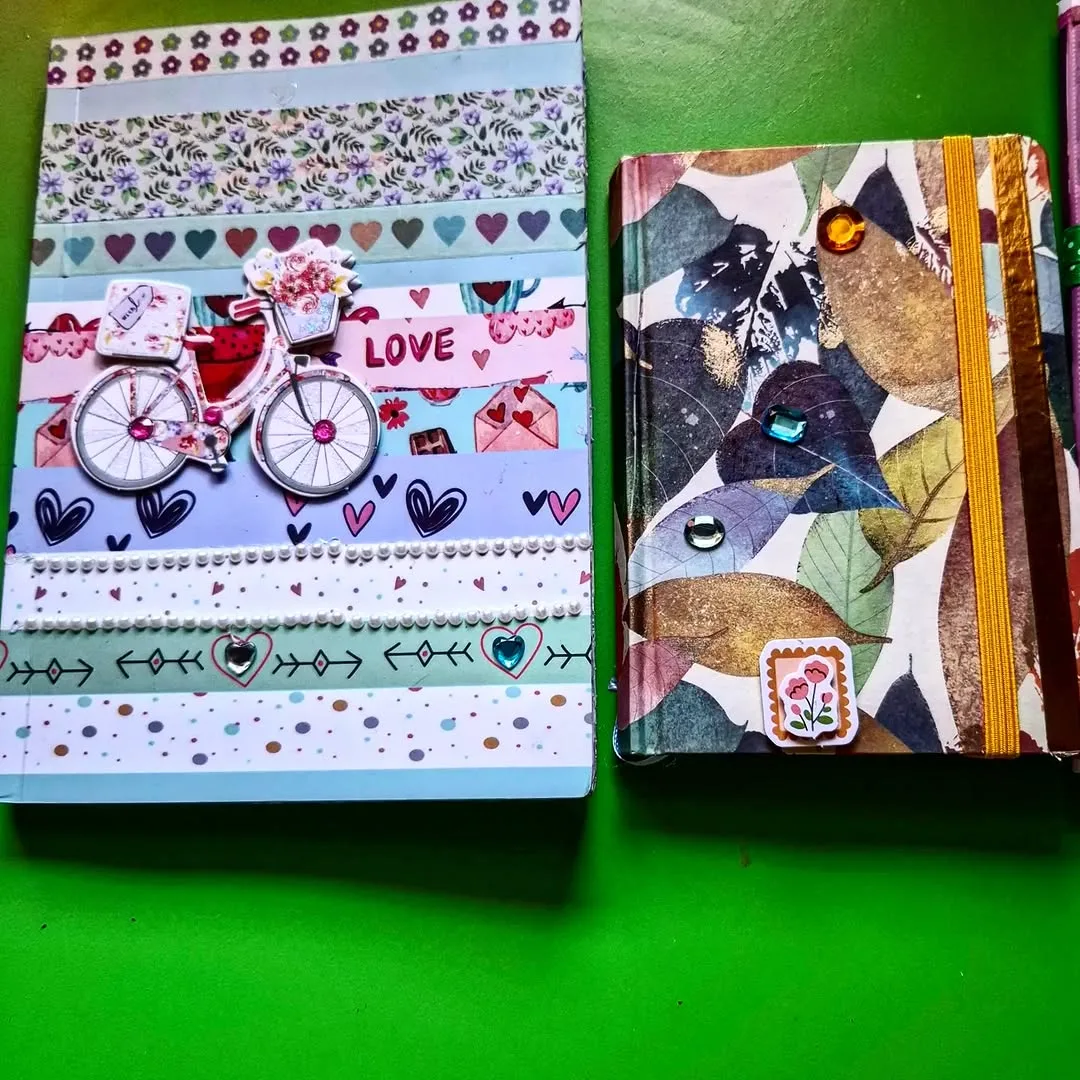
Plain notebooks plus your decoration, paper, fabric, washi tape, stamps, a collage, become a journal, planner, or gift that looks boutique bought. Cover the outside, add a ribbon marker, and a two dollar notebook becomes a treasured object.
Notebook decorating suits beginners because the structure exists already: you are decorating, not constructing. Choose one strong idea per cover (a fabric you love, a paper that tells a story, a single bold initial) rather than five small ones, and the notebook looks designed.
Decorated notebooks make superb gifts and party favors, and they have a nice side effect: a beautiful notebook gets written in. Many a journaling habit was started by a cover too pretty to leave blank.
The mistake is glue overload, which warps covers and wrinkles paper. Thin glue, spread edge to edge, weighted under a book while it dries, stays flat and perfect every time.
No Sew Fleece Blankets
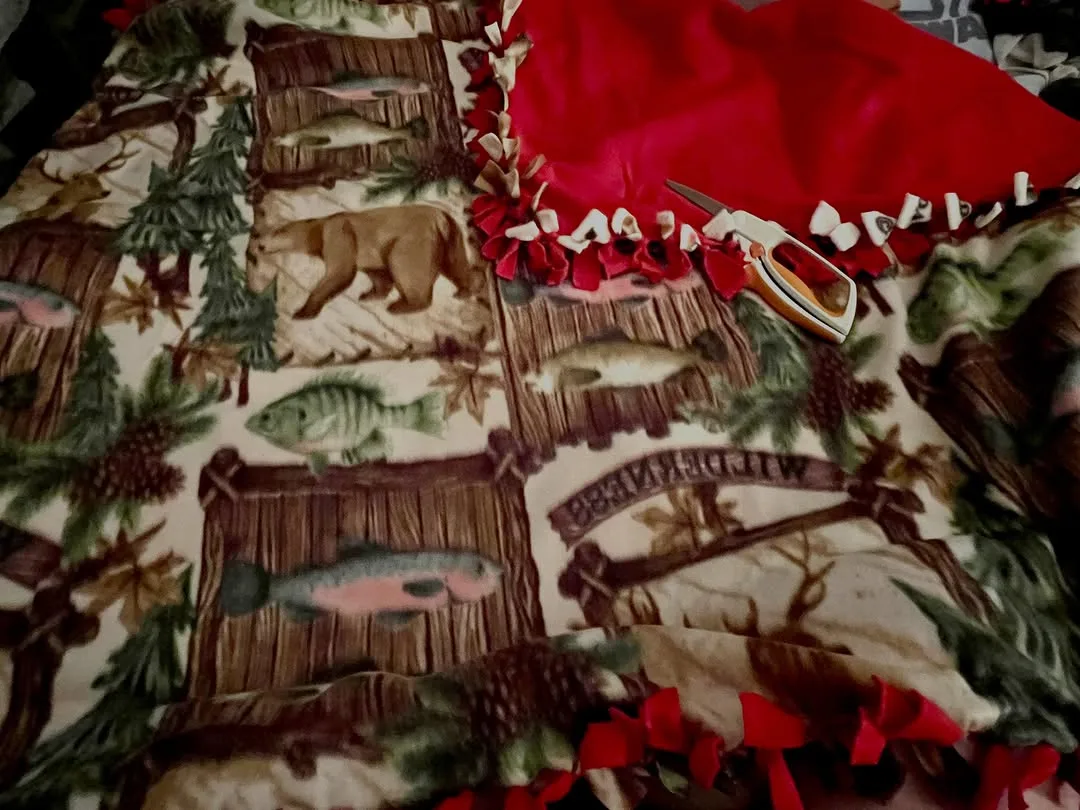
Two layers of fleece, edges cut into fringes and fringes tied together, produce a full size, genuinely warm blanket in one evening with zero sewing. It is the most useful object in this entire guide, made by its easiest method.
It works because fleece does not fray and cuts like a dream. Choose two coordinating fleeces (a print and a solid), align, cut the fringe deep and even, tie double knots all the way around, and lay the blanket over the sofa to immediate applause. Children can tie half the knots; grandparents receive these blankets like royalty. Blankets this useful rarely qualify as easy crafts for beginners, which makes the no sew method such a gift.
You need two pieces of fleece (about 1.5 meters each for a throw), sharp scissors, and a ruler. That is the entire supply list for a gift people keep for a decade.
The mistake is uneven fringe cut freehand. Measure and mark the fringe lines first, because ten minutes of measuring is the difference between a blanket that looks made and one that looks bitten.
Pom Poms and Tassels
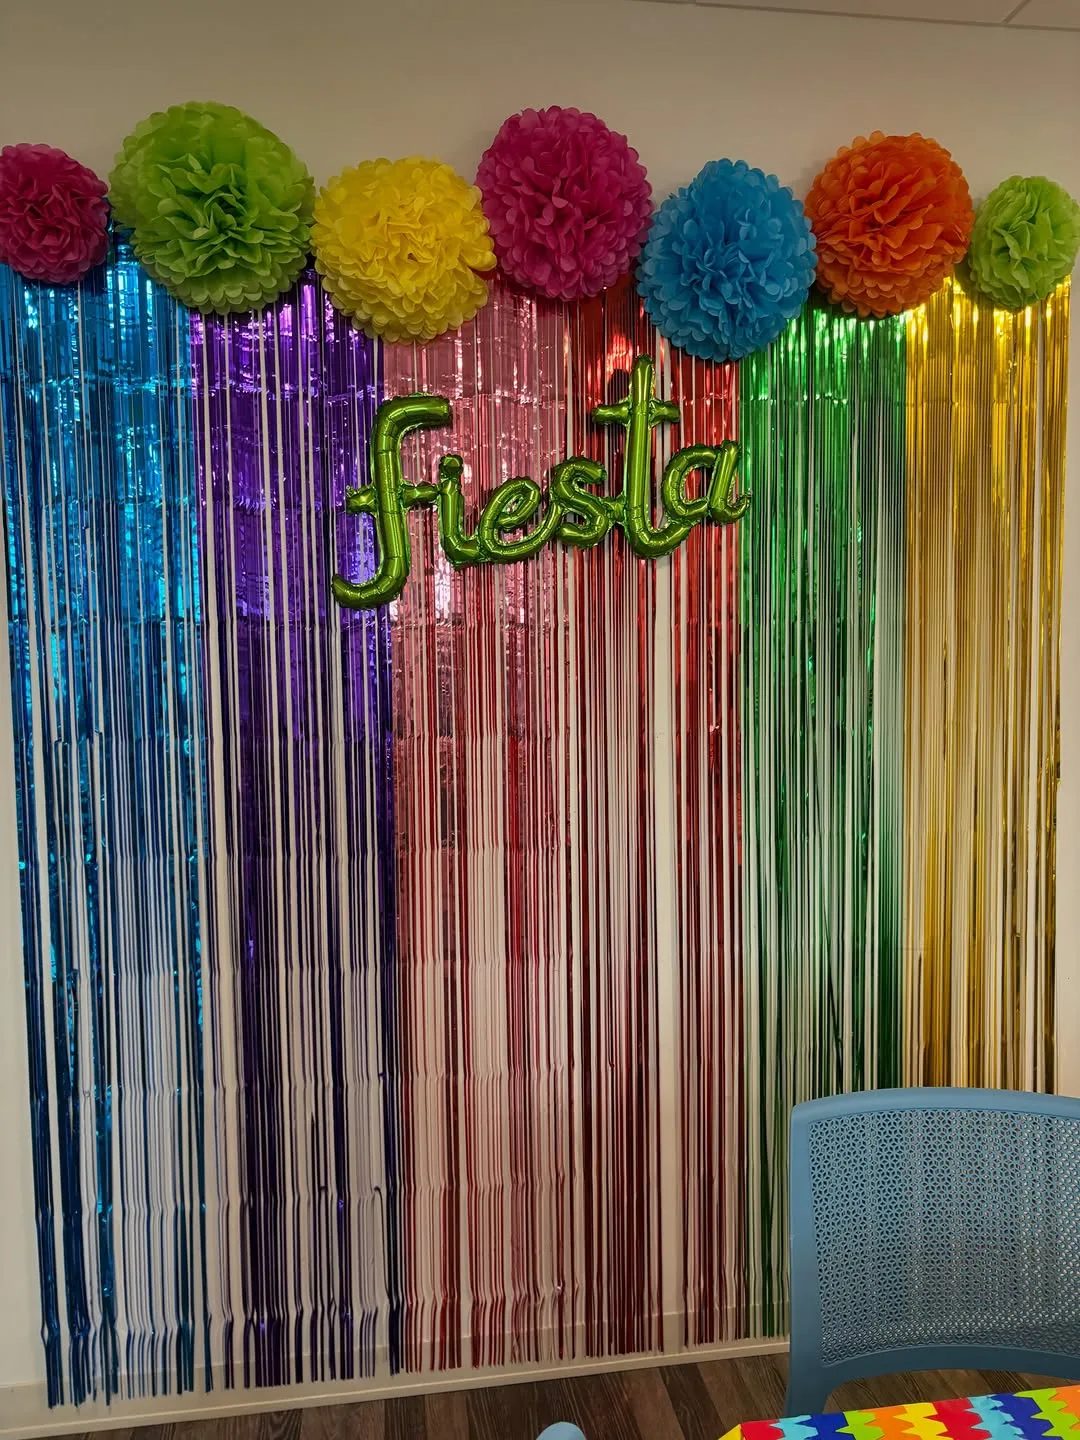
Yarn pom poms and tassels are the confetti of the craft world: tiny, joyful, and able to improve anything they touch, garlands, keychains, cushion corners, gift wrapping, bookmarks, the ends of a scarf. They are also pure repetition: wrap, tie, cut, fluff, done. Few easy crafts for beginners deliver this much cheer per minute of work.
Pom poms work for beginners because the tool is your hand (or a fork, or a cardboard ring) and the skill is counting wraps: more wraps, fuller pom. One ball of yarn becomes a bowl of pom poms in an evening in front of the television, and a garland of them transforms a child's room or a party wall.
Tassels are the pom's elegant cousin, a hank of yarn, tied at the head, cut at the foot, and they finish bookmarks, garlands, and keyrings with a swing that looks designed.
The mistake is a timid trim. Pom poms are made in the trimming: cut boldly into a rough ball, then sculpt round with small snips, shaking and turning as you go. Every great pom pom looked like a disaster at the halfway point.
Friendship Bracelets
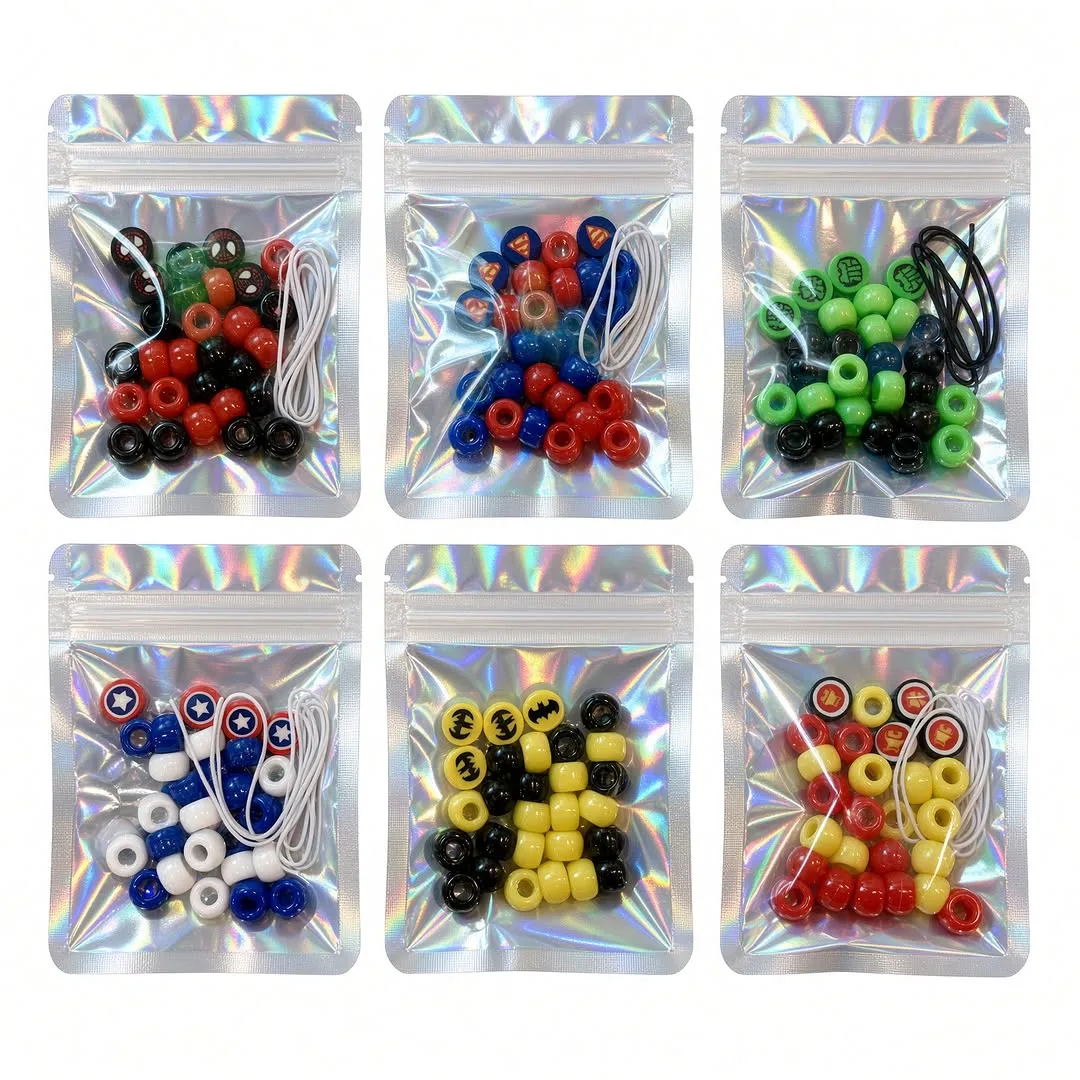
Friendship bracelets, knotted embroidery thread in stripes, chevrons, and diamonds, are the portable classic: a safety pin, a cushion or clipboard, and a rainbow of thread. The first bracelet takes an afternoon; the tenth takes twenty minutes and looks woven.
They work because the knots are only two, repeated: forward and backward. Master the chevron pattern and you own a skill that produces gifts, party favors, and summer camp currency for life. Thread is cheap, light, and sold in beautiful gradient packs that do your color picking for you, which is one reason thread bracelets appear in almost every guide to easy crafts for beginners.
Make bracelets for specific people, their colors, their initial bead in the middle, and a two penny craft becomes a keepsake that is worn until it falls off, which among bracelet wearers is a badge of honor.
The mistake is uneven tension, which makes chevrons wobble like a river. Keep every knot snugged to the same firmness, work in good light, and pin the work down so your hands can do one job each.
Yarn Wrapped Letters
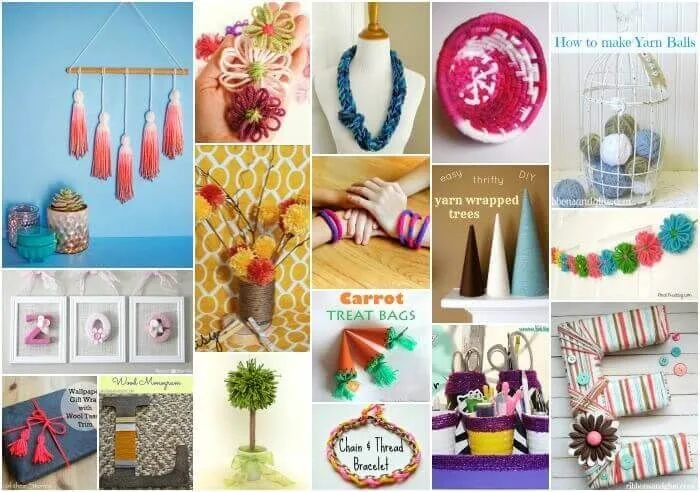
Cardboard or wooden letters wrapped in yarn, the initial of a child, a whole name, the word "joy" at Christmas, become pieces of room decor that look like boutique purchases and are made from a cereal box and a ball of yarn.
It works because wrapping is the most meditative motion in crafting, and the yarn's texture does all the styling. Cut a sturdy letter from thick cardboard, wrap yarn around and around (a dab of glue at the back for direction changes), tuck the end, and add a pom pom or paper flower at one corner.
Letters suit nurseries, desks, party tables (the guest of honor's initial as a centerpiece), and seasonal words on the mantel. Ombre yarn, one ball that shades from light to dark, produces a gradient effect with zero extra skill.
The mistake is thin cardboard that bends as you wrap. Double or triple the card, glue the layers, and wrap with steady, gentle tension; a strong letter survives years of shelf life.
Painted Plant Pots
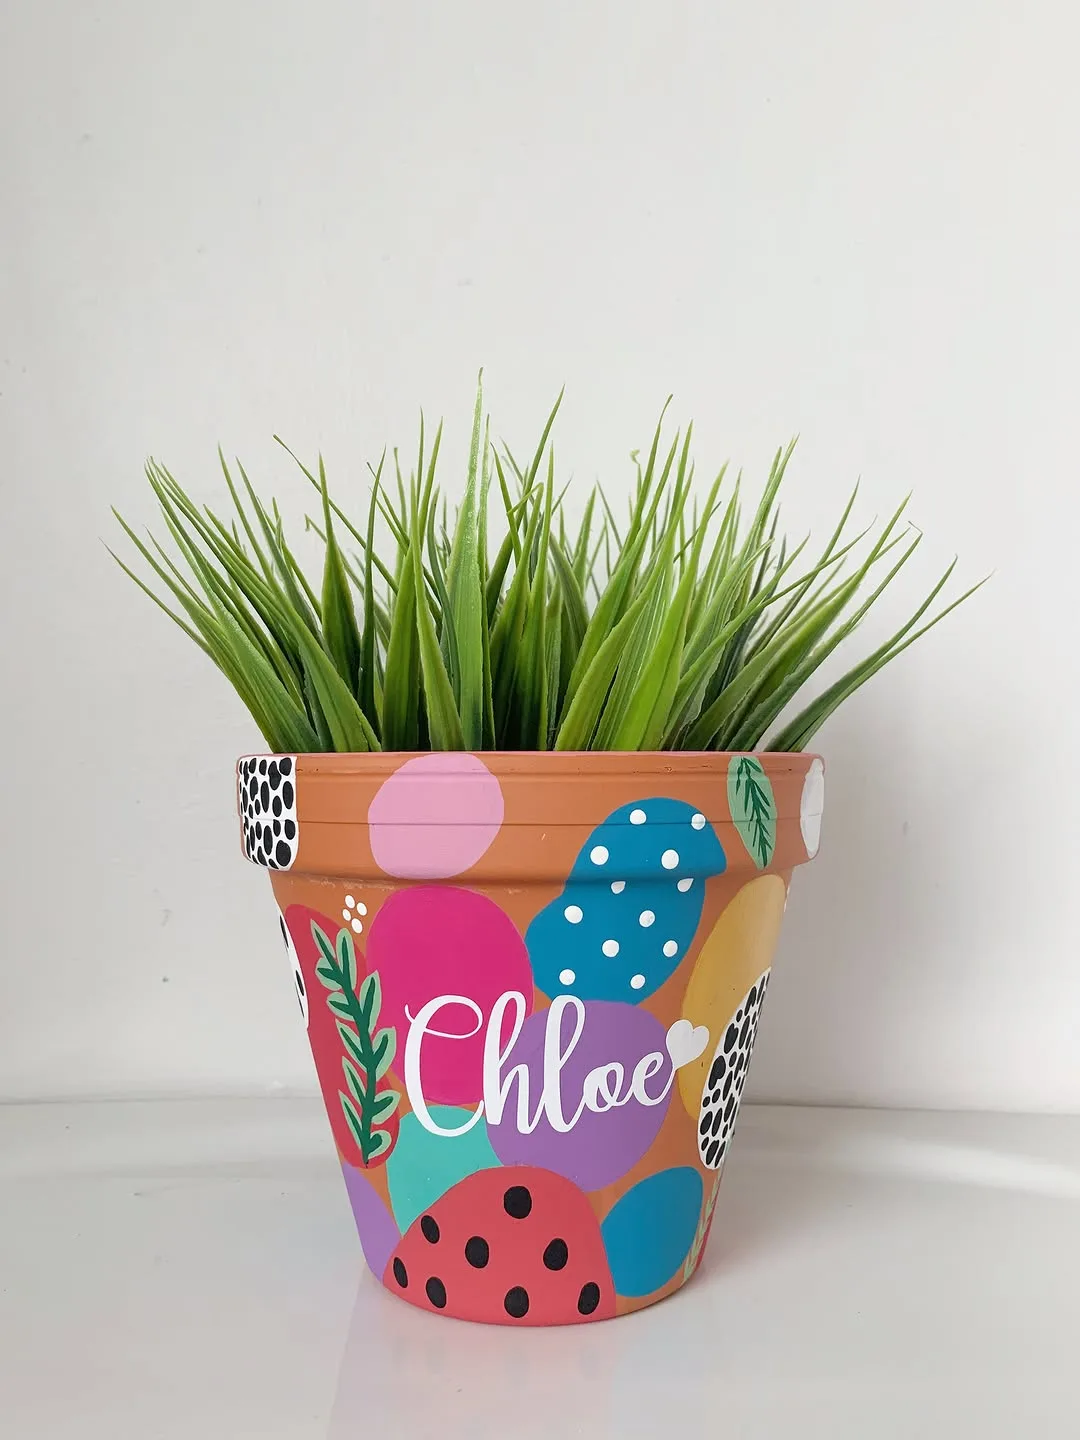
Plain terracotta pots plus paint become planters that double the charm of any plant. Stripes, dots, dipped halves, tiny faces, a child's handprint wrapping the rim: each pot is a small round canvas that forgives everything and sits on a windowsill being admired daily.
Painted pots work for beginners because terracotta is cheap, the surface takes acrylic paint beautifully, and the "canvas" is a gift delivery system: pot plus a small plant is one of the best handmade presents ever devised (see our gift guides across this site).
Paint the outside (and the inner rim), let it dry fully, and seal it if the pot will live outdoors. Group three pots in one color family for the styled look; a single wild pot is a personality statement, and both are correct.
The mistake is painting a dirty or damp pot, because paint peels by spring. Wash, dry in the sun for a day, then paint, and your art will outlast the plant's grandchildren.
Painted Rocks
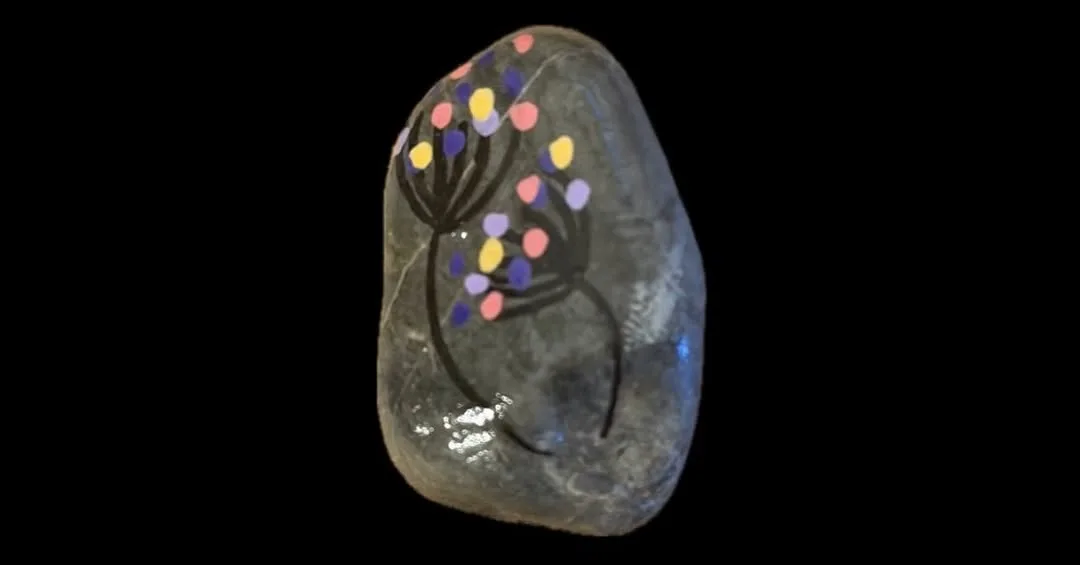
Painted rocks are crafting at its most democratic: find a smooth rock, paint it, a ladybug, a mandala of dots, a tiny house, a word, and place it back into the world: gardens, desks, doorsteps, the famous kindness rock trails where strangers leave painted rocks for strangers to find.
They work because the canvas is free and the scale is kind. Dotting tools (a pencil end, a toothpick) make mandalas that look intricate and are genuinely just dots in rings, the beginner's secret weapon. Acrylic paint or paint pens both work; pens give control that brushes envy.
Painted rocks double as paperweights, garden markers (paint the herb's name), a child's pet, a doorstop with a face. Paint a set of garden markers and you have made the most useful craft in this section. Markers like these show how easy crafts for beginners can serve the garden as well as the shelf.
The mistake is painting unwashed rocks, because dust defeats paint adhesion. Wash, dry fully, paint, and seal outdoor rocks with a clear coat so the weather returns them slowly rather than suddenly.
Simple Canvas Art
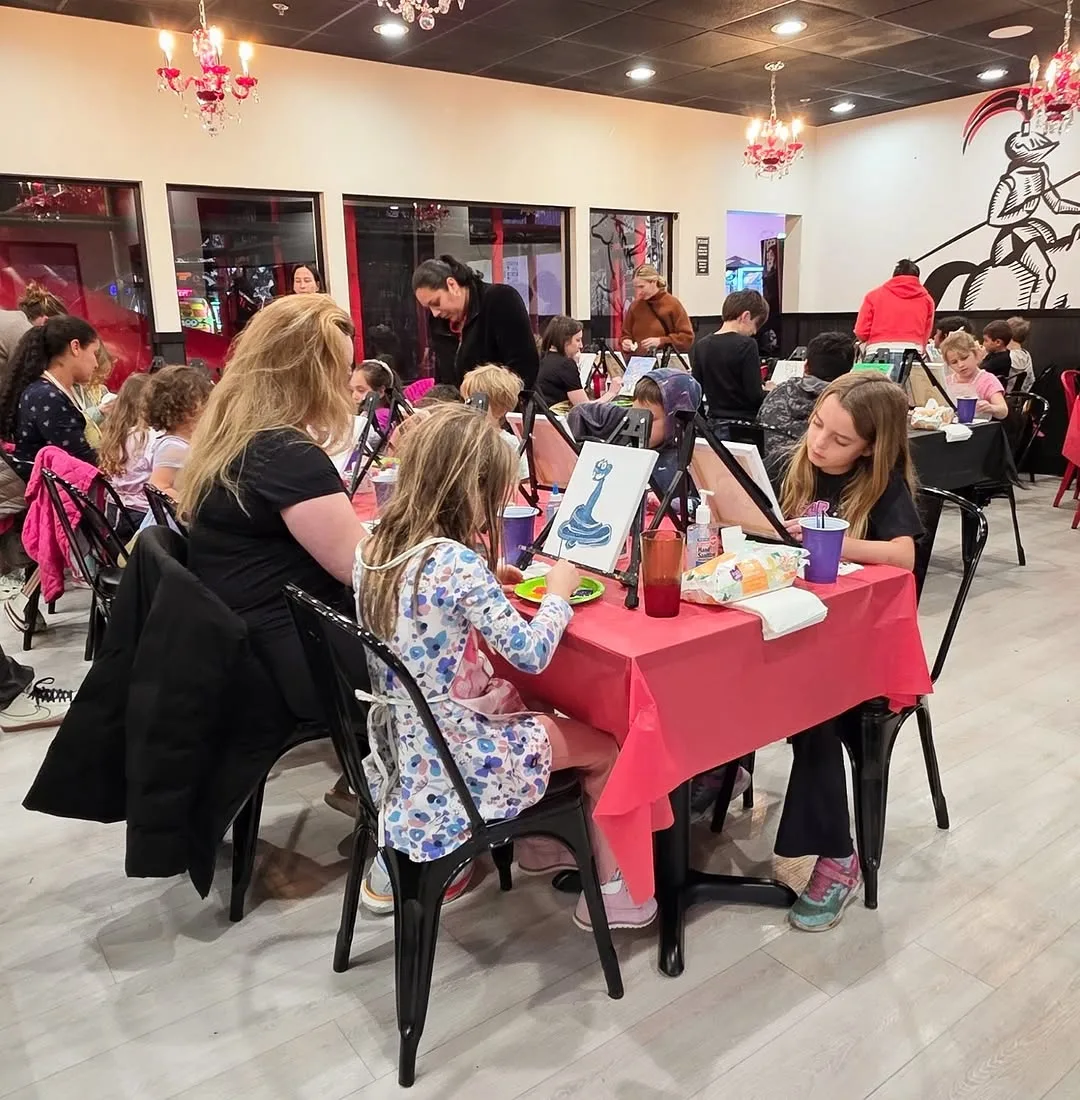
Small canvases, two or three colors, and one simple idea, stripes, dots, a sunset gradient, a silhouette shape over a wash, produce wall art that is genuinely yours. Abstract is the beginner's home ground: there is no wrong in a color field you love.
It works because canvases make everything look "like art." The same dots that are a doodle on paper become a gallery piece on canvas at 8 inches square. Work in odd color trios (two neutrals + one joy color), leave white space, and stop one step earlier than feels finished.
Tape is the beginner's best tool: painter's tape makes stripes and geometric blocks with knife clean edges. Peel it while the paint is just tacky for the crispest lines in your crafting career.
The mistake is muddying, adding color after color until the canvas turns brown grey soup. Decide the palette before the first stroke, mix on a plate, and let layers dry between adventures.
Decorated Jars and Bottles
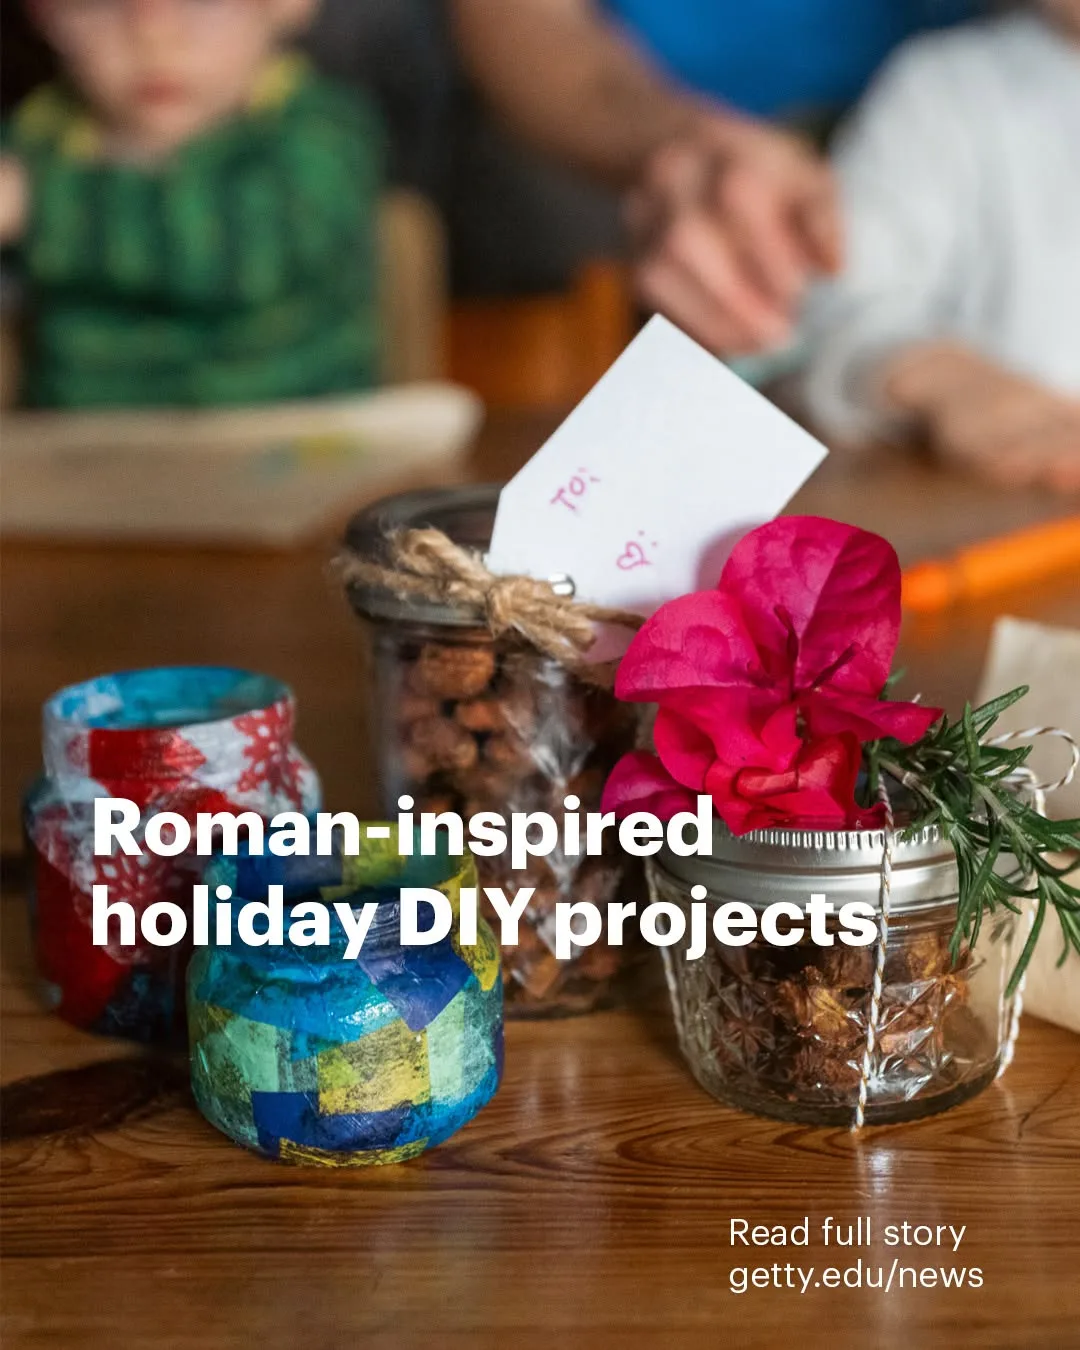
Glass jars and bottles plus paint, twine, lace, or tissue become vases, candle holders, storage, and gifts. Jars are upcycling's greatest hit: the recycling bin is the craft store, and the finished pieces genuinely look boutique.
They work because glass is elegant by default and forgiving in disguise: paint poured inside and swirled coats perfectly; tissue decoupaged outside glows with a candle inside; twine wrapped at the neck makes a jam jar into a rustic vase in ninety seconds. Every other craft in this guide will, at some point, be displayed in a decorated jar.
Make sets: three jars in a color family, one for flowers, one for pens, one for a battery tealight, and a desk or shelf is styled in an evening.
The mistake is paint on surfaces that meet food or drink. Decorate the outside of anything that will hold consumables, and let jars cure before they work near water.
Beaded Keychains and Bookmarks
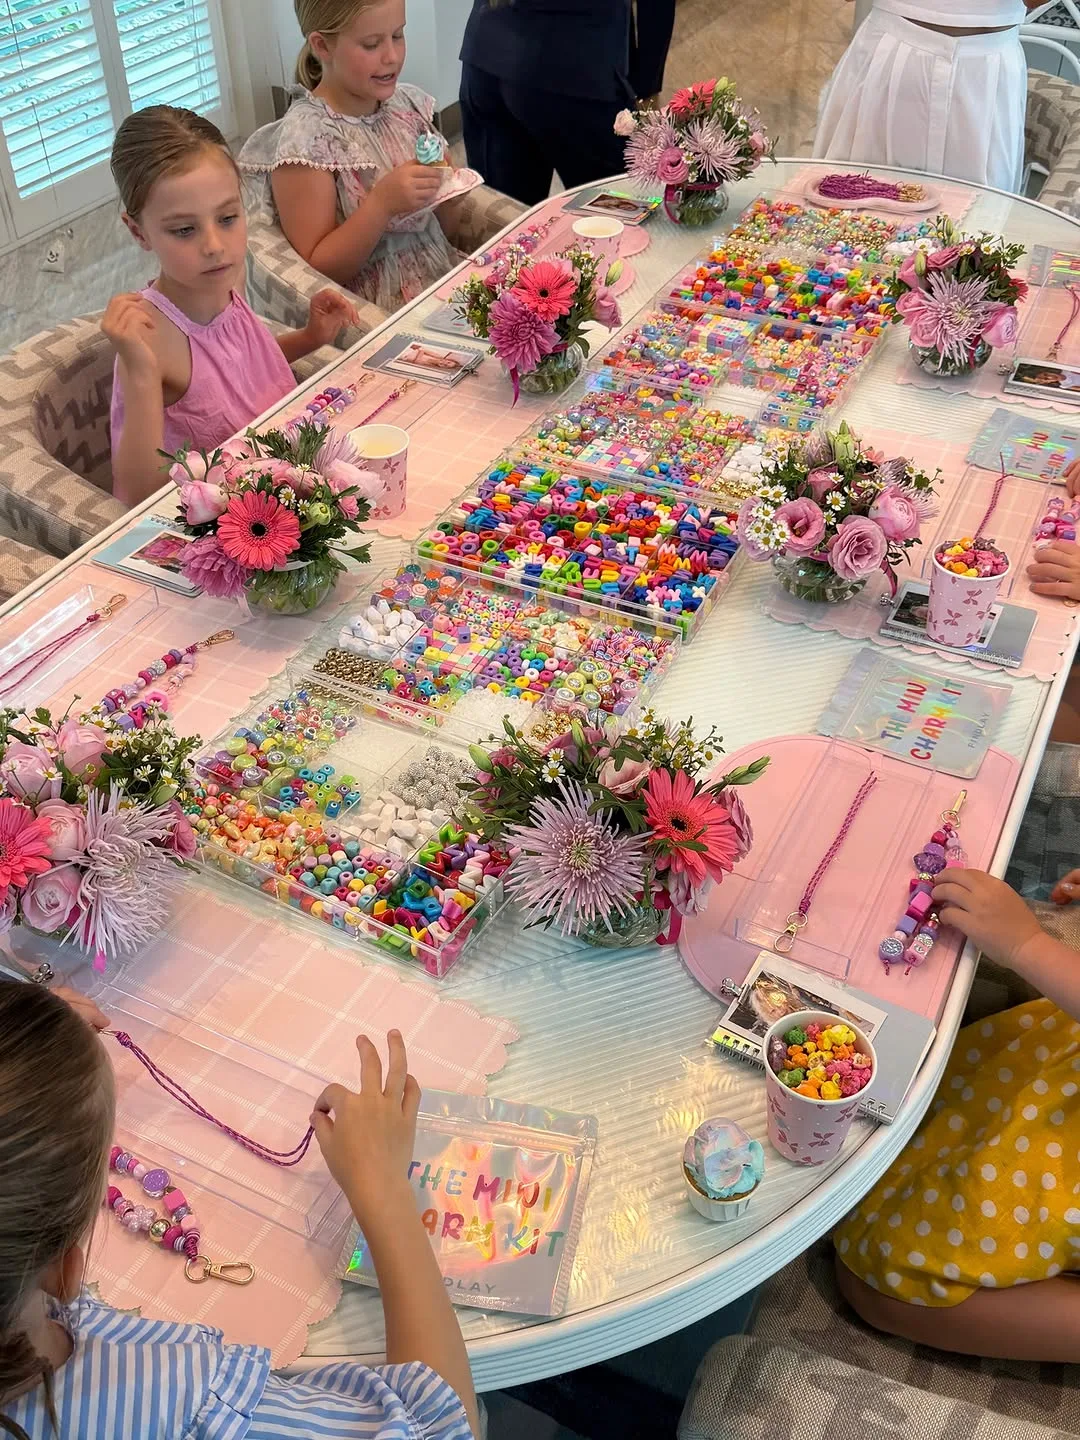
Beads on a cord or wire, finished with a clasp or tassel, become keychains and bookmarks that look like market stall buys. Beading is arranging more than making: the skill is choosing a pattern (a color rhythm, one special bead as the star) and crimping the ends neatly.
They work for beginners because the feedback is instant and the materials are joyful: a bowl of beads is a toy box for grown ups. Make keychains for gifts, bookmarks for readers, and matching sets in party colors for favors, and beading batches beautifully in front of a film.
You need beads with holes big enough for your cord (the number one beginner mismatch), cord or elastic, and simple findings. Buy one mixed bead box to start; collections grow by single beautiful tubes thereafter.
The mistake is knots that slip. Use the right knot for the cord (surgeon's knot for elastic), a dab of glue on the knot, and a firm tug test before the tassel goes on.
Salt Dough Ornaments and Tags
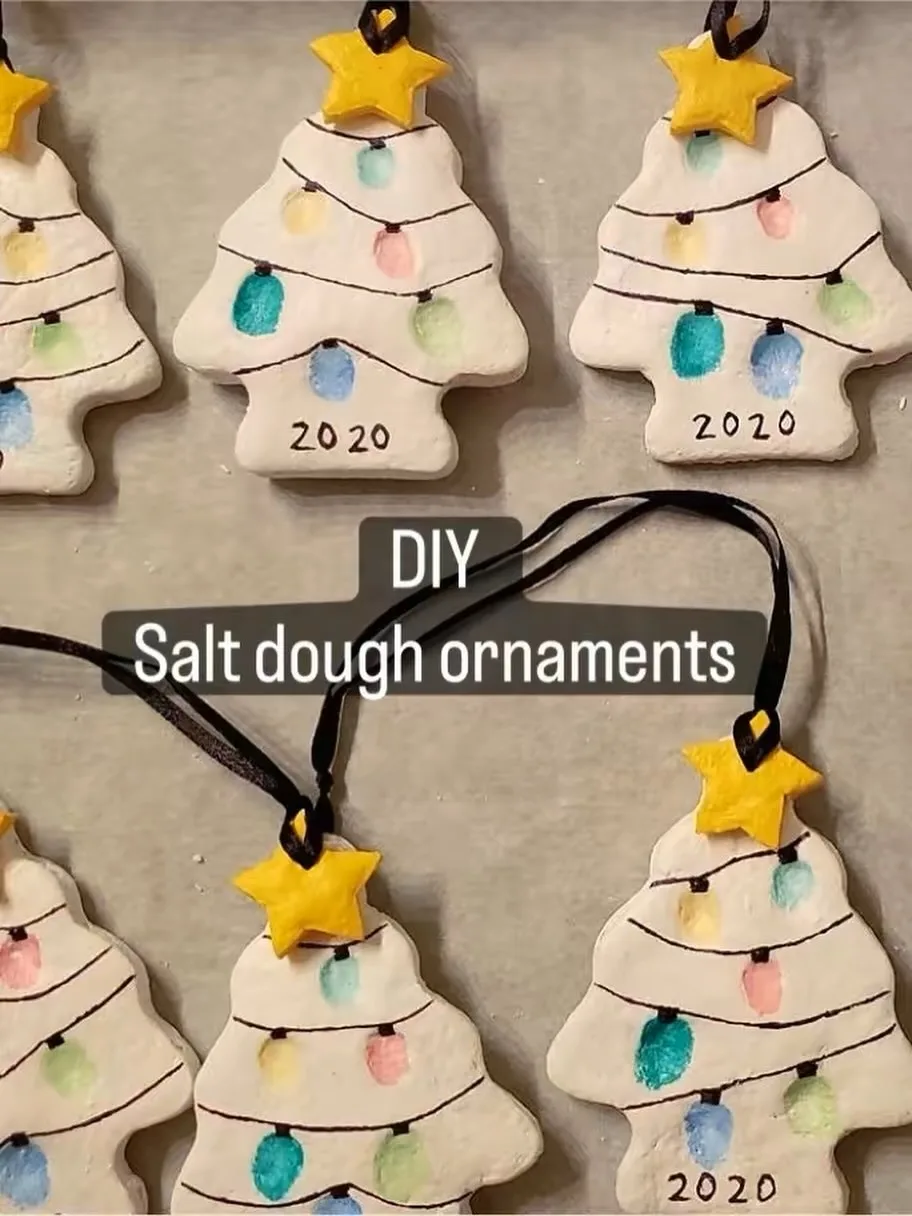
Salt dough, just flour, salt, and water, rolls, cuts, and bakes into ornaments, gift tags, garlands, and keepsakes that cost pennies and last for years when kept dry. It is the family craft of December and the beginner's friend in every season.
It works because it behaves like the friendliest clay: roll it, cut shapes with biscuit cutters, stamp texture or a name, poke a hole, bake low and slow until hard. Paint after baking, or leave natural with a stamped design for the farmhouse look. Handprint ornaments and tags are heirlooms in the making.
Tags are the year round version: a salt dough tag with a name stamped in, tied to a gift or a jar, turns wrapping into a keepsake the recipient keeps after the gift is gone.
The mistake is impatience with drying, because dough soft in the middle molds in storage. Bake until truly hard, cool completely, and store finished pieces dry with tissue between them.
Common Mistakes to Avoid as a Beginner Crafter
Beginners often fall into buying the whole craft store first. Beginners shop like they're opening a business: kits, tools, storage systems, all before finishing a single project. Buy only what your ONE chosen craft needs. Every finished project then funds, justifies, and directs the next small purchase. A crafter is built by finishing, not by stocking.
Choosing a first project that is too big is the second mistake. The bedspread, the dress, the 500 piece garland: scale is where beginner enthusiasm goes to die. Every craft in this guide finishes in an afternoon or less on purpose: early finishes are the fuel of the whole hobby. Graduate to big projects with a stack of small victories under you.
Comparing your first attempt to someone's five hundredth attempt is the third mistake. The photograph that inspired you was made by hands with years of reps, styled, lit, and selected from thirty attempts. Your first painted pot is being compared to a highlight reel, so compare it instead to the empty shelf it replaced, and it wins.
Next comes hiding the mistakes instead of learning their names. Every craft has three classic errors, and this guide names them per project because a named mistake is a fixable one. Keep your first attempts, because in a year, they will be your favorite objects in the house, proof of the distance traveled.
Finally, beware of crafting only for occasions. If making only happens under deadline (the party, the gift, Christmas), making stays stressful. The crafts in this list are sized for ordinary Tuesdays: one small thing, finished, on a normal evening. That is where the hobby actually lives.
Budget Friendly Beginner Craft Ideas
Crafting has a reputation for expensive supplies because craft stores are designed to sell systems. Resist beautifully. The beginner crafts in this guide run on the cheapest materials in the world: paper, flour and salt, yarn by the single ball, jars from recycling, rocks from the garden, fleece by the remnant, beads by the one mixed box.
Set a tiny monthly craft budget, genuinely tiny, and let it discipline your choices: one project, fully supplied, finished. A small budget exercised monthly beats a large one spent once in a January enthusiasm and abandoned by March.
Build your basic kit slowly, from finished projects outward: scissors that cut well, a glue that suits paper and fabric, a ruler, a craft knife, basic acrylics in five colors, a brush set. Each project leaves one tool behind in the drawer; in a year the drawer is a craft cupboard that cost almost nothing at any single moment.
Finally, raid before you buy: the scrap fabric box, the wrapping paper roll ends, the button jar, the garden. Half the crafts in this guide are designed to consume what households already throw away.
Beginner Craft Tips for First Projects That Look Good
Choose one palette per project. Two or three colors that agree make beginner work look designed; every color you own makes it look like a first attempt, even when the skill is identical.
Finish edges. Trim threads, smooth glue strings, cut tags cleanly. Ninety percent of "handmade vs. homemade" lives in the edges.
Make multiples. The third card, pom pom, or rock is visibly better than the first. Craft in small batches and keep the best; professionals do exactly this and call it "editing."
Work bigger than feels natural. Garland shapes, letters, flowers: slightly larger scale is easier to make neatly and looks more confident on display.
Photograph your makes. A photo finds the wobble your eyes forgive, and a growing gallery of finished things is the best motivation ever invented.
Keep a "firsts" box. Your first of everything, kept. Future you will not believe how far the hands have come.
FAQ
What is the absolute easiest craft to start with?
Painted rocks and paper garlands tie for first place: free or penny supplies, no way to fail, finished within the hour, and good looking immediately. If you want a useful object, start with a decorated jar; if you want a gift, start with a handmade card.
How much money do I need to start crafting?
Very little, just one project at a time. A first garland or card session can run on paper, scissors, and glue you may already own. Most crafts in this guide need under the cost of a takeaway coffee in supplies, and several (rocks, jars, salt dough) are effectively free.
What basic supplies should every beginner own?
Good scissors, a ruler, a pencil, craft glue and a glue stick, acrylic paints in a few colors with brushes, card and paper in white and kraft, twine, and a small box to keep it in. Everything else can arrive project by project, as your interests declare themselves.
I am not artistic, so can I really craft?
Yes, crafting is mostly following steps and choosing colors, not drawing freehand. Templates, cutters, stamps, tape resist, and dotting tools exist precisely to carry the "artistic" part. Several crafts here (fleece blankets, pom poms, yarn wrapping, beading) involve no drawing at all.
What crafts can I do with my children?
Painted rocks, salt dough, paper garlands and flowers, pom poms, friendship bracelets (older children), decorated jars, and card making all suit family crafting. Choose by the child's patience span: a finished small thing in twenty minutes beats a masterpiece abandoned at hour two.
How do I get better at crafting?
Finish things, in batches, and keep your firsts to measure against. Skill in crafting is repetition with attention: the tenth pom pom, the fifth blanket, the twentieth card. Short projects finished often will teach your hands more in a month than one epic project finished in a year.
Conclusion
You do not need talent, a studio, or a cupboard of supplies to be a crafter. You need one small project, finished, and then, encouraged by how it looks on the shelf, another. Fifteen crafts deep, from a ten minute painted rock to a blanket that will be fought over for a decade, there is a starting point in this guide matched to your supplies, your patience, and your Tuesday evening. Start with any one of these easy crafts for beginners tonight, and the rest of the list will feel closer than it did this morning.
So choose the one that made you smile, gather its handful of supplies, and make the first, wobbles and all. Then make it again, slightly better. That is the entire secret, and it has been the entire secret behind every beautiful handmade home you have ever admired: somebody started, and then they kept going.
Your first finished craft is waiting. It is smaller, cheaper, and closer than you think.