How to Sew a Simple Christmas Stocking
Sewing your own Christmas stocking gives the mantel a warm handmade touch that shop versions rarely match. You choose the fabric, the size, and the name style, and you can match each stocking to the person who will open it. Beginners often worry about the curved toe and the lining, yet the project uses straight stitching, gentle curves, and simple pressing. One careful afternoon gives you a stocking that can return every December.
Beginners can sew a christmas stocking with confidence when they break the job into small calm stages. Choose sturdy fabric first, draw a clear paper pattern, cut slowly, and sew the curve in short sections. Keep your seam guide steady and press each stage before you move on. Good preparation does most of the work, and the sewing machine only has to follow the path you have already made clear.
Inside this guide you will find fabric advice, a sensible pattern size, cutting help, cuff and lining guidance, and a strong loop method. You will also find simple ways to add names, fill the finished stocking without strain, and store it well after the holiday. Read the whole sequence before you cut anything, gather your tools on one table, and give yourself quiet time to enjoy the process.
How do I sew a Christmas stocking as a beginner?
You can sew a christmas stocking as a beginner by making two stocking shapes, joining them with a curved seam, adding a simple lining, folding a contrast cuff over the top, and stitching a loop into the top corner. Most adults finish one stocking in about two hours, and confident beginners often work faster on the second one. Start with cotton fabric and a classic shape, and save fancy fabrics for later.
Plan the project in three sittings if your time feels tight. Draw and cut the paper pattern first, then cut fabric and lining during a second short session, then sew and finish in one focused hour. Working in stages keeps the table clear and helps you spot mistakes early. Keep pins, scissors, thread, an iron, and a seam ripper nearby so you never hunt for tools with fabric in your hands.
Fabric choices that hold a stocking shape
Cotton quilting fabric works beautifully for a first stocking because it cuts cleanly, presses sharply, and feeds through the machine without sliding. Medium weight cotton holds gifts without sagging, and a small print hides tiny stitching wobbles. Canvas and denim also hold shape well, though thicker cloth needs a fresh needle and slower sewing. Choose one main fabric, one lining fabric, and one contrast fabric for the cuff.
Choose fabric with a stable weave and avoid stretchy knits for your first attempt. Stretch fabric pulls during sewing and can make one side longer than the other. Silk, satin, and loose weave linen can fray or slip, so beginners should leave them for a later project. Wash and press cotton before cutting if you plan to wash the finished stocking, because shrinking after sewing can twist the seams. Measure twice when you sew a christmas stocking from washed fabric, because calm measuring prevents uneven pieces.
Avoid very thick layers at the top edge, because the cuff and loop add bulk in one small area. Thick fleece, heavy upholstery cloth, and stiff interfacing stacked together can strain a home machine. Pick one firm fabric and keep the lining light. Cotton lawn, plain cotton, or clean old sheeting makes a smooth lining that slides inside the outer stocking without adding a hard ridge under the cuff.
Paper pattern in the right size
Paper patterns save fabric and give both sides the same shape. Draw one stocking outline on large paper, then cut the paper shape and check it against a stocking you already own if you have one. One generous beginner size measures about twenty centimetres across the top, about twenty eight centimetres from the top to the heel, and about twenty two centimetres along the foot from heel to toe.
Standard gift sizes fit well inside that outline, including small books, socks, sweets, fruit, and rolled paper gifts. Make the top opening wide enough for your hand, because narrow openings annoy everyone on Christmas morning. Keep the leg fairly straight and give the toe a round friendly curve. Sharp corners look smart on paper, yet round toes turn more smoothly and sit better after pressing.
Mark the top edge, the heel side, and the toe direction on the paper before you place it on fabric. Write the words seam allowance near the edge if you plan to add it while cutting, or draw the allowance into the pattern itself. Beginners usually do better when the pattern includes one centimetre of seam allowance all around, because the drawn line then becomes the cutting line and the stitching line stays one centimetre inside.
Cutting two matching stocking pieces
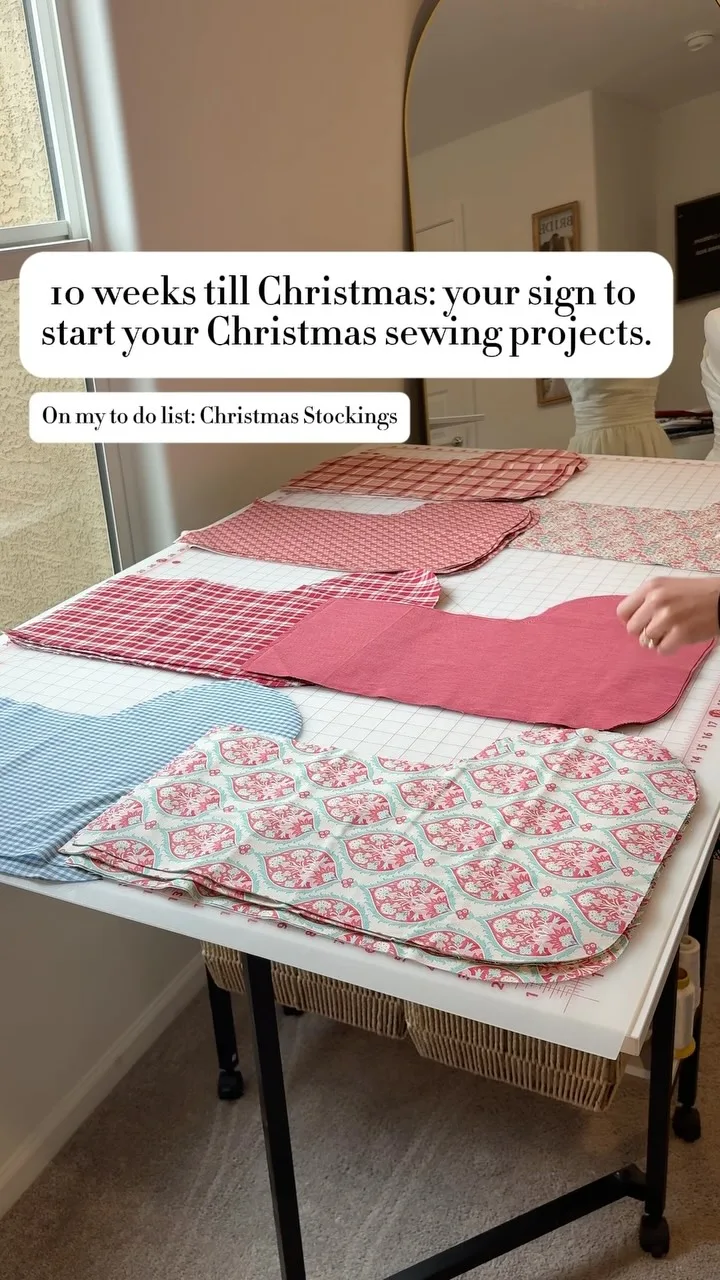
Lay your main fabric flat with the printed side facing up, smooth it with your hands, and press out every crease. Fold the fabric with right sides together when you want two mirror pieces from one cut, then pin the paper pattern through both layers. Place the top edge of the pattern along a straight grain line if you can, because a straight top edge hangs neatly and resists stretching.
Cut slowly with sharp fabric scissors and keep the lower blade sliding along the table. Long cuts give smoother curves than many small snips. Cut two outer pieces, two lining pieces, and then set them in separate piles so you never mix the sets. Label the lining pile with a small chalk mark on the wrong side. Careful cutting here prevents twisted seams and uneven toes later.
Keep the paper pattern whole after cutting, because you will use it again for the lining and for future stockings. Check both outer pieces against each other before sewing, holding them up together at the top edge and toe. Trim only stray threads and tiny bumps. Large corrections at this stage usually mean one piece moved during cutting, so return to the paper pattern and cut a fresh piece if the mismatch looks obvious.
Contrast cuff for a finished top
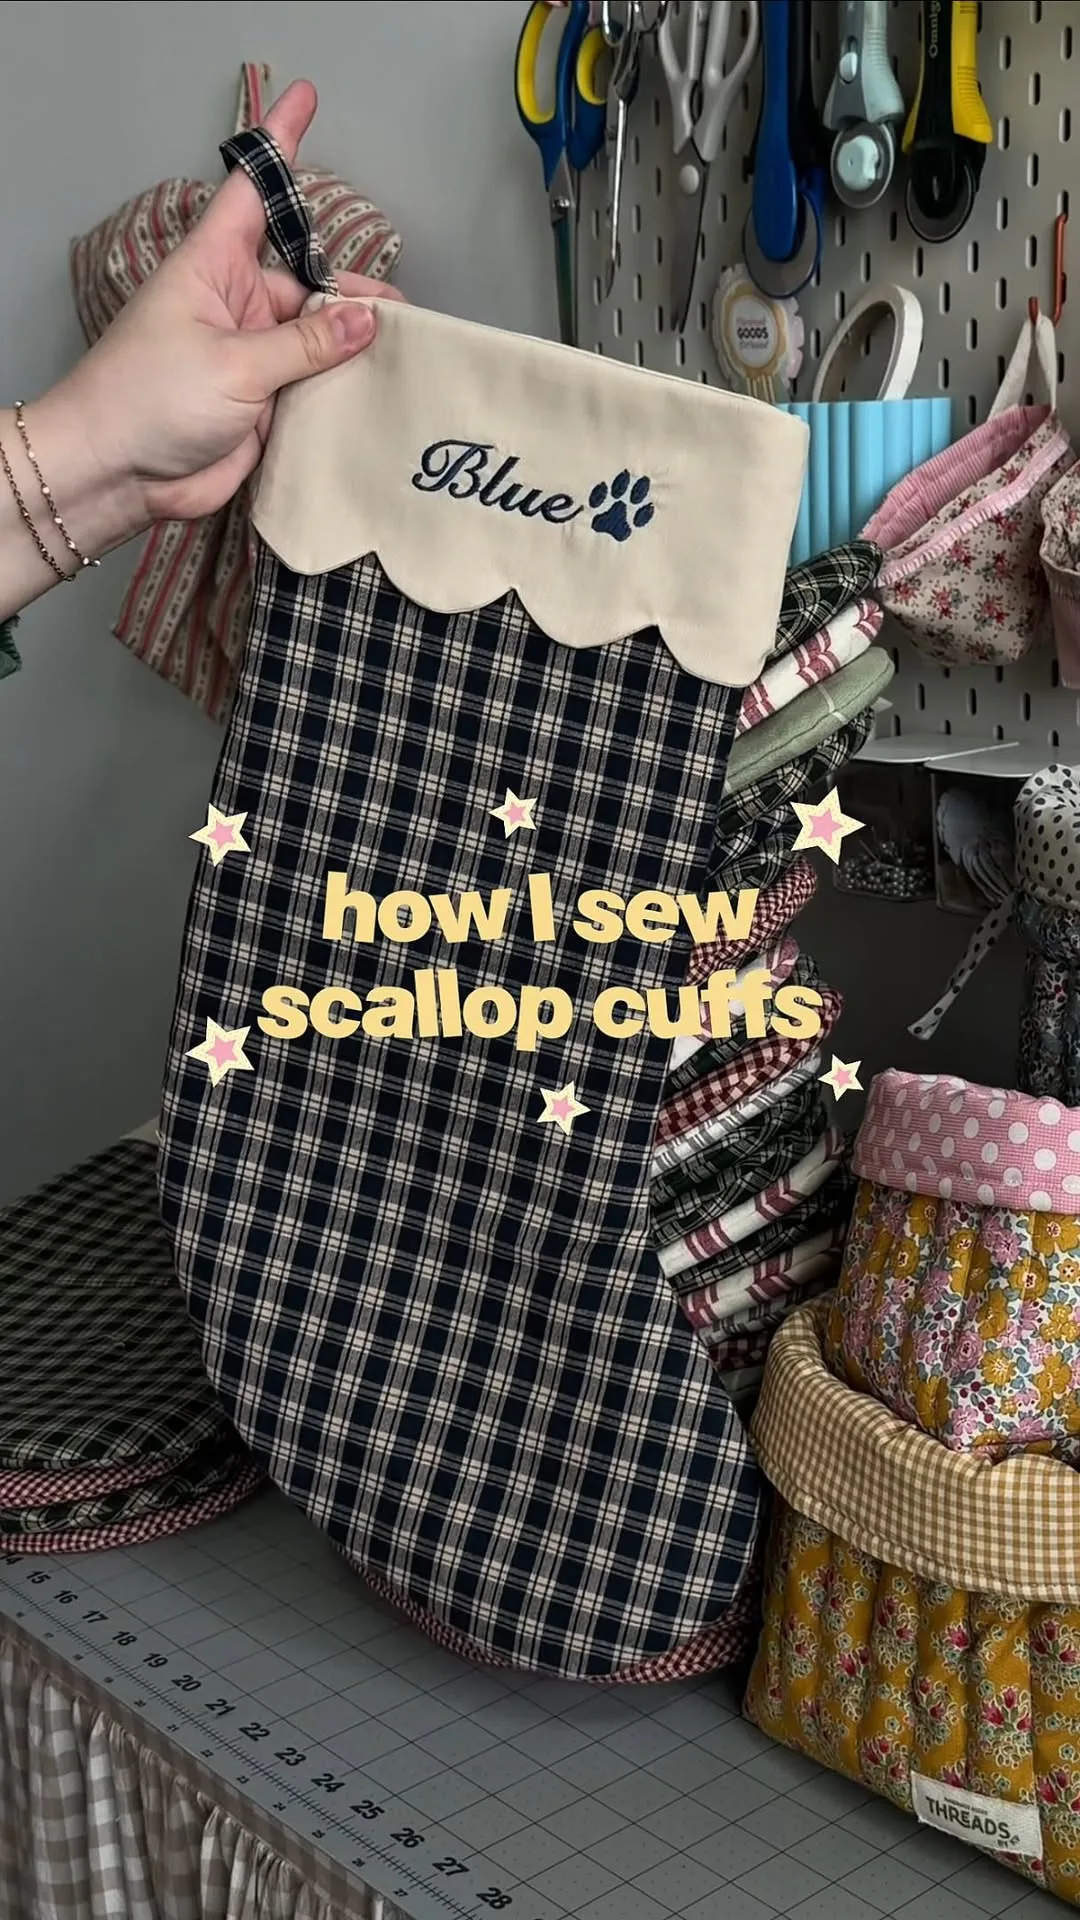
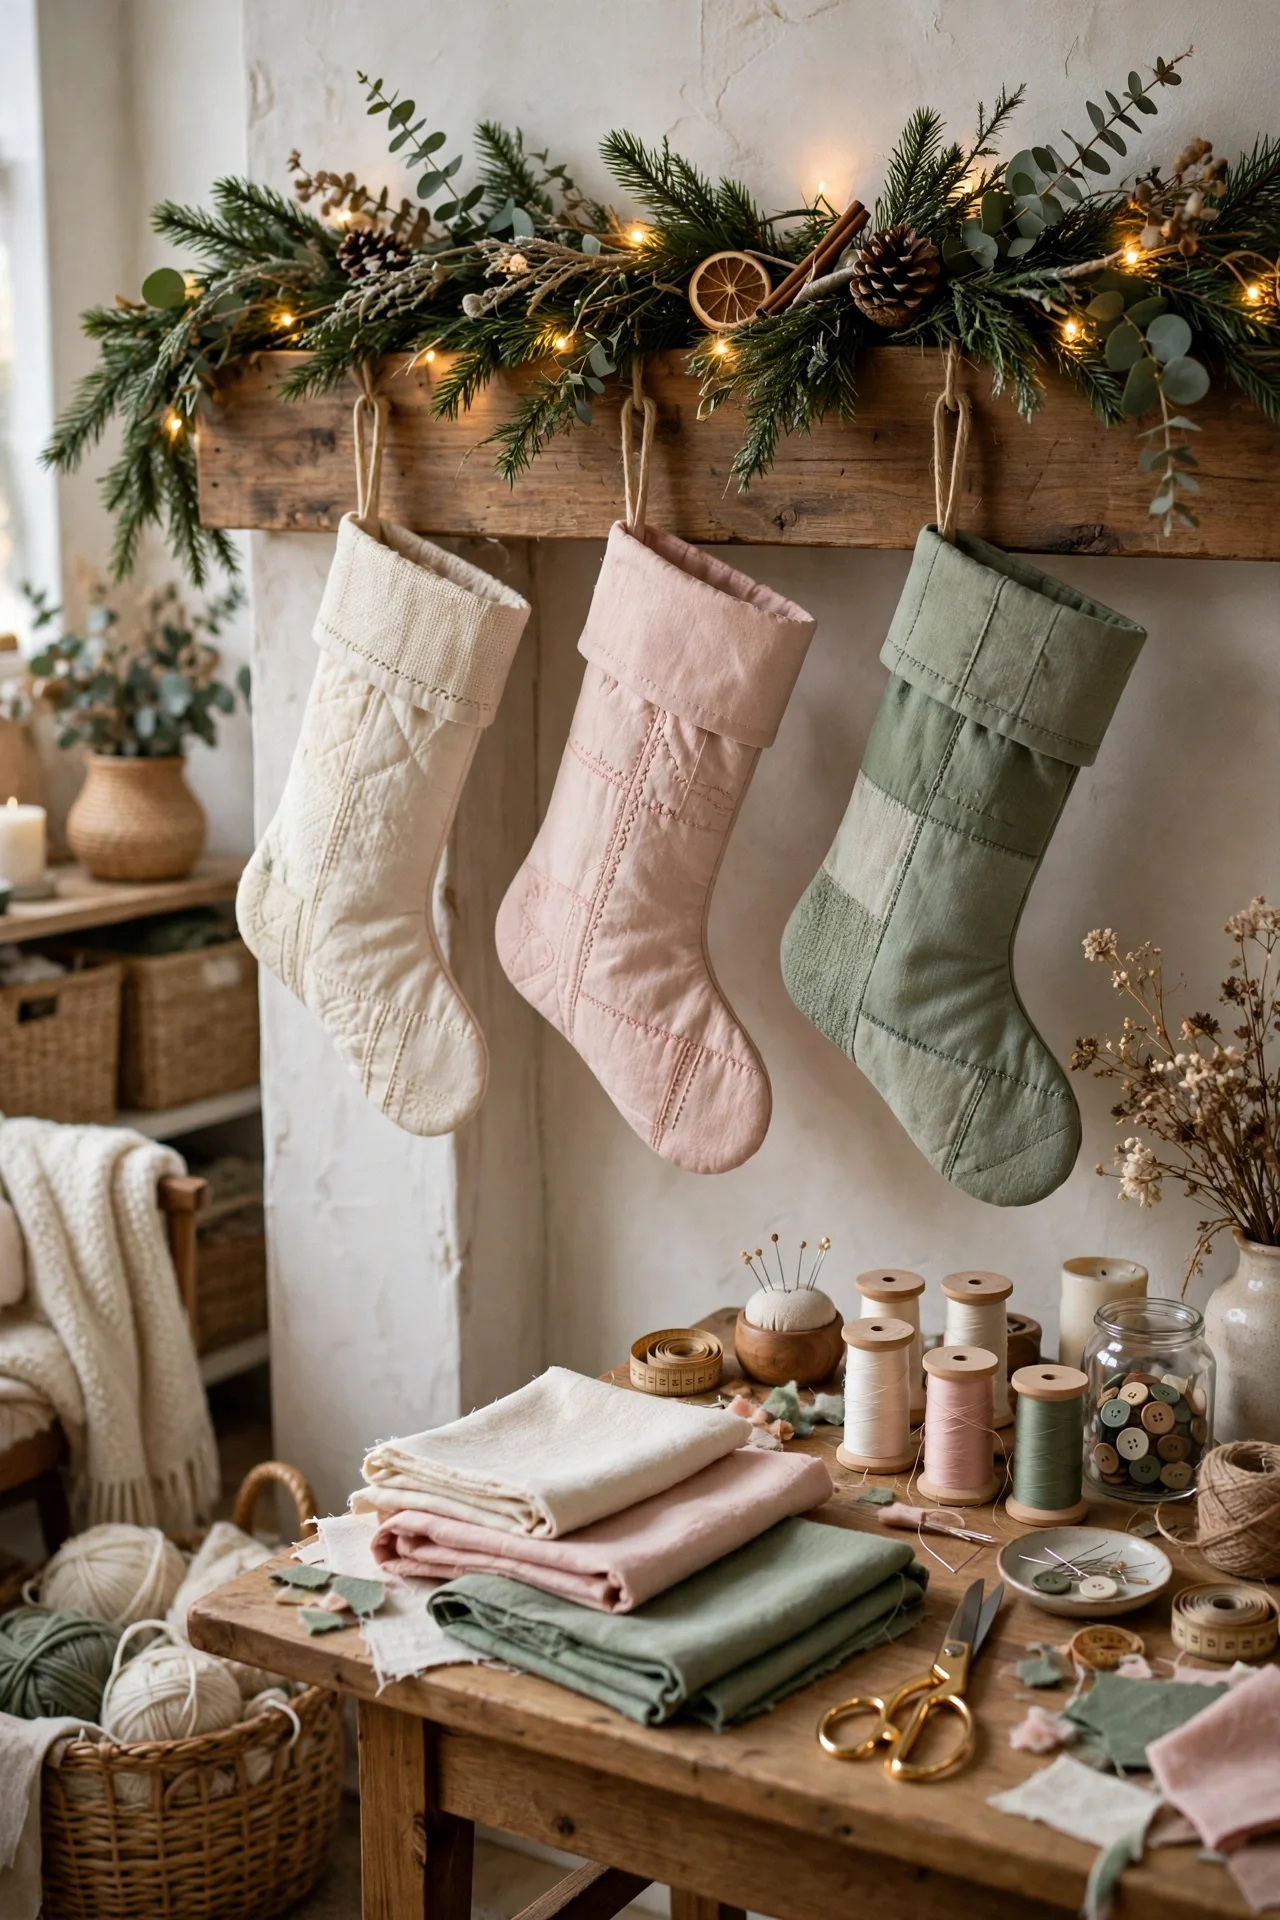
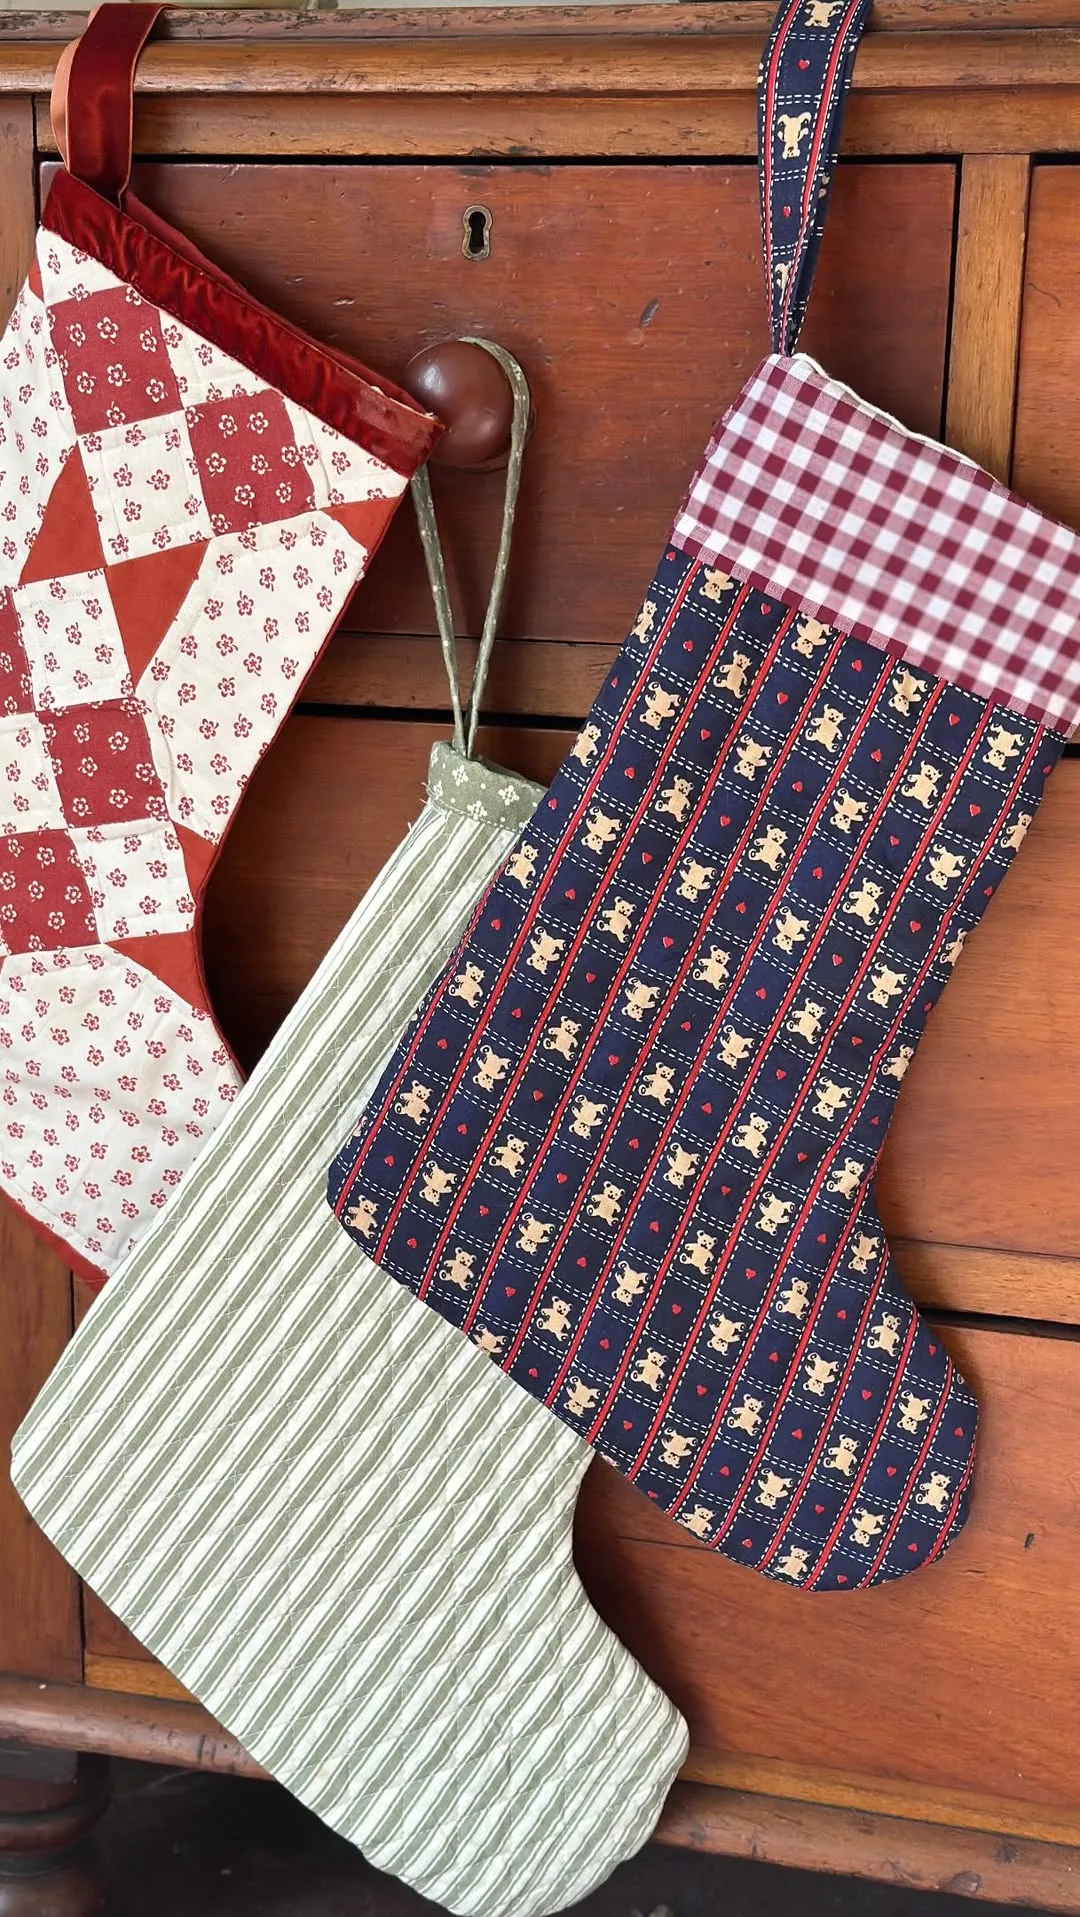
Contrast cuffs give a stocking its classic Christmas look and hide the raw top edges of the outer fabric and lining. Choose a cuff fabric that picks out one colour from the main print, or use a calm plain colour beside a busy pattern. Cut one cuff piece about forty two centimetres wide and about twenty centimetres deep, then fold it in half lengthways with wrong sides together and press the fold.
Cut the cuff slightly wider than the top opening so it wraps around the finished stocking with a small overlap at the back seam. Beginners often find a plain cuff easier to manage than a patterned one, because no motif needs matching at the join. Velvet looks rich but can slip under the presser foot, while cotton stays obedient. Keep the cuff simple for a first stocking and let colour do the decorating.
Press the cuff fold firmly and set the cuff aside until the outer stocking and lining are ready. Pressing now gives the top edge a crisp line later, when several layers meet and the iron has less room to work. Check the cuff width against the stocking top one more time. Trim only if the cuff extends far beyond the overlap, because a tiny extra length feels safer than a cuff that pulls short.
Sewing the curved seam with care
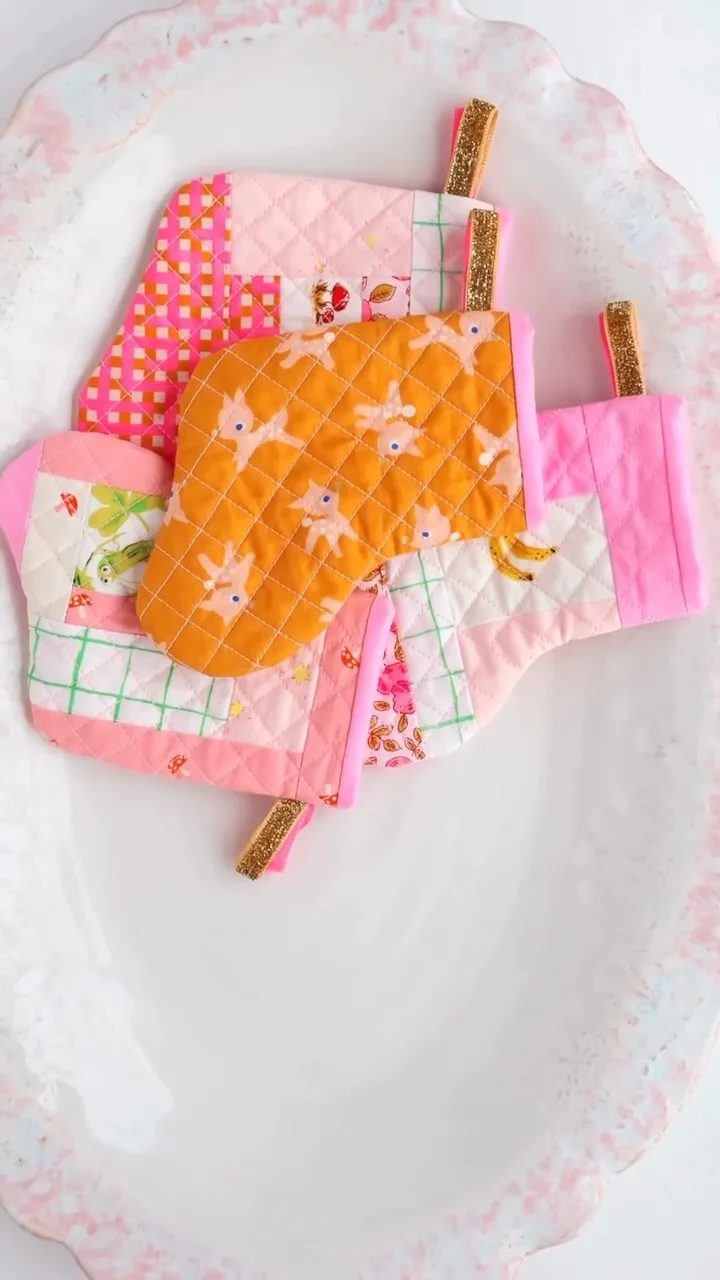
Stitching the outer pieces is the heart of the project, and patience matters more than speed when you sew a christmas stocking with a rounded toe. Place the two outer pieces with right sides together, match the top edges and toe, and pin from the top down one side, around the foot, and up the other side. Leave the whole top edge open. Sew with a one centimetre seam allowance and a medium stitch length.
Use the edge of the presser foot or a marked tape line as your guide, and sew the long sides first at a steady pace. Slow down before the heel and toe curves. Stop with the needle down, lift the presser foot, turn the fabric a little, lower the foot, and sew the next short section. Repeating this calm turn keeps the curve smooth and prevents sharp points where you changed direction too quickly.
Leave strong thread tails at the start and finish, and secure them with a few reverse stitches if your machine has that control. Check the seam from the wrong side before you trim anything. Look for puckers, gaps, and places where the two layers drifted apart. Small faults near the top will hide under the cuff, yet faults around the toe need fixing now, because the toe shows its shape as soon as you turn the stocking.
Clipping curves so the toe sits smooth
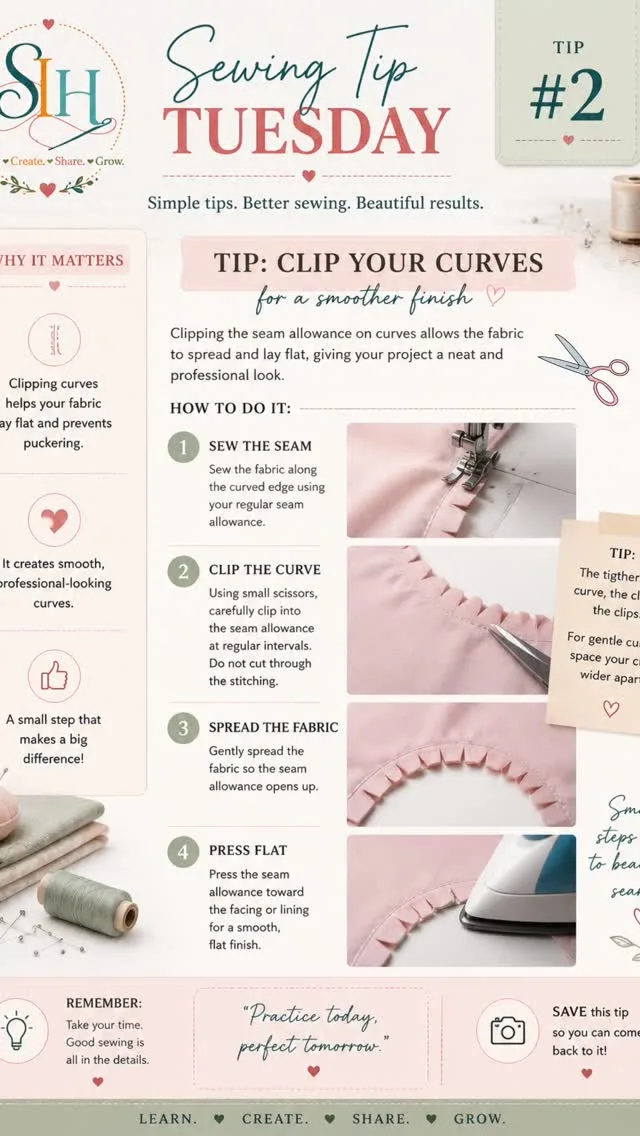
Clipping the seam allowance lets the curved toe open out without bumps after turning. Use small sharp scissors and cut tiny notches into the seam allowance around the toe and heel curves. Keep each cut close to the stitching line without touching the stitches. Space the notches evenly, about one centimetre apart on tight curves and a little wider on gentle curves.
Small cuts work better than deep cuts, because deep cuts weaken the seam and can open small holes when gifts press against the toe. Work slowly and hold the fabric near a good light. Beginners should clip the outer stocking first, then repeat the same careful clipping on the lining. Stop and check after every few cuts, and never rush this quiet stage just because the sewing feels finished.
Never clip across the stitching line, and never trim the seam allowance too narrow on fabric that frays. Cotton with a loose weave needs a little more allowance left in place. If you snip one stitch by accident, sew a short repair line just inside the damaged spot before turning. Catching that small problem now protects the toe when a heavy orange or a boxed gift presses into the curve later.
Turning the stocking and pressing seams
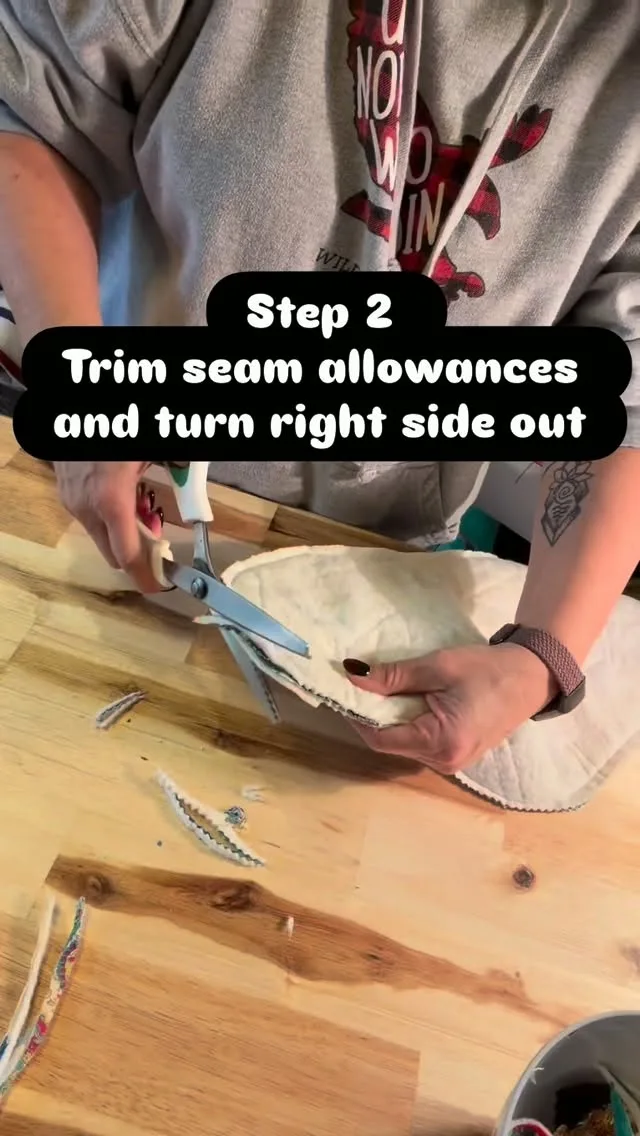
Turning the stocking right side out reveals whether your cutting and stitching stayed true. Reach through the open top, grasp the toe gently, and pull the fabric through in small movements. Avoid yanking one corner, because a hard pull can strain the curved seam. Ease the heel out next, then smooth the leg with your fingers until the whole shape sits flat on the table.
Push the toe and heel into shape with a blunt tool such as a chopstick, a pencil with a rounded end, or the handle of a wooden spoon. Work the tool along the seam from inside, using gentle pressure rather than force. Roll the seam between your fingers so the stitching sits right on the edge. Careful shaping at this stage makes a simple stocking look neat and well made.
Press the turned stocking on a medium heat setting that suits your fabric, using a cloth over prints if the surface looks delicate. Press one side, then the other, and pay special attention to the toe curve and the top edge. Keep the opening unpressed at the very top if layers will still move during lining and cuff work. One final press comes later, after the cuff sits in place and the loop is secure.
Strong hanging loop at the top corner
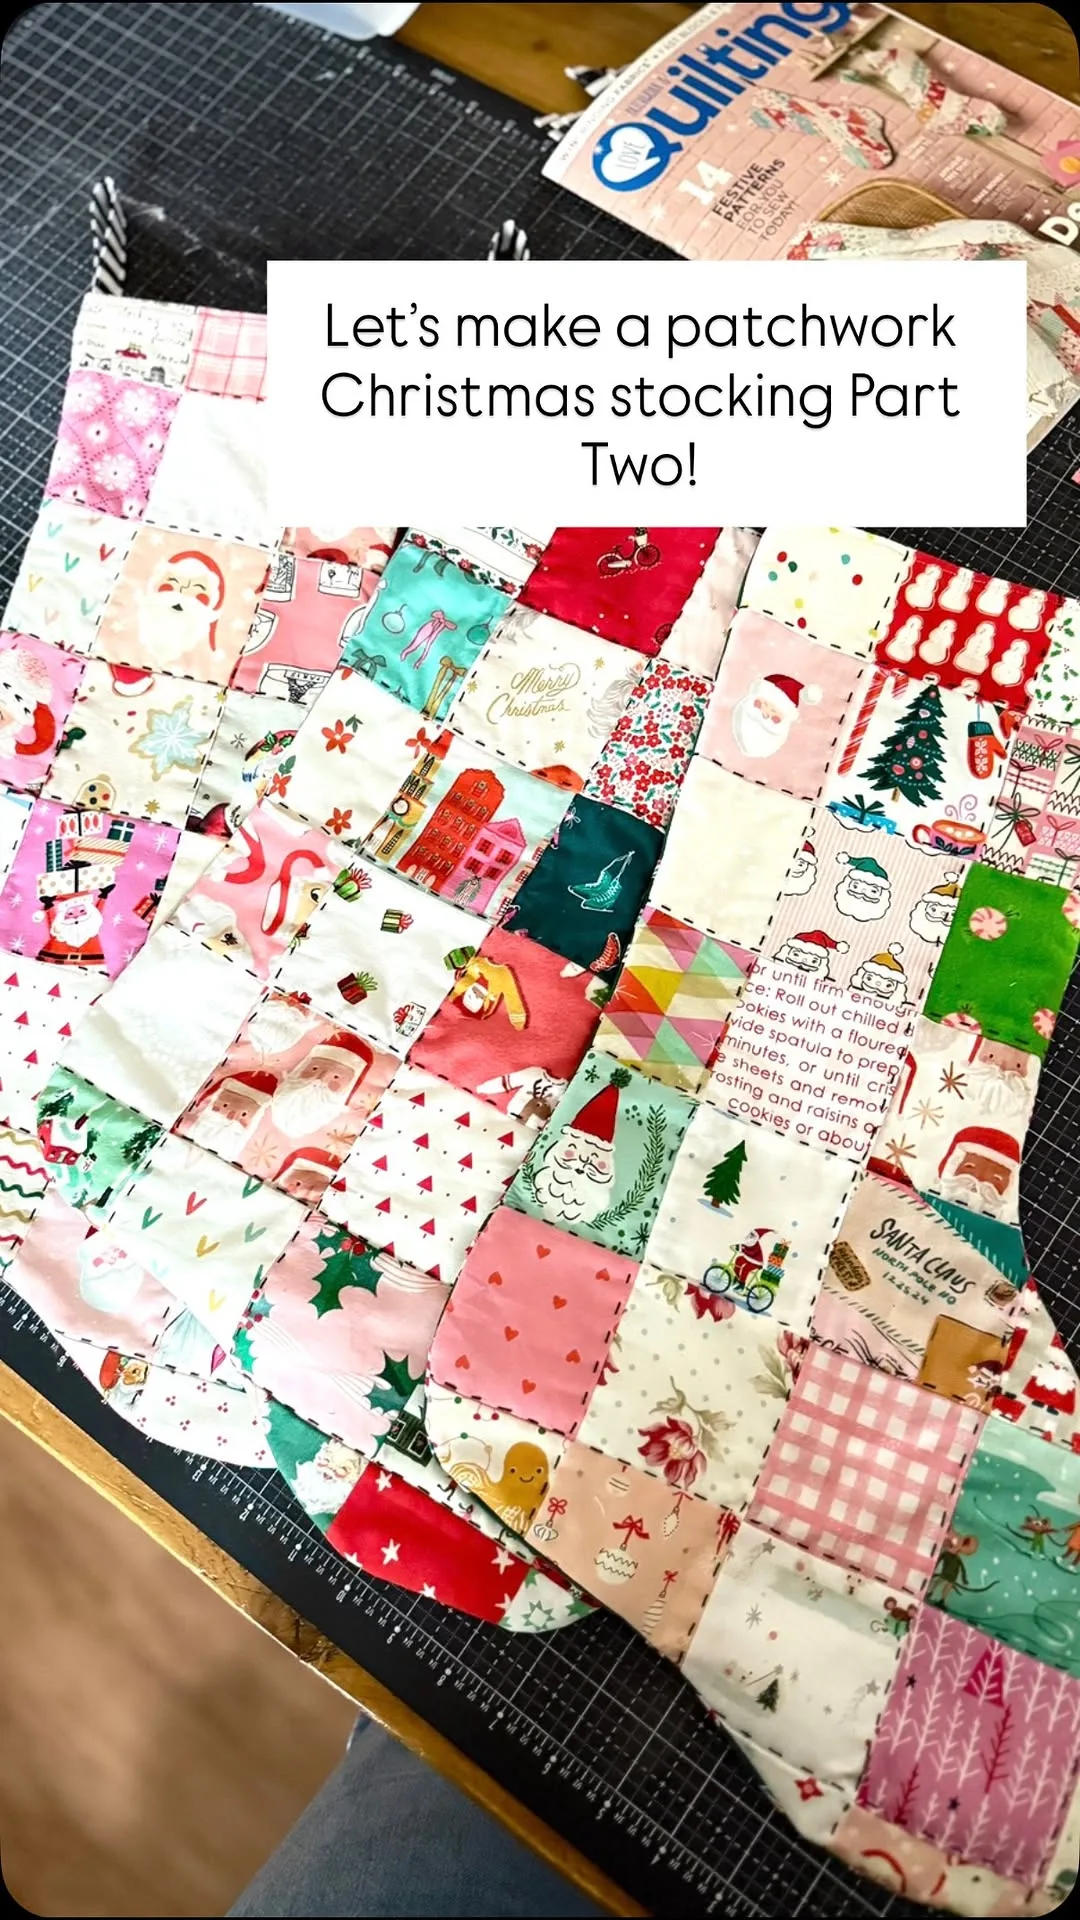
Fold a strip of cuff fabric or main fabric about five centimetres wide and about eighteen centimetres long, press the long edges toward the centre, then fold the strip in half and stitch along the open edge. You now have a firm loop strap. Fold the strap into a loop, match the raw ends, and pin those ends at the top corner of the stocking on the heel side.
Place the loop so it points downward into the stocking before the cuff goes on, because the cuff stitching will catch the ends and the loop will fold upward for hanging. Many makers sew a christmas stocking loop too close to the edge, so centre the strap ends on the seam line and stitch across them twice. Strong loop placement matters, since one weak corner carries the full weight of the filled stocking.
Test the loop by hanging the empty stocking from a hook and giving it one gentle tug. Watch the top corner for strain or twisting. Add a small square of extra stitching over the loop ends if the fabric feels soft. Remove the test hook before filling, and keep sharp hooks away from children. One sound loop saves the sad sight of a full stocking sliding to the floor during the night.
Simple lining for a neat inside
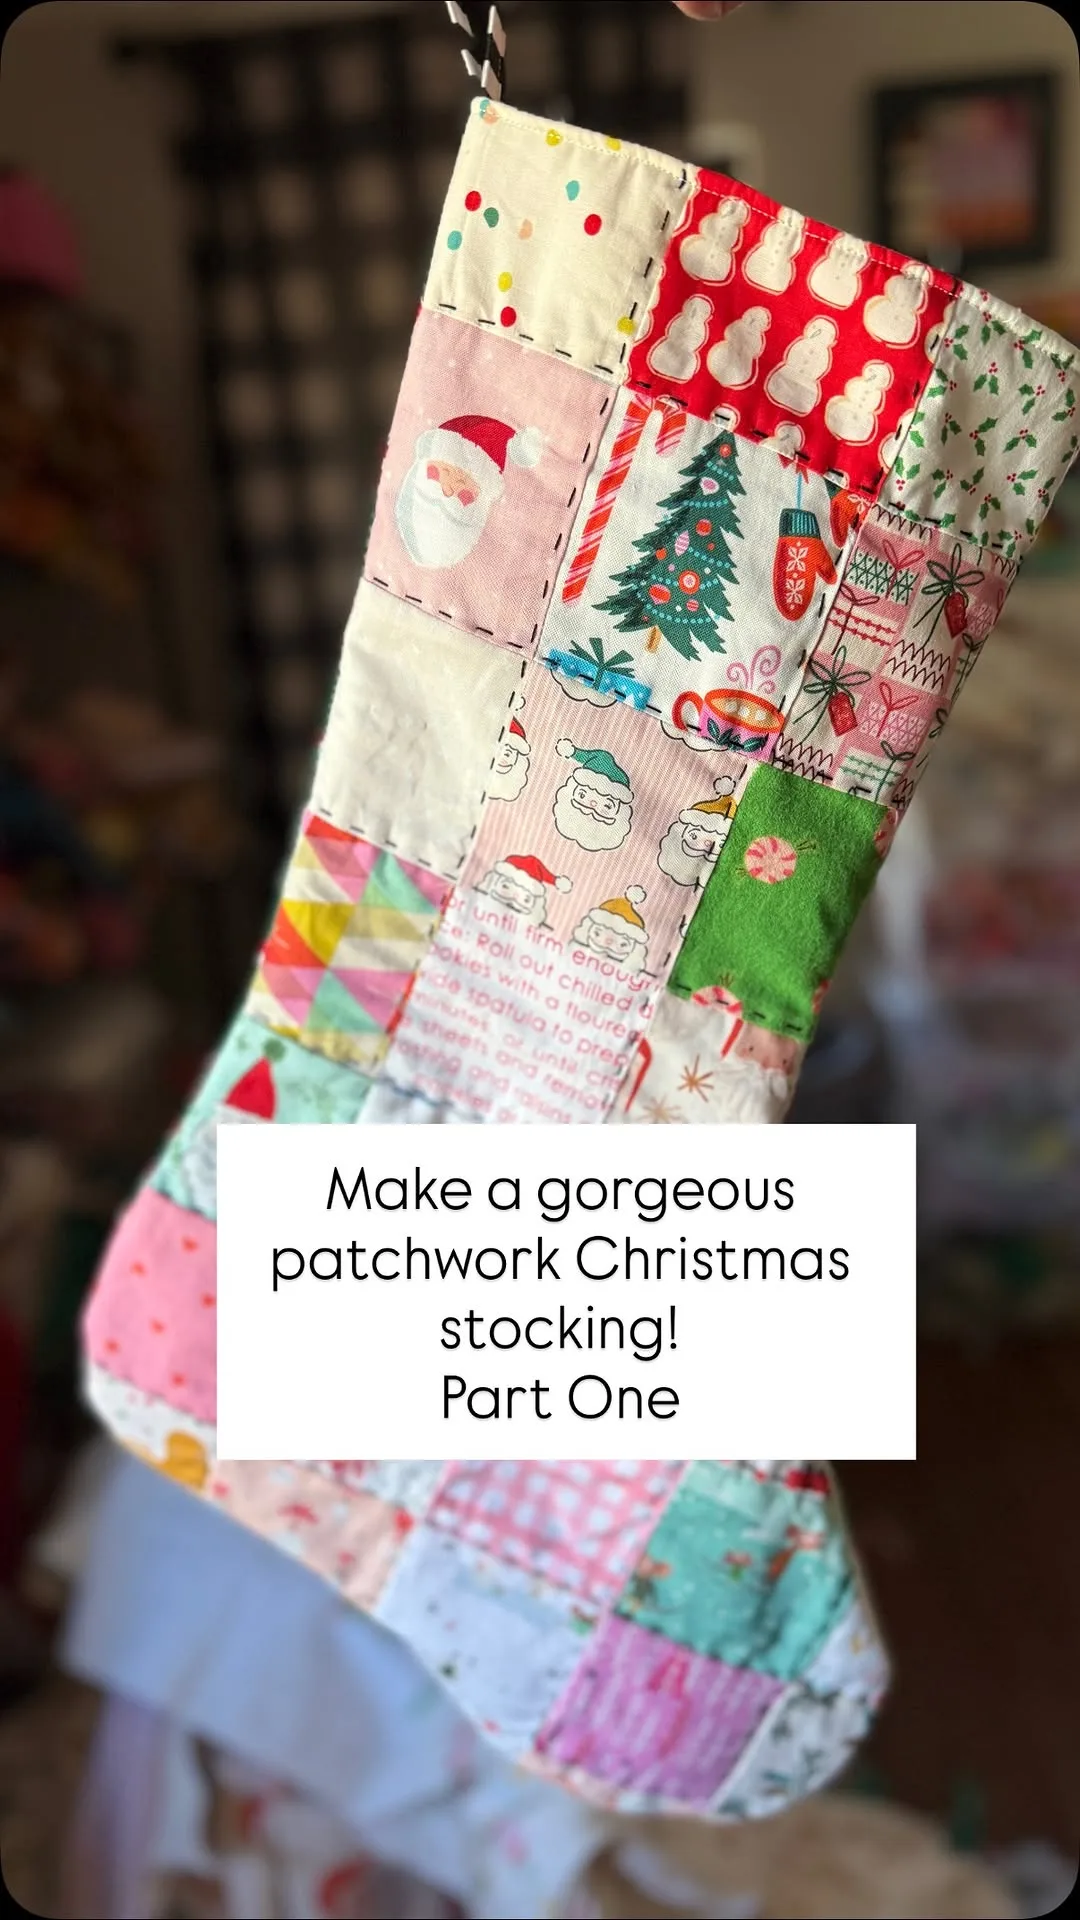
Lining hides the inside seams, helps the stocking keep its shape, and stops small gifts from catching on raw edges. Sew two lining pieces together in the same way as the outer stocking, leaving the top open and leaving a gap of about ten centimetres in one long side seam. Clip the lining curves gently. Turn the lining right side out if you want a smooth inner surface, then press its top edge.
Sew the lining with a slightly smaller seam allowance if the outer fabric feels thick, because lining that is a fraction smaller sits inside without wrinkles. Use plain light cotton so the inside looks clean and gifts slide in easily. Keep the gap in the side seam low on the leg, where fingers will not find it during filling. You will close that gap after the lining sits inside the outer stocking.
Slip the lining inside the outer stocking and match the side seams and top edges with your fingers. Ease the lining toe into the outer toe, then smooth the leg so no fold bunches at the heel. Pin around the top edge if the layers shift. Stitch the gap in the lining closed with small neat stitches by hand, or machine stitch close to the folded edges if you can reach the area comfortably.
Names in felt letters or simple stitching
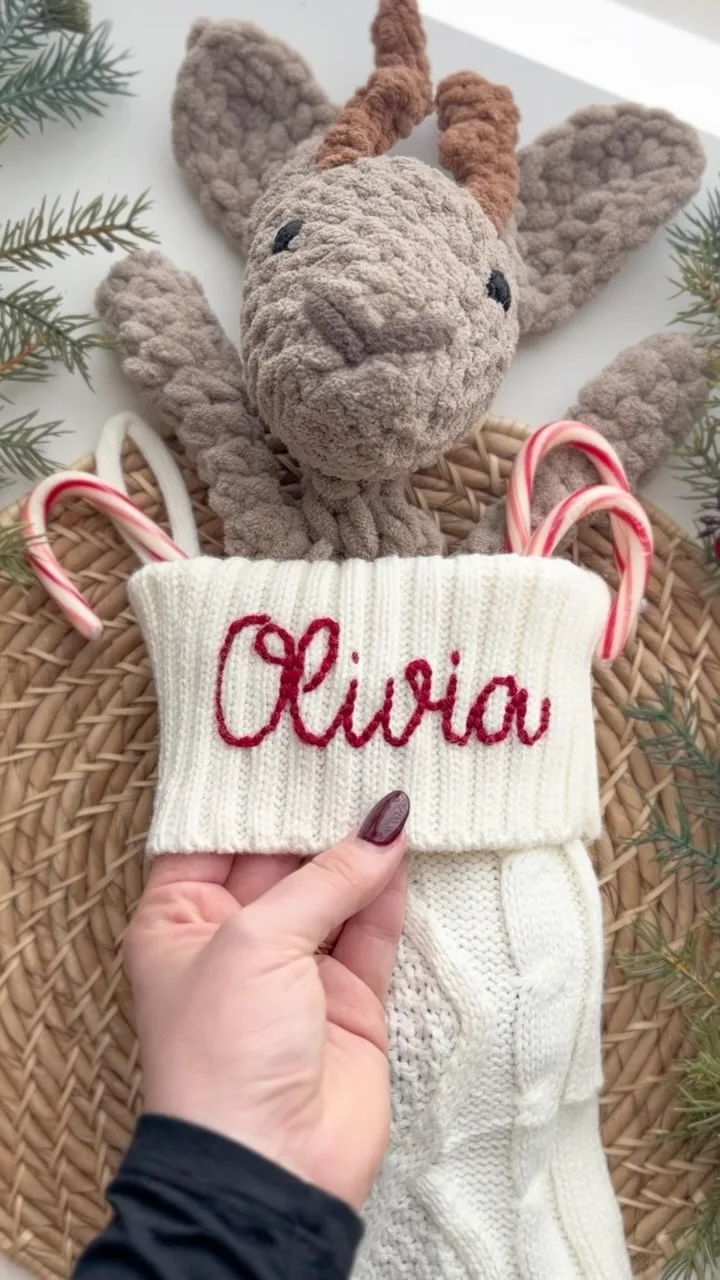
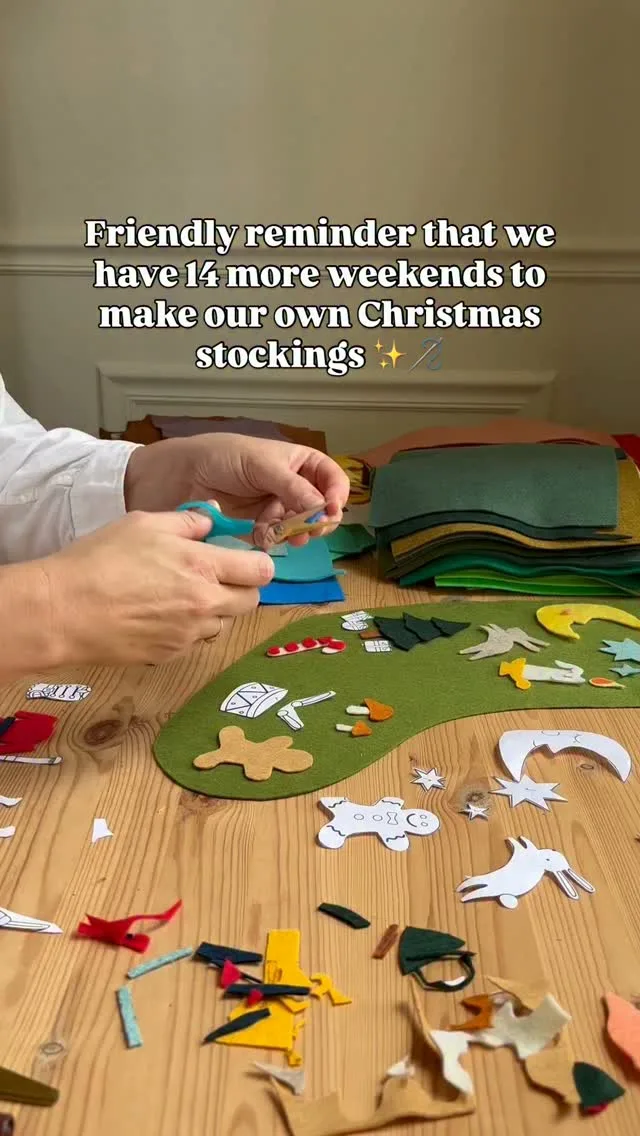
Names make each stocking personal and help children spot their own stocking in the early morning rush. Felt letters are the easiest choice for beginners, because felt does not fray and you can cut it with small scissors. Draw each letter on paper first, cut the paper letters, pin them to felt, and cut around them slowly. Arrange the full name on the cuff before you attach anything.
Felt letters can be glued with fabric glue for a quick finish, though stitching lasts longer and looks more handmade. Sew each letter with a simple running stitch in a thread colour that stands out gently from the felt. Keep letters large enough to read from across the room, and leave a small gap between the name and the lower edge of the cuff. Names placed too low can disappear behind gifts or garlands.
Check the spelling out loud before you stitch the first letter, because names cause the silliest mistakes in Christmas sewing. Lay the letters in order, step back, and read them as a visitor would. Centre the name if it is short, or start nearer the left edge for a long name. If stitching letters feels too much for this year, write the name on a small tag and tie the tag to the loop.
Filling the stocking without stretching it

Filling a finished stocking needs a gentle hand, because even strong seams can strain under heavy or awkward gifts. Put soft items in first, such as socks, gloves, a small scarf, or a soft toy, and let them cushion the toe and leg. Add boxed items next, keeping the heaviest gift near the top where your hand supports the weight as you place it.
Put long thin gifts down the back of the stocking where the seam line feels strongest, and keep sharp corners away from the toe curve. Wrapped sweets, pencils, small tools, and toiletries fit well when you spread them through the leg rather than packing them in one lump. Leave the top few centimetres free so the cuff can fold neatly and the loop does not carry extra sideways pull.
Heavy gifts belong in a separate gift bag under the tree, not inside a hanging stocking. Books with hard corners, glass bottles, and large tins can distort the shape and stress the loop. Fill the stocking while it lies flat on a table if you plan to hang it later. Lift it with one hand under the leg and one hand at the top, then hang it promptly so the weight settles evenly.
Hanging safely and storing for next year
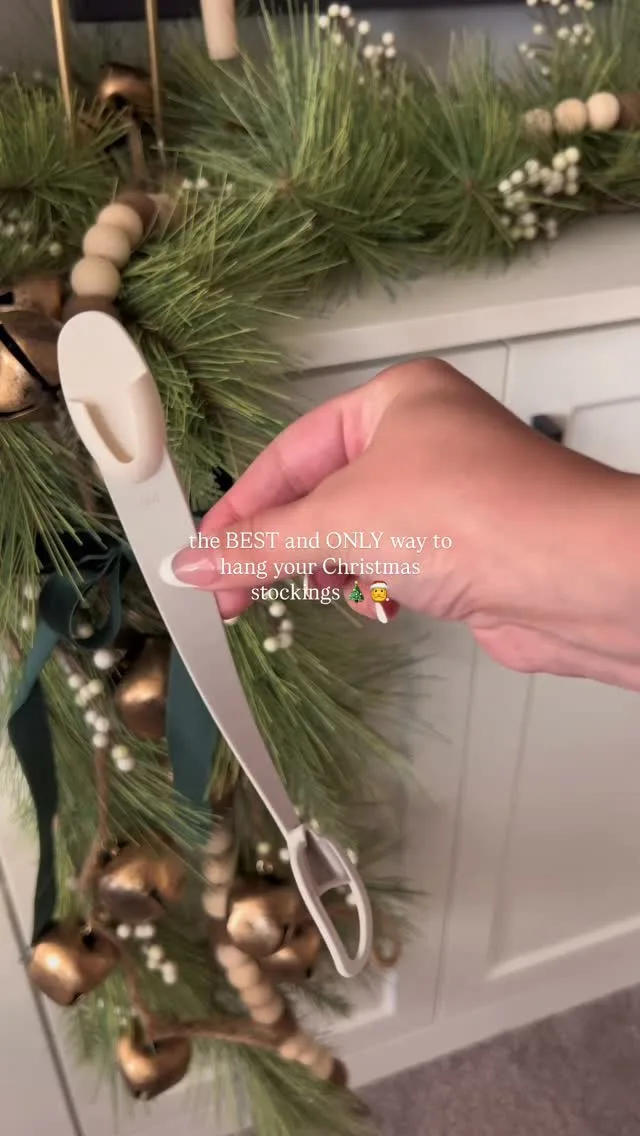
Hanging a filled stocking calls for a hook or holder that can carry real weight, not a tiny decorative peg. Use proper stocking holders on a mantel, a sturdy hook on a shelf, or a strong knob that you have tested with your hand. Keep filled stockings away from open flames, heaters, and candle displays. Place heavy stockings lower if children will reach them, and show children how to lift rather than pull.
Store the empty stocking flat after Christmas, with tissue paper or a clean cloth inside the leg to hold the shape. Fold the cuff gently rather than creasing it hard. Keep the stocking in a dry box with other fabric decorations, away from damp corners and direct sun. Check the loop and seams before you pack it away, because a tiny repair in January feels easier than a repair during the busy December rush.
Label the storage box with the names inside if you make stockings for several people, because one clear label saves a yearly search through every holiday box. Keep spare matching fabric and one felt letter set in the same box if you have them. Future you will thank present you when a new baby, guest, or partner needs a matching stocking. Small storage habits protect handmade work and keep family traditions easy to repeat.
Common Mistakes to Avoid When Sewing a Stocking
Most mistakes begin before sewing, when makers rush the pattern or choose fabric that fights the machine. Take time to draw a generous shape, because a narrow leg and a tight toe cause trouble all the way through the project. People often blame their machine when they sew a christmas stocking that twists, yet the real cause is usually uneven cutting or layers that were not pinned flat at the start.
Seam problems around the toe come from sewing too fast and failing to clip the curves. Slow down, turn the fabric in small steps, and clip the allowance with care. Pulling the fabric through the machine stretches one layer and leaves the other behind, which gives a puckered seam. Let the machine feed the cloth, guide gently with both hands, and stop to adjust whenever the curve begins to pull away from your marked line.
Rushing the top edge causes the last group of mistakes, because the cuff, lining, and loop all meet in one busy place. Press the cuff fold before you attach it, place the loop ends exactly on the seam line, and stitch the top slowly. Check the inside before the final press. Loose lining, twisted loops, and raw edges peeking above the cuff all become easy to fix when you spot them before the stocking is filled.
Budget Friendly Ways to Sew Stockings for the Whole Family
Family sets of stockings can cost very little when you plan fabrics as a group. Use one shared cuff fabric for every stocking and vary the main fabrics, because the matching cuffs make the set look planned while each person still gets a personal design. Remnant bins, end of roll pieces, and clean cotton from worn out shirts or spare bedding can cover main pieces when the fabric still feels strong.
Using leftover cotton lets you sew a christmas stocking for each person without buying a full new fabric bundle every time. Cut stockings from the largest scraps first, then use smaller pieces for cuffs, loops, and felt backed letters. Keep a simple list of who needs which colours, because random buying wastes money. One shared lining fabric bought in a plain colour often costs less than many small patterned pieces.
Buy thread, pins, and felt sheets during sales if you know Christmas sewing happens in your home every year. Share tools with a friend or borrow a machine for one weekend rather than buying equipment for a single project. Spend money first on sharp scissors and good needles, because dull tools cause crooked cuts and skipped stitches. Save decoration money by using names and colour contrast instead of costly trims.
Stocking Sewing Tips That Save Unpicking
Start with a practice curve on scrap fabric. Sew one curved seam on a spare piece before you touch the real stocking pieces, using the same thread and stitch length. Practising the turn with needle down teaches your hands the rhythm and shows whether the tension looks right. Five quiet minutes of practice can save a long unpicking session on the toe.
Pin across the seam line on curves. Place pins at right angles to the stitching line around the toe and heel, because pins set this way hold both layers evenly and pull out easily as the foot approaches. Keep pin heads outside the seam allowance where you can grab them fast. Stop and remove each pin before the needle reaches it, never sew over pins.
Press every stage before moving on. Press cut pieces, press the cuff fold, and press the turned stocking before you add the lining. Heat and steam set the fabric into the shape you want, and flat layers sew more accurately than springy layers. Use a pressing cloth over delicate prints. Small pressing pauses give you tidy seams and fewer surprises at the end.
Test loop strength before the cuff hides the ends. Pin the loop in place, stitch across the ends once, then tug the loop firmly while the work is still open. Add a second line of stitching if the ends move at all. Testing now matters, because repairing a loop after the cuff is on means opening neat finished work and starting that section again.
Keep a seam ripper beside the machine. Small mistakes happen to every sewer, and a seam ripper turns them into short pauses rather than disasters. Unpick only the faulty section, press the fabric flat, and sew that part again with fresh care. Keep good light on the work so you can see each stitch. Calm repairs protect your fabric and your mood.
Read each name letter in order before stitching. Lay the felt letters on the cuff, read the name slowly from left to right, and ask another person to check it if the name is long. Letter order errors hide easily when you focus on one letter at a time. Photograph the layout with your phone if you need to move the pieces before sewing.
Small habits like these turn a first stocking into a calm project instead of a race. Work in good light, keep the table clear, and stop for a break when your shoulders rise or your stitching speeds up. You will enjoy the process more, and your finished stocking will show the care in every seam the next time you sew a christmas stocking for someone you love.
FAQ
Can I sew the whole stocking by hand?
Yes, you can sew the whole stocking by hand with a backstitch, small even stitches, and a little more time. Choose cotton fabric, use short thread lengths, and knot securely at the start and end of each seam. Hand sewing gives you close control on the toe curve. Press well, clip gently, and add the loop with extra stitches, because hand stitched loops carry weight and need firm anchoring.
Which fabric suits a first stocking best?
Cotton quilting fabric suits a first stocking best because it stays stable, presses well, and does not slide under the needle. Pick a medium weight cotton with a print you enjoy and a plain cotton for lining. Avoid stretch fabric, slippery satin, and very thick canvas until you feel confident. Matching thread and a fresh needle help cotton sew smoothly from the first seam to the final cuff.
How long does one stocking take to make?
Most beginners need about two hours for a first stocking when cutting, sewing, lining, and finishing all happen in one session. Your second stocking usually takes less time, because the pattern is ready and your hands know the curve. Work in stages if two hours feels long. Cut everything on one day, sew the outer and lining on another day, then add the cuff, loop, and name in one calm finishing session.
What can I do if my stocking turns out too small?
Leave smaller stockings for sweets, jewellery, rolled notes, and tiny gifts, then cut a larger pattern for the main stocking. Sew a simple gusset only if you feel confident, because altering a finished curve can distort the toe. Check pattern size before cutting fabric next time. A too small stocking still works beautifully as a gift holder, a tree decoration, or a special stocking for a pet.
Should I wash the stocking before hanging it?
Wash the finished stocking gently if the fabric was not washed before cutting and you worry about colour transfer or stiffness. Use cool water, mild soap, and a flat dry in shade so the shape stays true. Press after drying. Test dark or bright fabric on a hidden seam first if the colour looks strong. Clean fabric smells fresh and feels pleasant when small hands reach inside on Christmas morning.
Can children help with any part of the project?
Children can help choose fabrics, sort felt letters, place name letters on the cuff, and stuff soft items into the finished stocking. Older children can practise straight stitching on scrap fabric with close supervision. Keep scissors, pins, needles, and the iron in adult hands. Giving children safe jobs makes the stocking feel like a family project, and they will remember helping long after they forget which gift sat beside it.
Conclusion
Finishing your first handmade stocking feels satisfying because every stage stays visible in the final piece. You chose the fabric, shaped the pattern, guided the curve, pressed the seams, and added a name that matters in your home. You now know how to sew a christmas stocking in a calm order, and the next one will feel easier because your hands remember the turns, the clipping, and the top edge layers.
Your stocking does not need perfect stitches to earn its place on the mantel. Small wobbles in a seam tell the story of a real person making something with care. Choose honest materials, keep the loop strong, and let the cuff and name carry the charm. Guests will notice the handmade warmth long before they notice any tiny fault, and children will only care that their name hangs ready for filling.
Hang your finished stocking with pride, fill it gently, and store it well when the season ends. Make notes about the size and fabric while they stay fresh in your mind, because those notes will help next year. One handmade stocking often starts a family tradition, and soon a whole row may hang together. Enjoy that first quiet moment when the empty stocking waits for Christmas morning.