How to Sew a Fabric Happy Birthday Banner — Step by Step
There is a moment at every family birthday when the banner goes up, and the party officially begins. A paper banner can do that job once, maybe twice, before it tears, curls, or gets crushed in a drawer. A fabric banner does it for decades. It comes out for every birthday in the house, softens beautifully with age, and quietly becomes part of the family's story: children who once stood under it on a chair eventually hang it for their own kids.
Here is the best part: a fabric birthday banner is one of the easiest sewing projects a beginner can attempt. There are no zips, no curves that matter, no fitting, and no way to truly ruin it, since the entire project is straight seams, simple shapes, and ironing. If you can thread a machine (or a needle) and sew in a roughly straight line, you can finish this banner in a single afternoon and use it for twenty years.
The tutorial below walks you through every step in detail: deciding your size, making a template, cutting and sewing fifteen flags, adding the letters three different ways, and stringing the finished banner so it hangs perfectly. Along the way you will find color guidance, variations for names and holidays, a troubleshooting section for when things wobble, and answers to the questions first time banner makers ask most. Read the whole tutorial once before you begin, gather your materials, and let us sew a family tradition.
How do you sew a fabric birthday banner?
Cut fifteen pairs of fabric triangles using a paper template, sew each pair right sides together along the two long edges, turn and press them flat, add one felt letter to each flag, then stitch all the flags in order into a length of bias tape or ribbon with plain tape left at both ends for tying. The whole project is straight seams and pressing, an afternoon's work for a decoration that serves for decades.
The layout this tutorial uses gives your fabric birthday banner fifteen flags in total: HAPPY BIRTHDAY is thirteen letters, so thirteen letter flags plus one blank flag at each end, and the blank ends act like a visual full stop and make the banner look finished rather than cut off. Flags at 8 inches wide by 10 inches long suit most rooms; the steps below scale to any size you choose.
What You Will Need
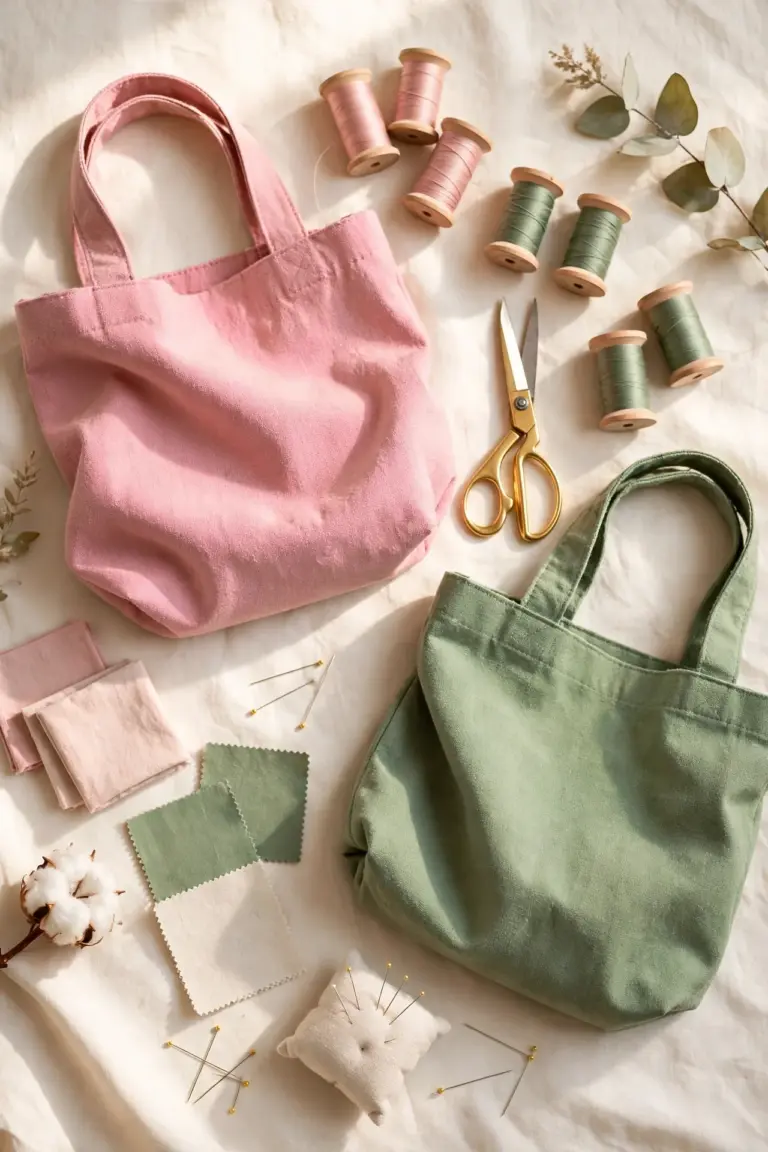
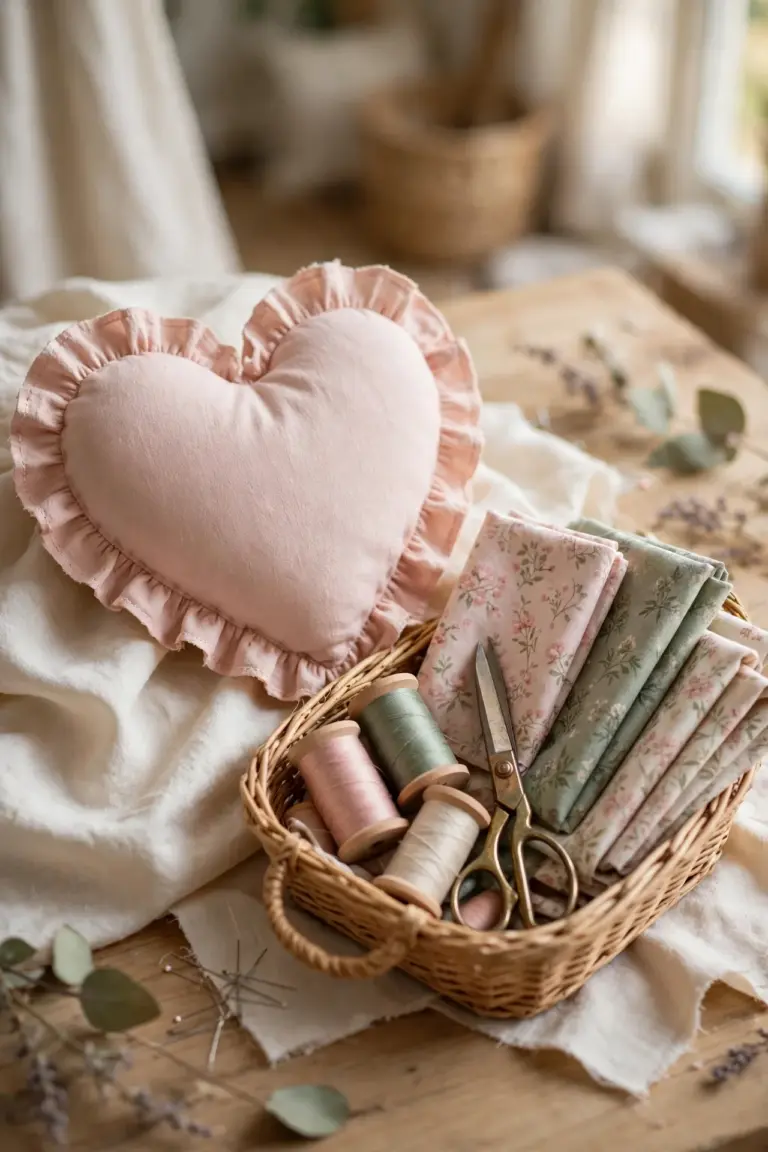
Fabric. Cotton and cotton blends are the easiest to sew, press, and store, and they come in endless prints. You need the equivalent of about 1.5 to 2 yards (roughly 1.5 meters) in total, which can be several fat quarters, old cotton shirts, pillowcases, tablecloths from the charity shop, or the larger pieces from your scrap box. Choose three to five coordinating fabrics for your fabric birthday banner. Two prints and one or two solids is a combination that almost always works. Avoid very stretchy, silky, or thick fabrics for your first banner; they fight back in ways cotton never does.
String material. About 4 to 5 yards (4+ meters) of bias tape, grosgrain ribbon, twill tape, or sturdy cotton cord. Bias tape gives the crispest, most professional finish because the flags sit inside its fold, but ribbon and cord look charmingly handmade. Choose a color that appears in at least one of your fabrics.
Letter materials. Felt in a contrasting color is the beginner's best friend: it does not fray, needs no hemming, and cuts cleanly. Alternatives: a contrasting cotton backed with fusible interfacing, or fabric paint with a stencil. You will also need printed letter templates: simply print "HAPPY BIRTHDAY" in a bold font at about 4 to 5 inches tall from any computer.
Tools. Fabric scissors or a rotary cutter (pinking shears are a bonus), a ruler, fabric chalk or a washable marker, pins or sewing clips, a pencil or chopstick for pushing out points, and an iron. The iron is not optional equipment on this project, because pressing is half of the finished look.
Optional extras earn their space quickly if you sew often: a self healing cutting mat protects your table, pattern weights hold the template still without pins, and a small bowl keeps clipped threads and trimmed points off the floor while you work. None of these are required for this project, and every one of them can wait until your second or third banner, once you know you enjoy the process.
Decide Your Size and Count Your Flags
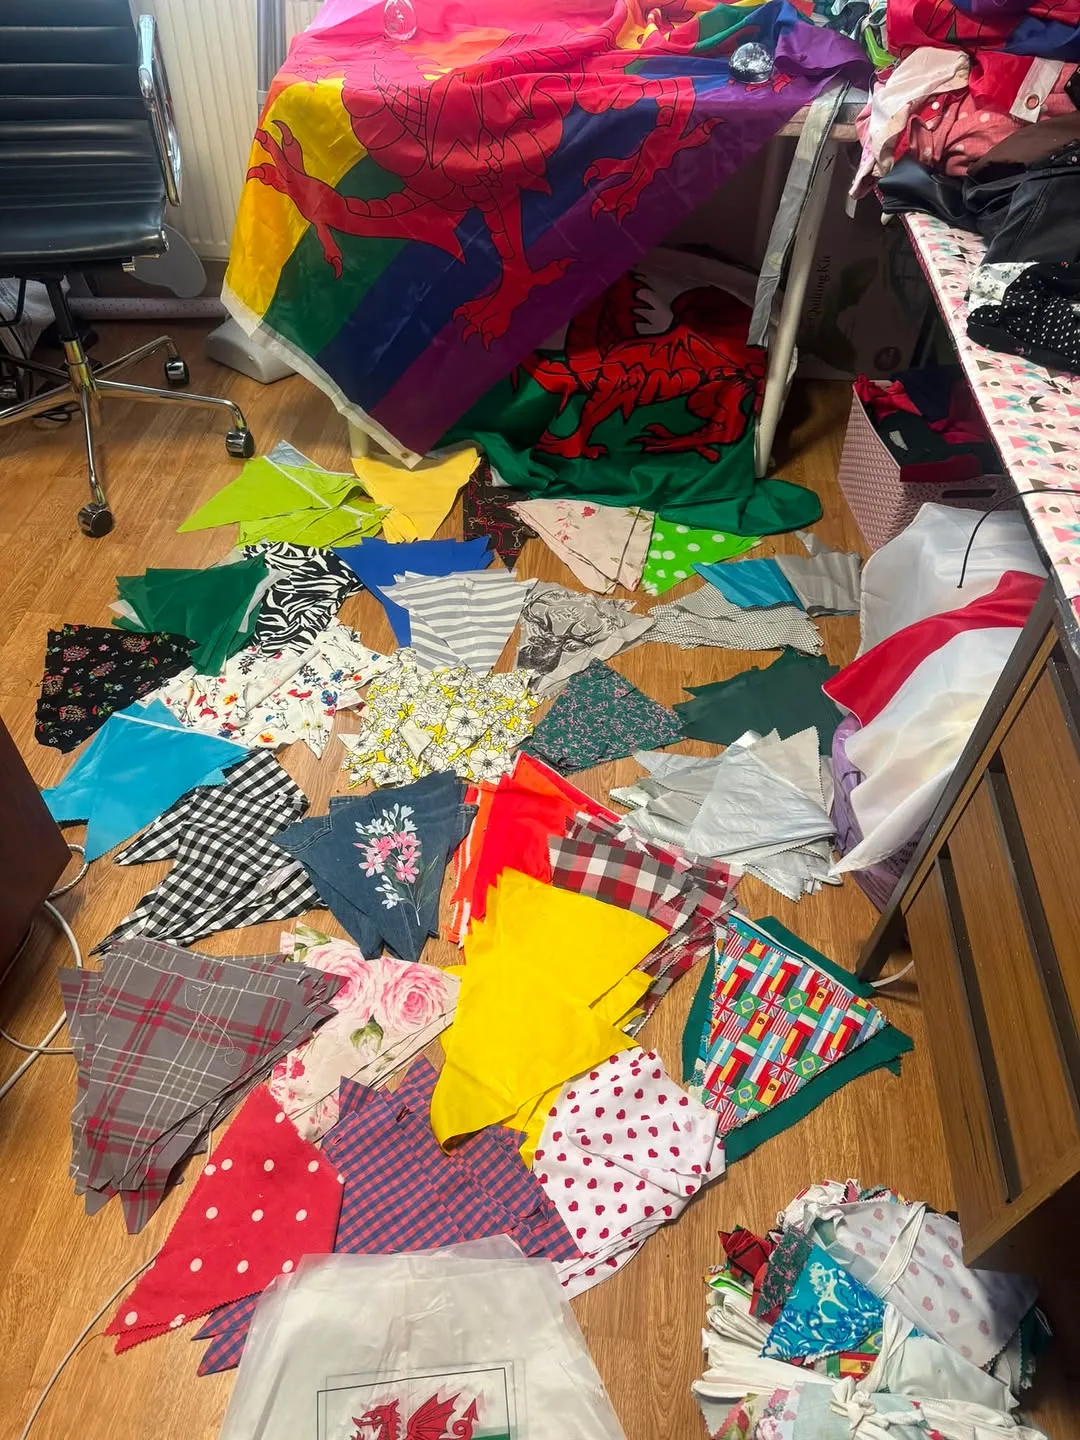
Every smooth fabric birthday banner starts with three decisions made before any fabric is touched. Size: a generous, classic flag is about 8 inches wide at the top and 10 inches long. Smaller flags (6 by 8 inches) suit small rooms, use less fabric, and look delicate; larger flags (9 by 12 inches) suit halls and gardens. Count: one letter per flag for HAPPY BIRTHDAY (13), plus one blank flag at each end, gives 15 flags, the layout this tutorial uses. Pattern order: lay your fabrics out in their repeating rhythm before cutting anything. A dependable rhythm is print, solid, print, different print, solid.
Take a photo of your planned layout on your phone. When you are sewing flag nine in the evening, tired and surrounded by triangles, the photo will remember the plan for you. Every experienced banner maker has this photo, and every beginner wishes they had taken it.
You can also use this planning step to check your fabric quantities honestly: each finished flag needs two triangles, so fifteen flags means thirty triangles. Gather and count your fabric against that number now, while the shops are open and the light is good, rather than at flag thirteen.
Make a Paper Template
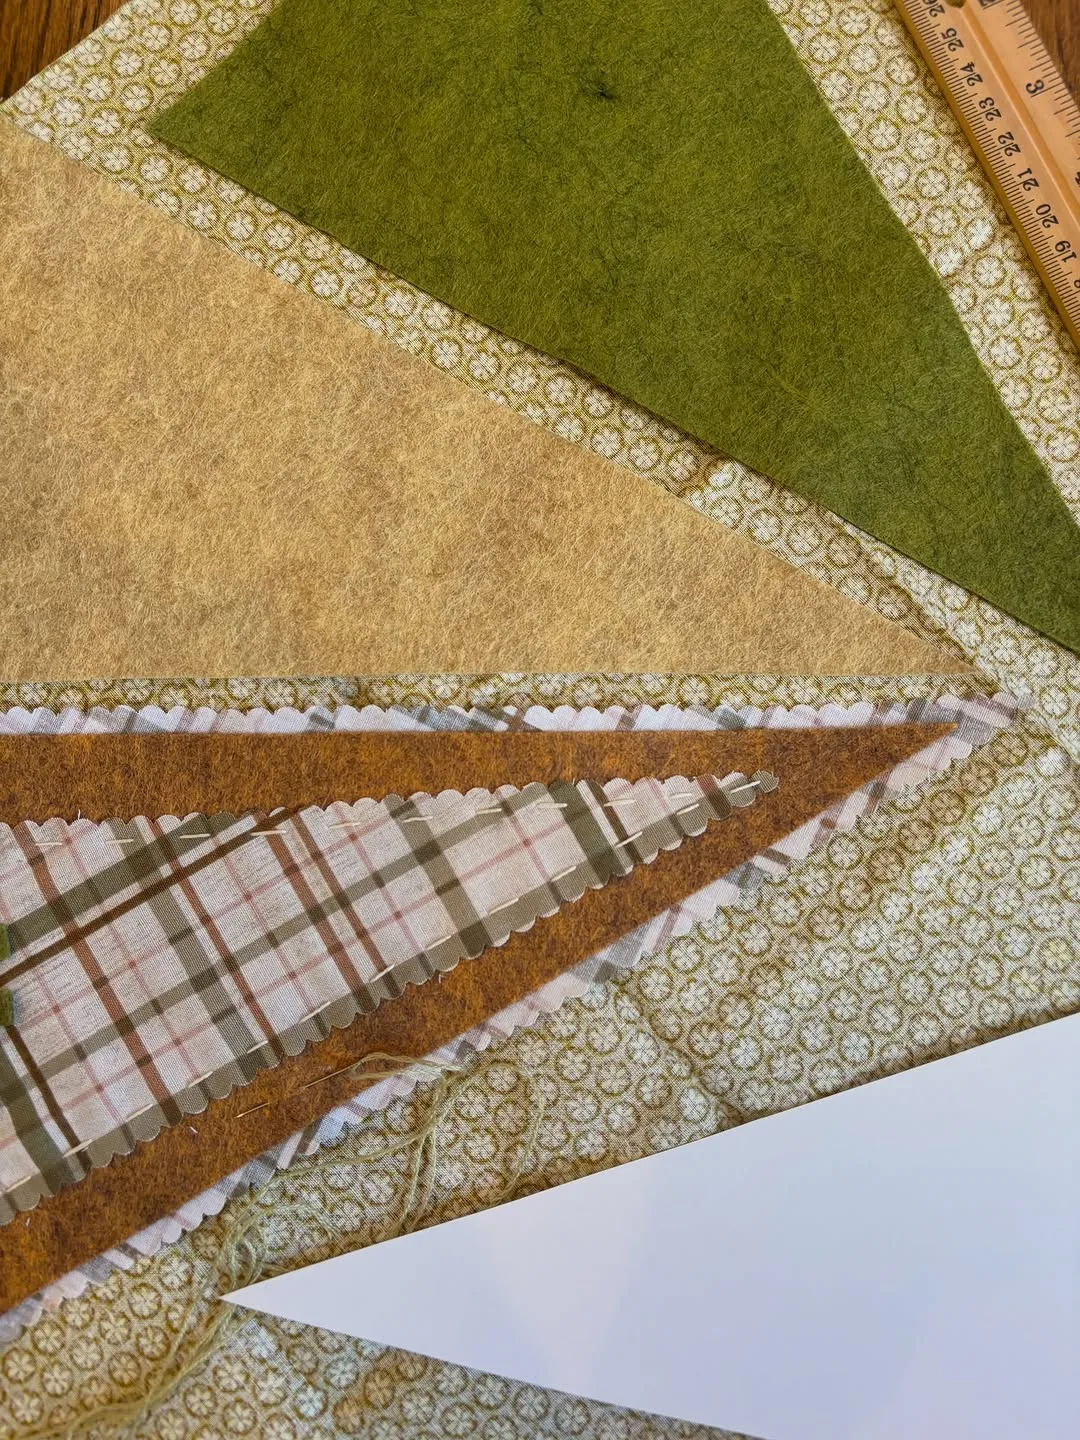
Draw your triangle on cardstock, a cereal box, or stiff paper: a straight top edge at your chosen width, two equal sides meeting at a centered point at your chosen length. Cut it out carefully, because this template decides the shape of all fifteen flags, so its edges are worth thirty seconds of care.
Consistency is the entire difference between a banner that looks handmade with love and one that looks homemade by accident: identical flags read as intentional, varied flags read as error, even when the sewing quality is the same. If you want a softer, modern look, round the point very slightly. Write "TOP" on the template so you never trace it upside down in a moment of enthusiasm.
Keep the template afterward, labeled with the banner's date. Your second banner, for a name, a holiday, or another child, will start ten minutes faster with the template already made, and a small stack of dated templates becomes a little archive of your family's celebrations.
Cut Your Flags
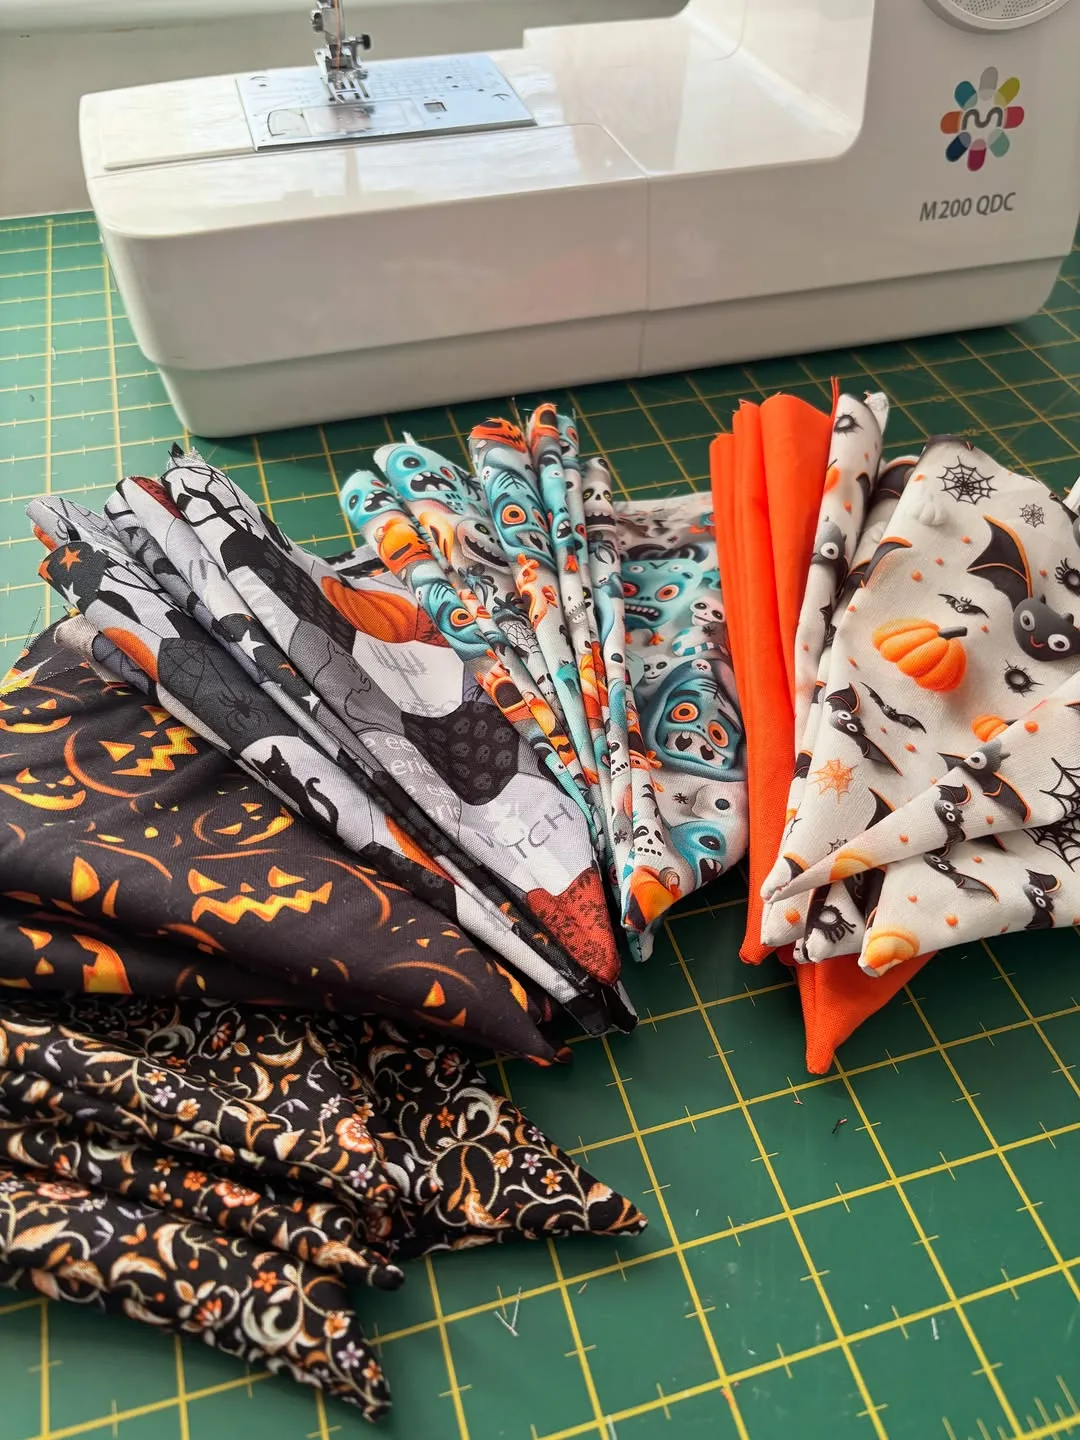
Each finished flag is two triangles sewn together, a front and a back, so fold your fabric right sides together where you can, place the template on top, trace around it with chalk or a washable marker, and cut through both layers at once to get a matched pair. Work fabric by fabric through your planned pattern, stacking the pairs in order as you go, and your assembly line is already organized before the machine comes out.
Cutting tips that save tears: use your sharpest scissors and long, confident cuts rather than small snips, which create jagged edges; keep the template pinned or weighted so it does not creep across the fabric; and remember that every wobbly chalk line disappears inside a seam allowance. Cutting does not need to be perfect; it needs to be close.
You will spend the most time on cutting, so put the kettle on, work through it calmly, and stack each pair with a pin through the top corner so pairs cannot separate and mix in the pile. When thirty triangles sit in fifteen pinned pairs, in order, the hard part of the banner is honestly behind you.
Sew Each Flag
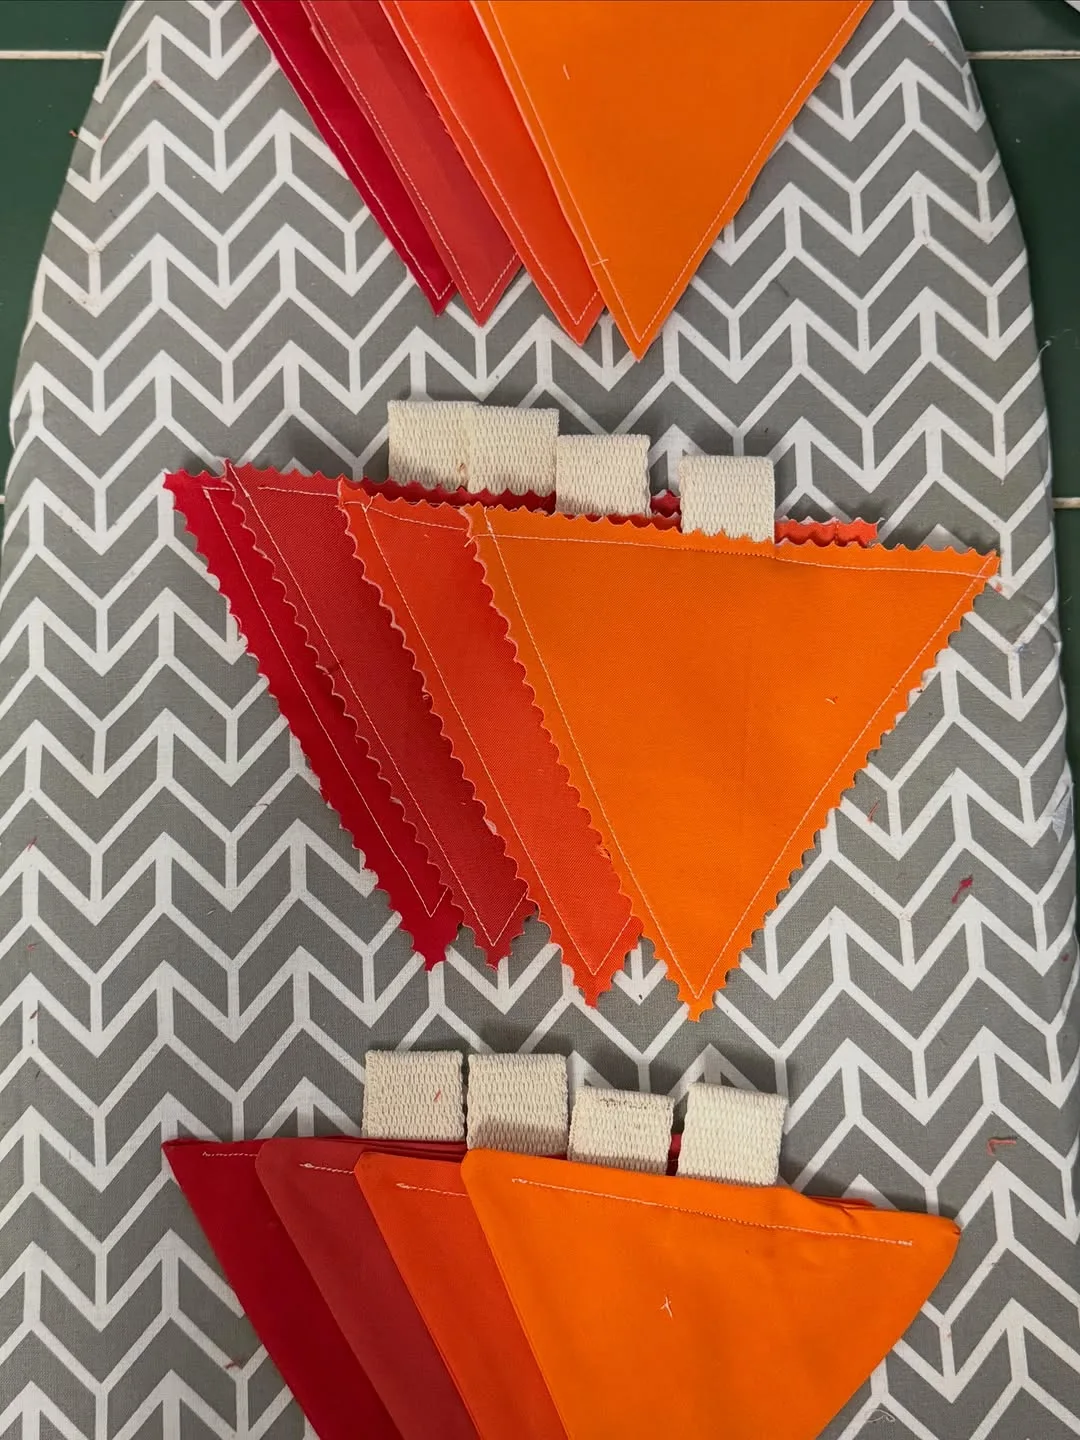
Take one pair of triangles and place them right sides together, the pretty faces touching, the dull backs facing you. Sew down one long side with a quarter inch seam, pivot at the point (needle down, presser foot up, turn the work), and sew up the other long side. Leave the entire top edge open. Now clip the bottom point: trim the fabric close to, but never through, your stitches, cutting away the bulk so the point can turn sharply.
Turn the flag right side out through the open top, then use a pencil or chopstick to coax the point fully out, gently, so you do not poke through the seam. Then press the flag flat with a warm iron, tucking the raw top edges neatly inside so the open top lies clean. Pressing is not a finishing extra on this project; it is half the finished look, and every professional sewer will tell you they spend nearly as much time at the iron as at the machine.
Sew the remaining fourteen flags exactly the same way. This is the meditative heart of the project: stitch, clip, turn, press, and watch a neat pile of crisp flags grow beside the machine. Small imperfections in seam straightness vanish in the pressing, so do not unpick anything that is merely slightly human. The banner is judged hanging, in a happy room, not under a microscope.
Add the Letters
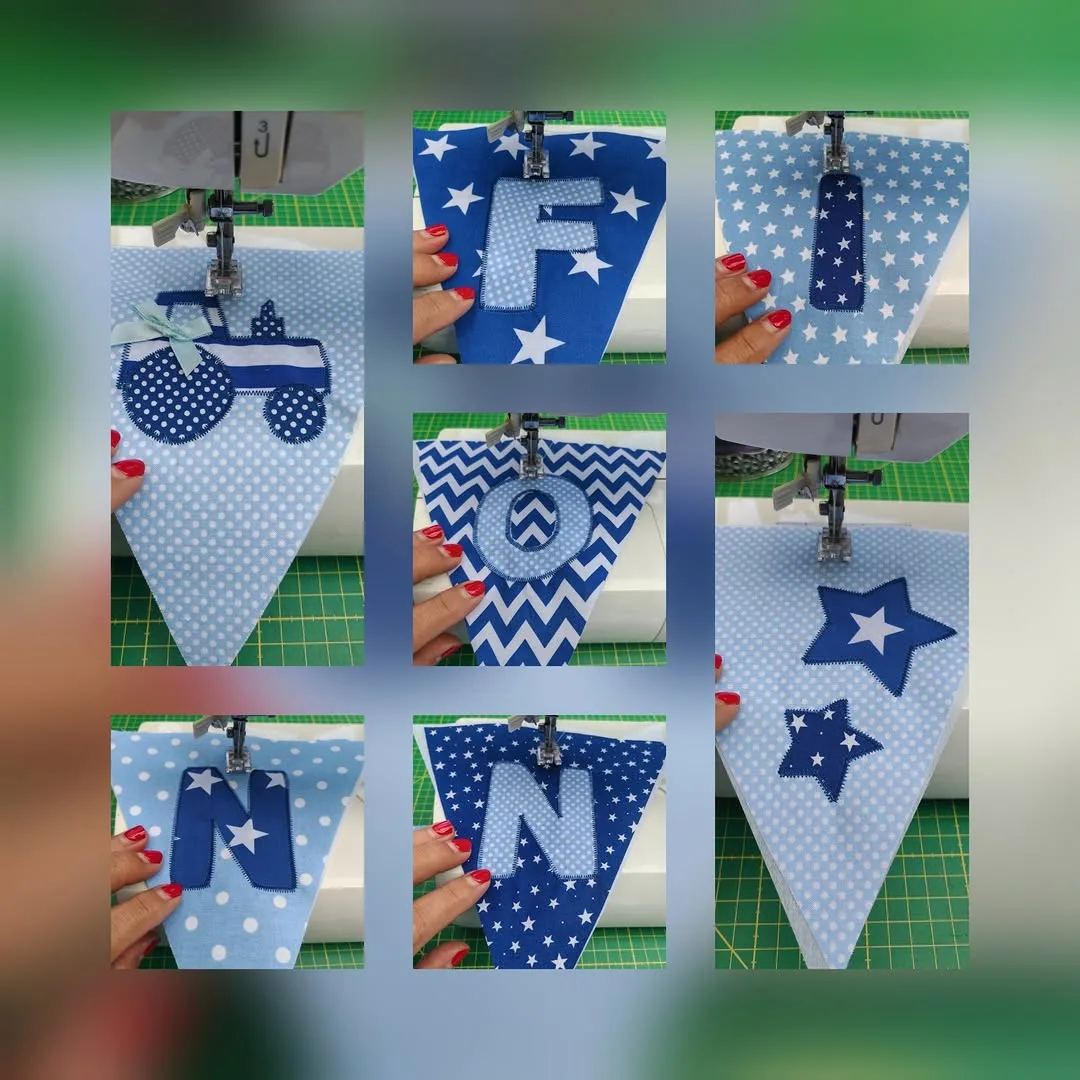
Print your letters at the right size, with each letter occupying the middle of its flag with comfortable margins, then cut them out as paper templates, trace them onto felt, and cut the felt letters carefully. Center one letter on the front of each flag, checking the order twice by laying the whole word out on the table and reading it as a stranger would: everyone, at some point, sews a flag into the wrong position, and the table check is how you make sure it is not you, this time.
Attach the letters in one of three ways. Fabric glue is fastest and entirely respectable, with a thin line around each letter, pressed and left to dry fully. Hand sewing a running stitch around each letter in contrasting thread is charming and takes a pleasant evening. Machine sewing around each letter with a straight or narrow zigzag stitch is the most durable and looks the most crafted, but demands a slow foot and a deep breath on the curves of B, R, and P.
No felt? Paint the letters on with fabric paint through a stencil after assembling the banner, holding each flag flat and letting the paint dry completely before moving it. Iron on letters from a craft store also work beautifully. The banner does not mind which method you choose; it only asks that you read the word aloud once before attaching anything permanently.
Attach the Flags to the Tape
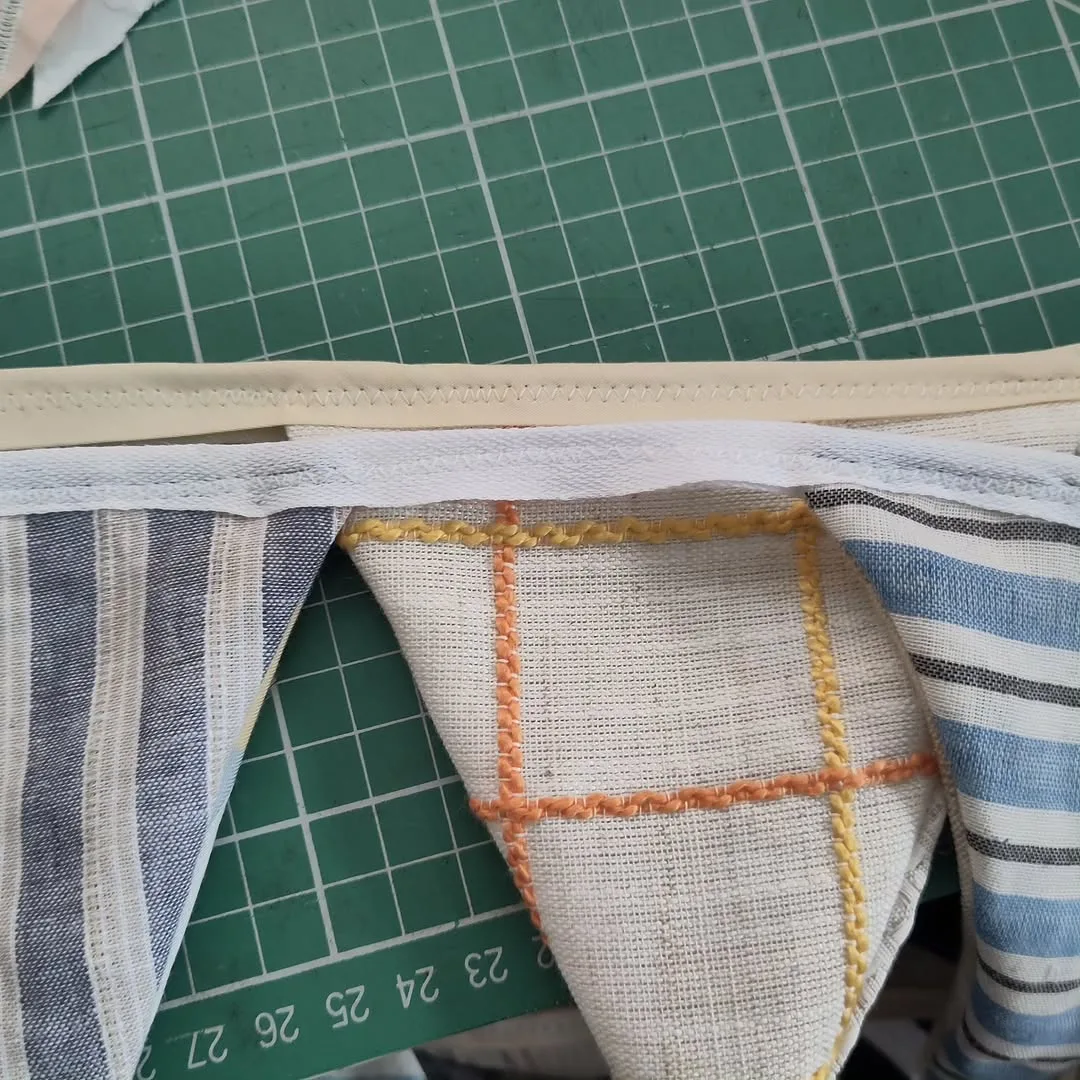
If you are using bias tape, it is already folded: open it and slip the top edge of each flag inside the fold, so the tape sandwiches the raw top edge, which gives the cleanest finish of all. With ribbon or cord, fold wide ribbon lengthwise over the flag tops, or simply lay flags along a cord and stitch through both.
Lay the ENTIRE banner out on the floor first, in order, with the end flags blank, the letters spelling correctly (read it once more, walking along it; this ritual has saved more banners than any other step), and spacing even at about half an inch between flags. Leave 12 to 18 inches of plain tape at each end for tying.
Pin or clip every flag in position, because this is not the step for optimism, then sew one long, straight line along the tape, catching each flag as you arrive at it, and removing pins just before the needle reaches them. When you reach the far end, backstitch, lift the banner by its two ends, and let it hang. You have made a fabric birthday banner.
Hang, Celebrate, and Store It Well
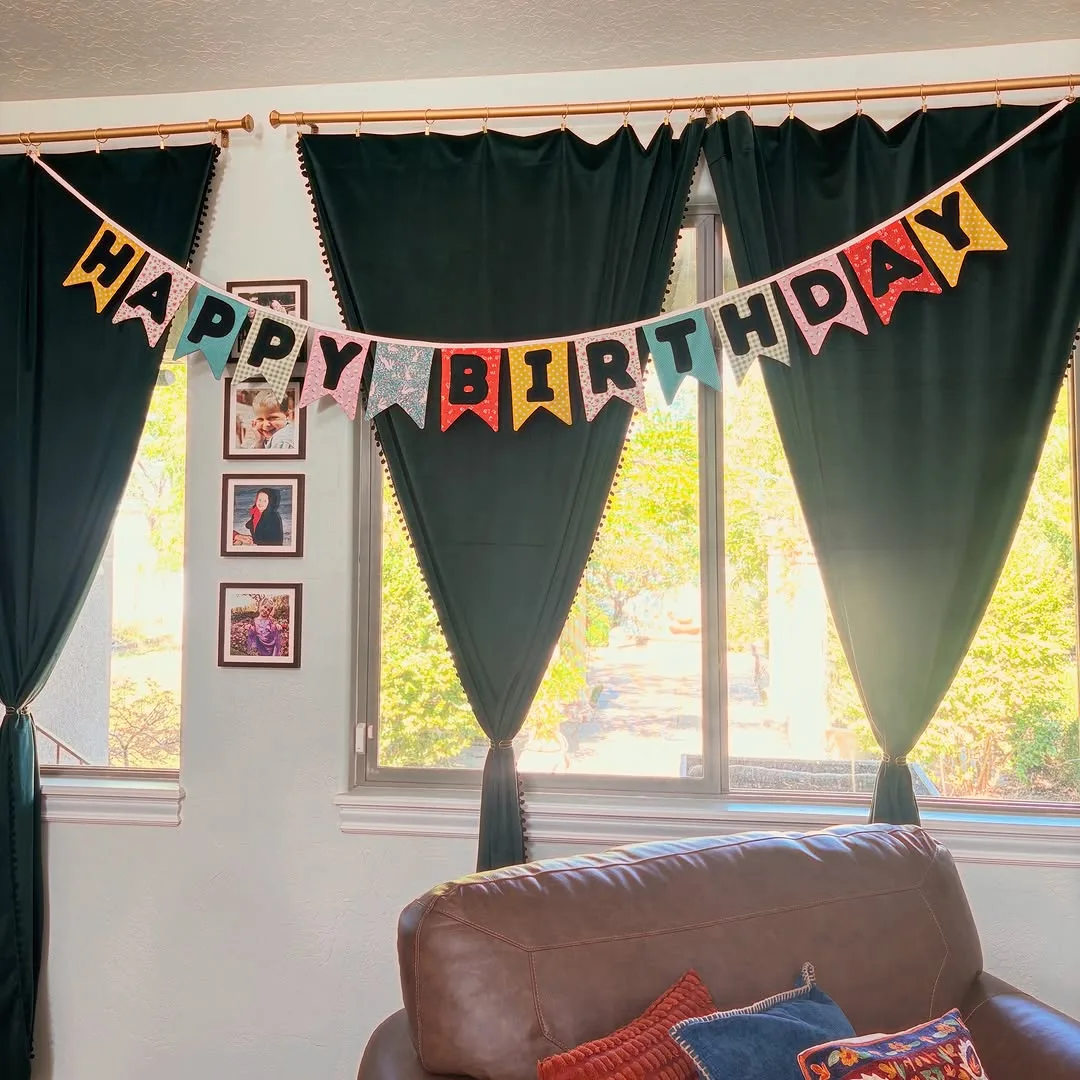
Tie a small loop at each end of the tape for hanging on hooks or nails, or tie the ends directly around posts, shelves, or curtain rods. Hang your fabric birthday banner high enough to clear heads and low enough to read: across a doorway, over the cake table, along a mantel, or above the birthday person's bed for a morning surprise.
After the party, resist stuffing it in a drawer. Fold it flag over flag in a gentle zigzag stack, roll the stack loosely, wrap it in a cloth or a pillowcase, and store it somewhere dry. Treated this way, a cotton banner lasts for decades without fading, tearing, or tangling, and hanging next year's banner takes exactly one minute. Store the banner away from direct sunlight, and keep it somewhere moths and damp cannot reach, the same way you would store a good quilt or a winter coat.
Consider writing the year and the birthday person's name in tiny stitches or fabric pen on the back of one end flag each year. In twenty years, that flag will be a family archive, and reading back through a childhood written in birthdays is a pleasure no decoration from a shop has ever given anyone.
Choosing Colors and Fabrics That Look Good Together
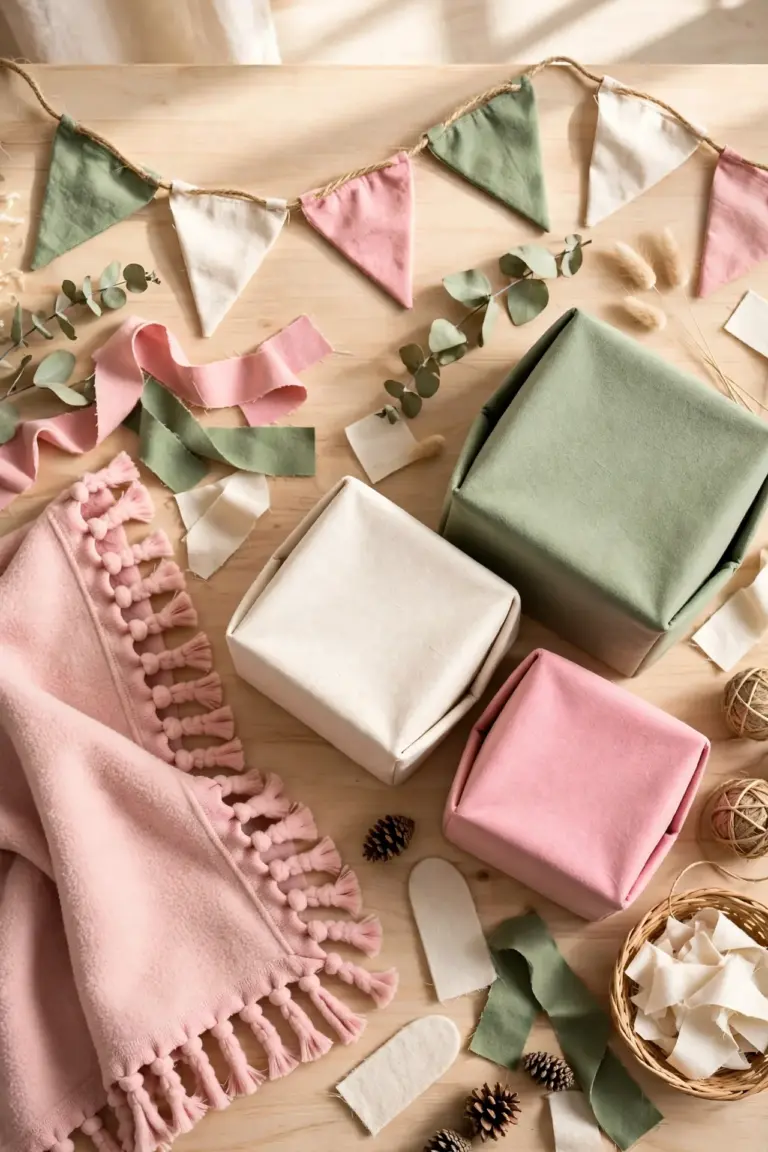
The banners that look professionally styled all obey one quiet rule: a small palette, repeated. Choose three to five fabrics at most. The most reliable combination is two prints in different scales (one busy, one calm), one or two solids drawn from colors inside those prints, and, if you want the banner to feel celebratory, one fabric with a tiny bit of sparkle, a dot, or a stripe for contrast.
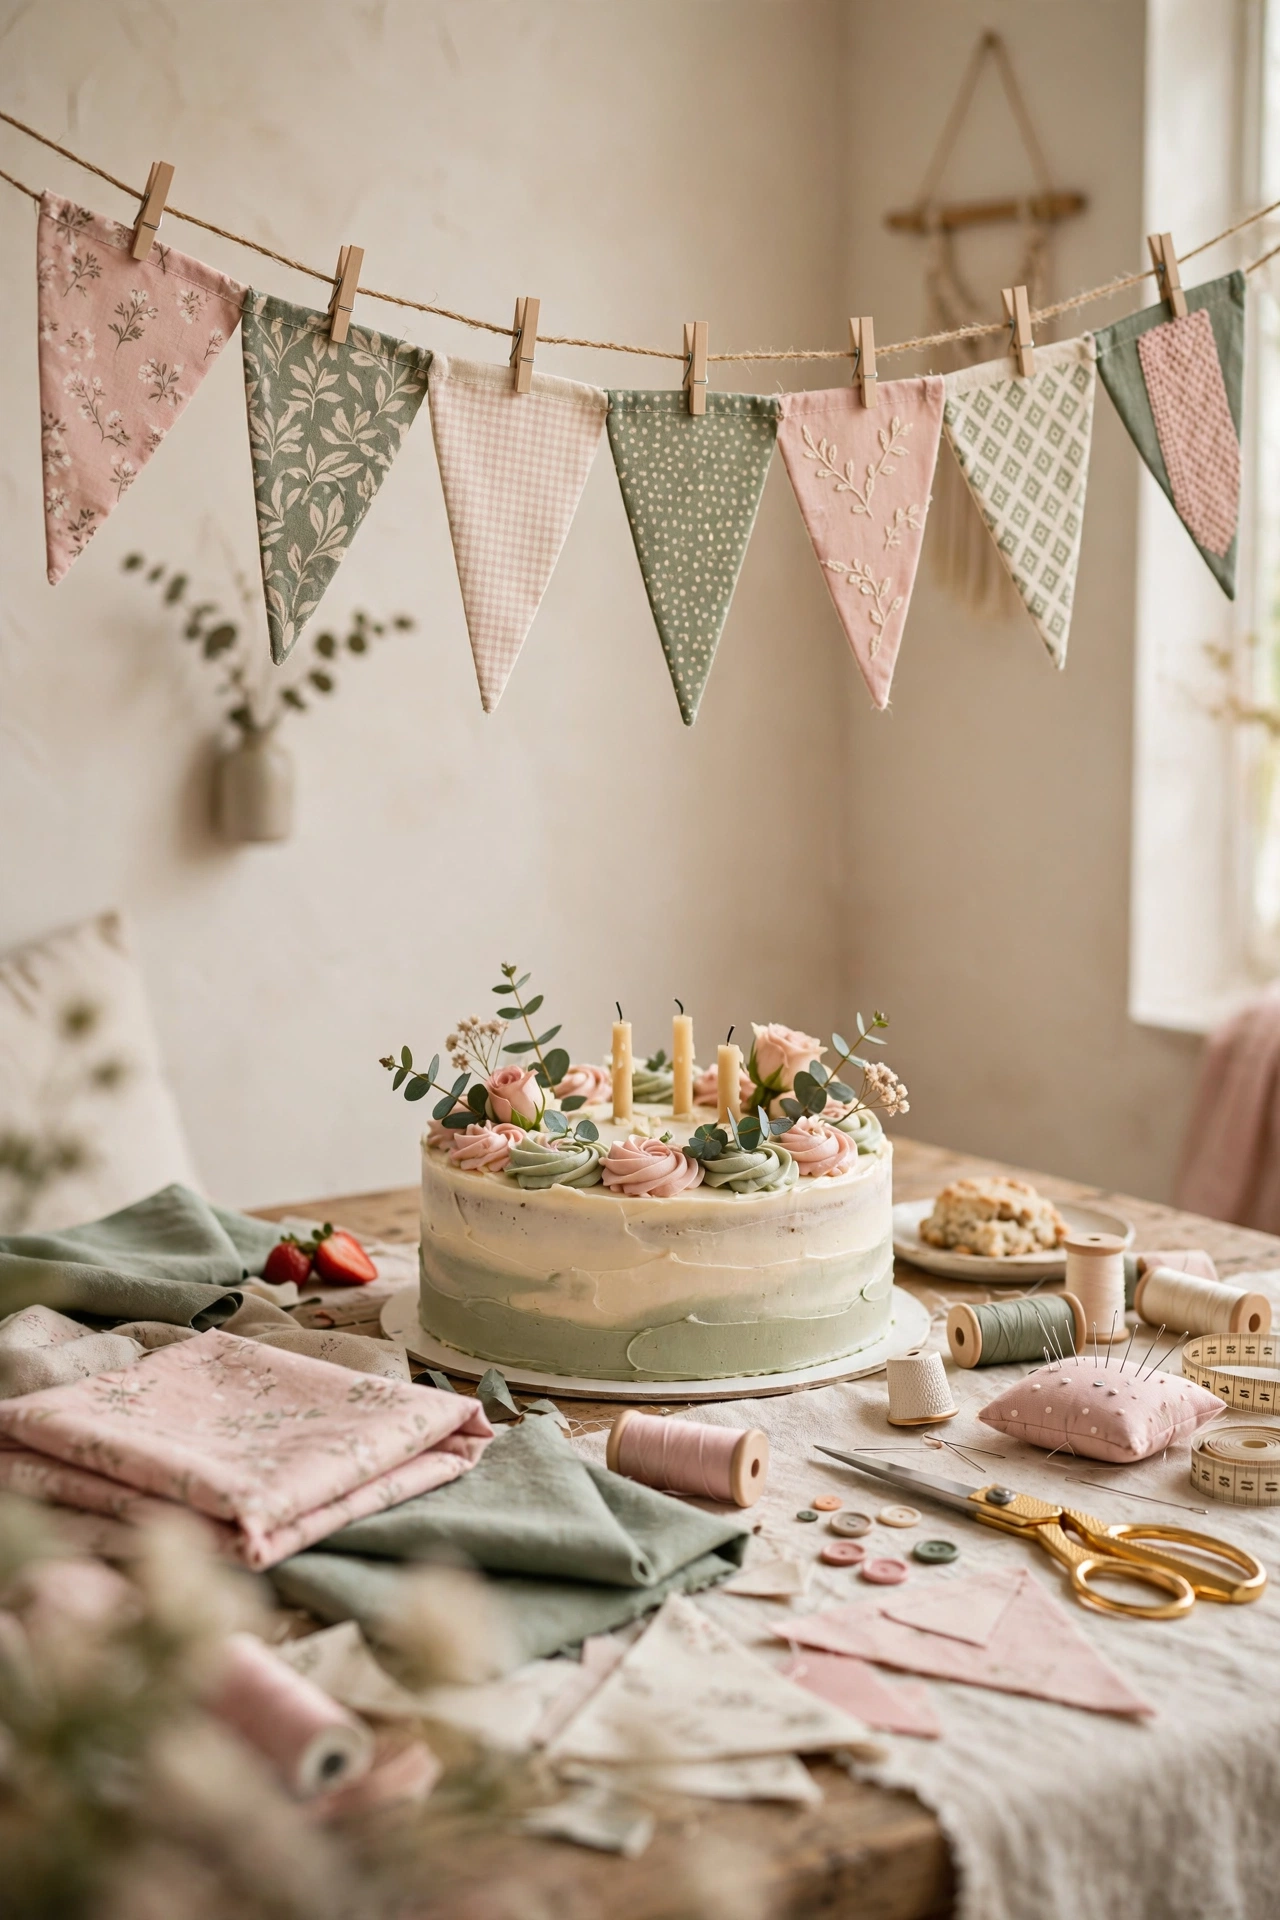
Lay the fabrics side by side in daylight before you commit, because colors that agree under shop lights can argue at home. For a child's birthday, pull the palette from the party theme: pastel prints for a garden party, navy and red for a superhero, sage and cream for a soft, calm look. For a fabric birthday banner meant to serve every birthday in the family for decades, the most satisfying kind to sew, choose a palette that belongs to your house rather than to any one party: the colors of your kitchen, your garden, your favorite season.
One more consideration: letters must stand out against every single flag, so test your felt color against your busiest print, not your plainest. If a letter disappears on one fabric, either change the letter color or move that fabric to the blank end flags, where no letter is needed.
Hand Sewing and No Sew Versions
Not owning a machine is no barrier to this banner; for most of history, every banner was hand sewn. The hand sewn version: use a backstitch, the strongest simple hand stitch, for the two seams of each flag, with stitches about an eighth of an inch long. A thimble saves your pushing finger, beeswax drawn along the thread reduces tangles, and working flag by flag across a few evenings turns the project into a pleasure rather than a task. Expect the result to look every bit as good as the machine version.
The true no sew version: cut single triangles with pinking shears, because the zigzag edge does the work against fraying that seams do in the main tutorial. Fold the top inch of each triangle over your cord or ribbon and fix it with fabric glue or iron on hemming tape, pressing firmly and letting it cure fully before hanging. Letters attach with the same glue. The no sew banner is lighter and less durable than its sewn sibling, so hang it indoors and store it gently, but it can be finished in under an hour, and it is the perfect first banner to make with a child.
Many families make a no sew banner first, love it, and graduate to the sewn heirloom version the following year. Both banners are real banners. The sewing is a detail; the tradition is the point.
Variations: Names, Holidays, and Other Words
The same method makes any banner you can spell. Name banners for nurseries, birthdays, and classrooms use exactly the same steps with the child's name, and become keepsakes that move from nursery wall to teenage door to memory box. Welcome home and congratulations banners serve new babies, new houses, graduations, and homecomings. Holiday banners, MERRY CHRISTMAS, HAPPY EASTER, or a simple row of blank flags in seasonal fabric, rotate through the year from one skill.
You can also skip letters entirely: a plain mixed fabric bunting is beautiful decor for gardens, market stalls, and photo backdrops, and it is the fastest way to use a pile of beloved fabric scraps (our scrap fabric projects guide has more ideas in that spirit).
Two practical notes: longer words need more fabric than you expect, so count letters before you shop; and two word banners look best with a blank flag or a heart or star flag as the space between the words.
Common Mistakes to Avoid When Sewing a Banner
Blunt, rounded points come from not clipping close enough to the seam, or not pushing the point fully out. Clip nearer the stitching (carefully, never through it), use a thinner turning tool, and press the point with the iron's tip. Points already sewn a little soft? Leave them: en masse, in a happy room, nobody sees one gentle point.
Flags that curl were cut slightly off grain or pressed in a rush. Press again with steam and store the flags flat under a book overnight; curl is a memory in the fabric, and heat plus weight reteaches it.
Crooked letters are prevented, not fixed: mark a faint horizontal guideline across each flag at the letter height before attaching anything. Glue allows one gentle reposition if you catch it early; after that, call it character: hand lettered banners in expensive shops are crooked too, on purpose.
Twisted tape while sewing means pin more and sew slower, guiding the tape with your left hand while the right guides the flag. And the deeper mistake behind half of all banner regrets: not reading the word aloud from the laid out flags before the long seam. The floor check takes twenty seconds. Do it twice.
Banner Tips from Experienced Sewers
Press like you mean it. Every flag, every seam, every time. The iron is the difference between "homemade" and "handmade," and it costs only minutes.
Sew in a production line. All the first seams, then all the second seams, then all the turning, then all the pressing. Batching turns an afternoon into an hour and makes every flag more consistent.
Keep the template and the plan photo. Next year's banner, a name, a holiday, a new baby, starts in minutes when both exist.
Use the good scraps. This banner will be photographed at every family birthday for decades. The fabric from a beloved dress or a father's shirt belongs here, where it will be seen forever.
Write the first date on the back of an end flag the day you hang it the first time. Future you, adding dates yearly, will be so glad present you started the archive.
FAQ
How long does this banner take to make?
Your first banner takes most beginners an afternoon, roughly three to four hours including cutting and pressing, less with a machine and more if hand sewing. Your second banner will take half that time, because the template, the plan, and the rhythm already exist.
How much fabric do I really need?
For fifteen lined flags at 8 by 10 inches, about 1.5 to 2 yards of fabric in total, or five to six fat quarters. Scrap users: each flag needs two triangles, so gather your larger scraps first and count triangles before you start cutting.
Can I make this banner without a sewing machine?
Yes. Every seam can be hand sewn with a backstitch, and the flags can even be made single layer with pinking shears and no sewing at all: cut single triangles, fold the tops over cord, and glue. It will be slightly less durable and considerably faster.
What are the best fabrics for a birthday banner?
Quilting cotton is the gold standard for a fabric birthday banner: easy to cut, sew, press, and store, in endless prints. Cotton pillowcases, shirts, and tablecloths are perfect recycled sources. Avoid stretch knits, slippery satins, and anything very thick until you have a banner or two of experience.
How do I wash the banner?
Gentle machine washing in cold water, or hand washing, followed by air drying and a warm iron, keeps colors bright for years. Felt letters prefer hand washing; glued letters should be washed gently and never tumbled at high heat.
Can I add letters without felt or paint?
Yes. Appliqué letters from a contrasting cotton backed with fusible interfacing work beautifully, as do iron on letters from a craft store, stenciled paint, or even permanent fabric markers in a confident hand. The banner does not mind which method you choose.
Conclusion
Fifteen flags, one long seam, and a handful of letters: that is all a fabric birthday banner ever was. What makes it special is not difficulty; it is return. Year after year, this is the decoration that comes out of storage to a small cheer, the one in the background of every birthday photograph, the one your family will eventually argue fondly about keeping.
If this is your first sewing project, let it also be your permission slip. You do not need to master sewing before you make real things; making real things IS how sewing gets mastered, one straight seam at a time. This banner forgives every wobble a beginner can offer it, and repays the effort with decades of service.
So cut the triangles, sew the flags, press them like a professional, and string up your first family heirloom. Somewhere in your house there is a birthday coming. It deserves a banner that will still be there for the twentieth one.