10 Beginner Sewing Projects from Scrap Fabric
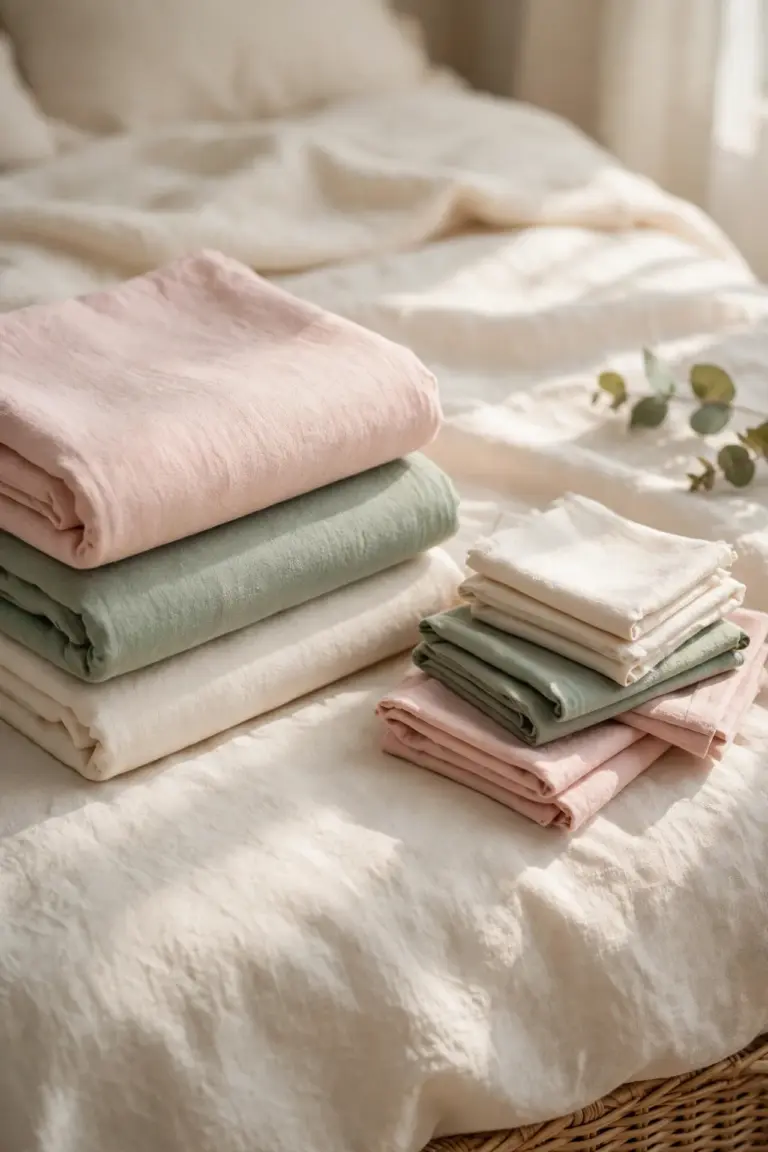
Every sewer has one: the box, bag, drawer, or guilty corner of fabric scraps that are too pretty to throw away and too small for a "real" project. Pieces from the dress you made last summer. The last square of the print you loved most. Strips and triangles and one long, hopeful remnant that has survived three clear outs, two house moves, and one serious conversation about minimalism. That box is not clutter, and this guide is here to prove it, with finished, useful, giftable objects, not good intentions.
These ten scrap fabric projects were chosen specifically for leftovers. Most need pieces smaller than a fat quarter. Several need only strips or handfuls of small squares. All of them forgive imperfect cutting and wobbly seams, because scraps themselves are imperfect, and that is the whole aesthetic. Alongside the projects, you will find a guide to what size scrap can do what job, a simple system for organizing your stash so you actually use it, batch plans for turning scraps into gifts, and answers to the questions scrap sewers ask most.
By the end, that box will look less like a problem and more like what it truly is: a shelf of free fabric, already paid for by projects past, waiting for a spare hour.
What can you make from scrap fabric?
Almost anything small and useful: flower pillows from your prettiest pieces, drawstring pouches and scrunchies from strips, bookmarks and lavender sachets from tiny squares, patchwork coasters, bunting, key fobs, reusable face pads, and even a full patchwork tote from your largest remnants. Sort scraps by size, press them, and match the project to the pile, because there is a home in this list for every leftover you own.
Your first session might look like this: one pouch from a medium piece, two sachets from small squares, and a scrunchie from a long strip, all in one afternoon, all from fabric that was heading for the bin. Sessions built on scrap fabric projects like these leave you with three finished objects, one noticeably emptier box, and a completely new way of looking at leftovers.
Scrap Fabric Flower Pillow
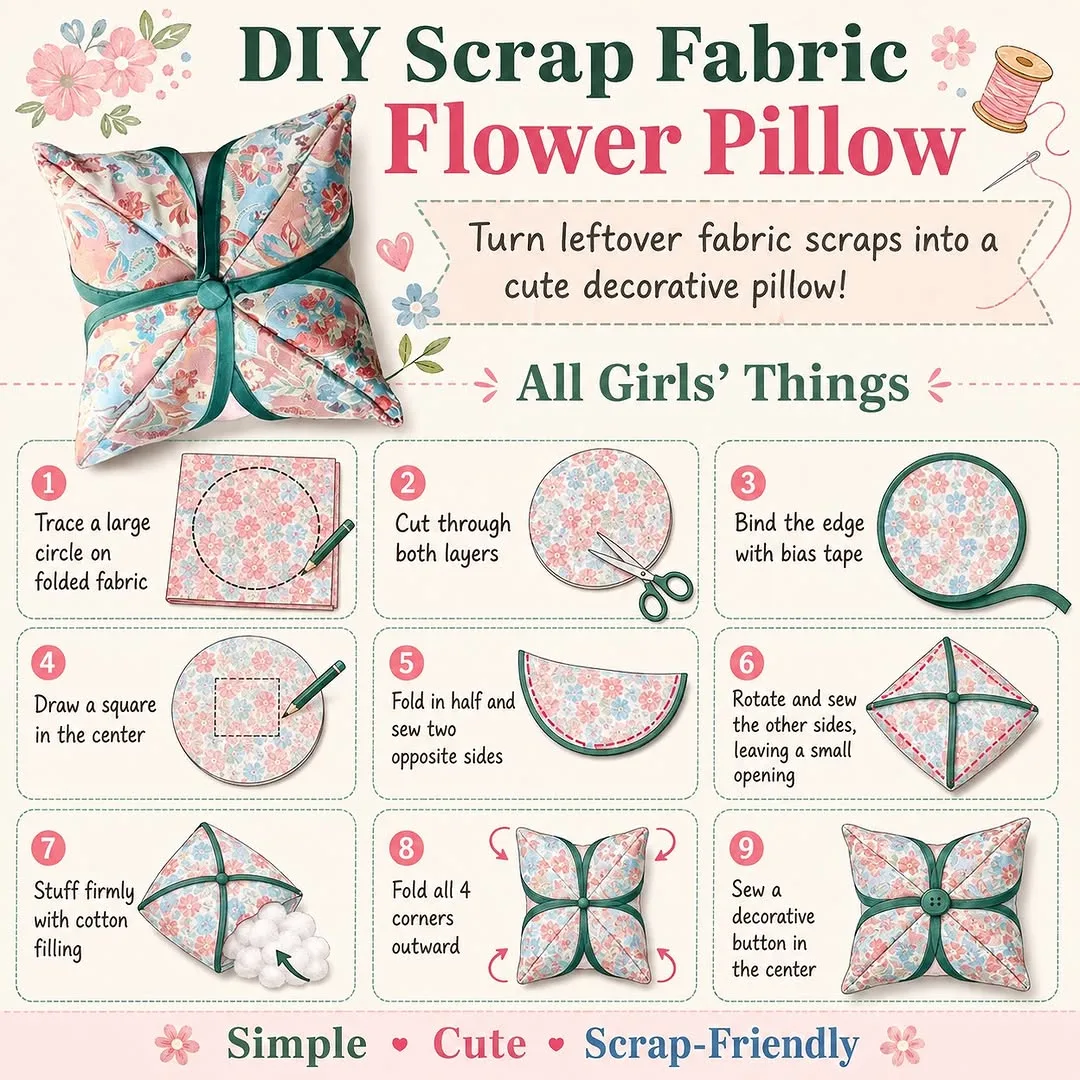
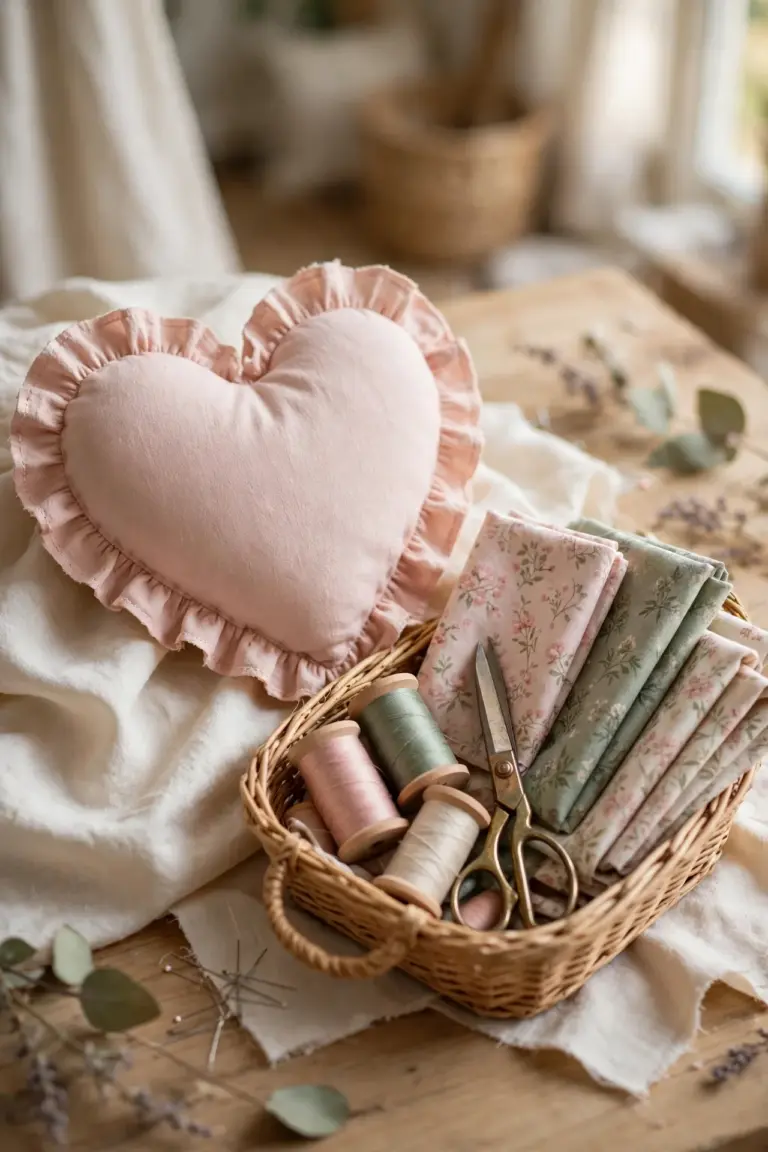
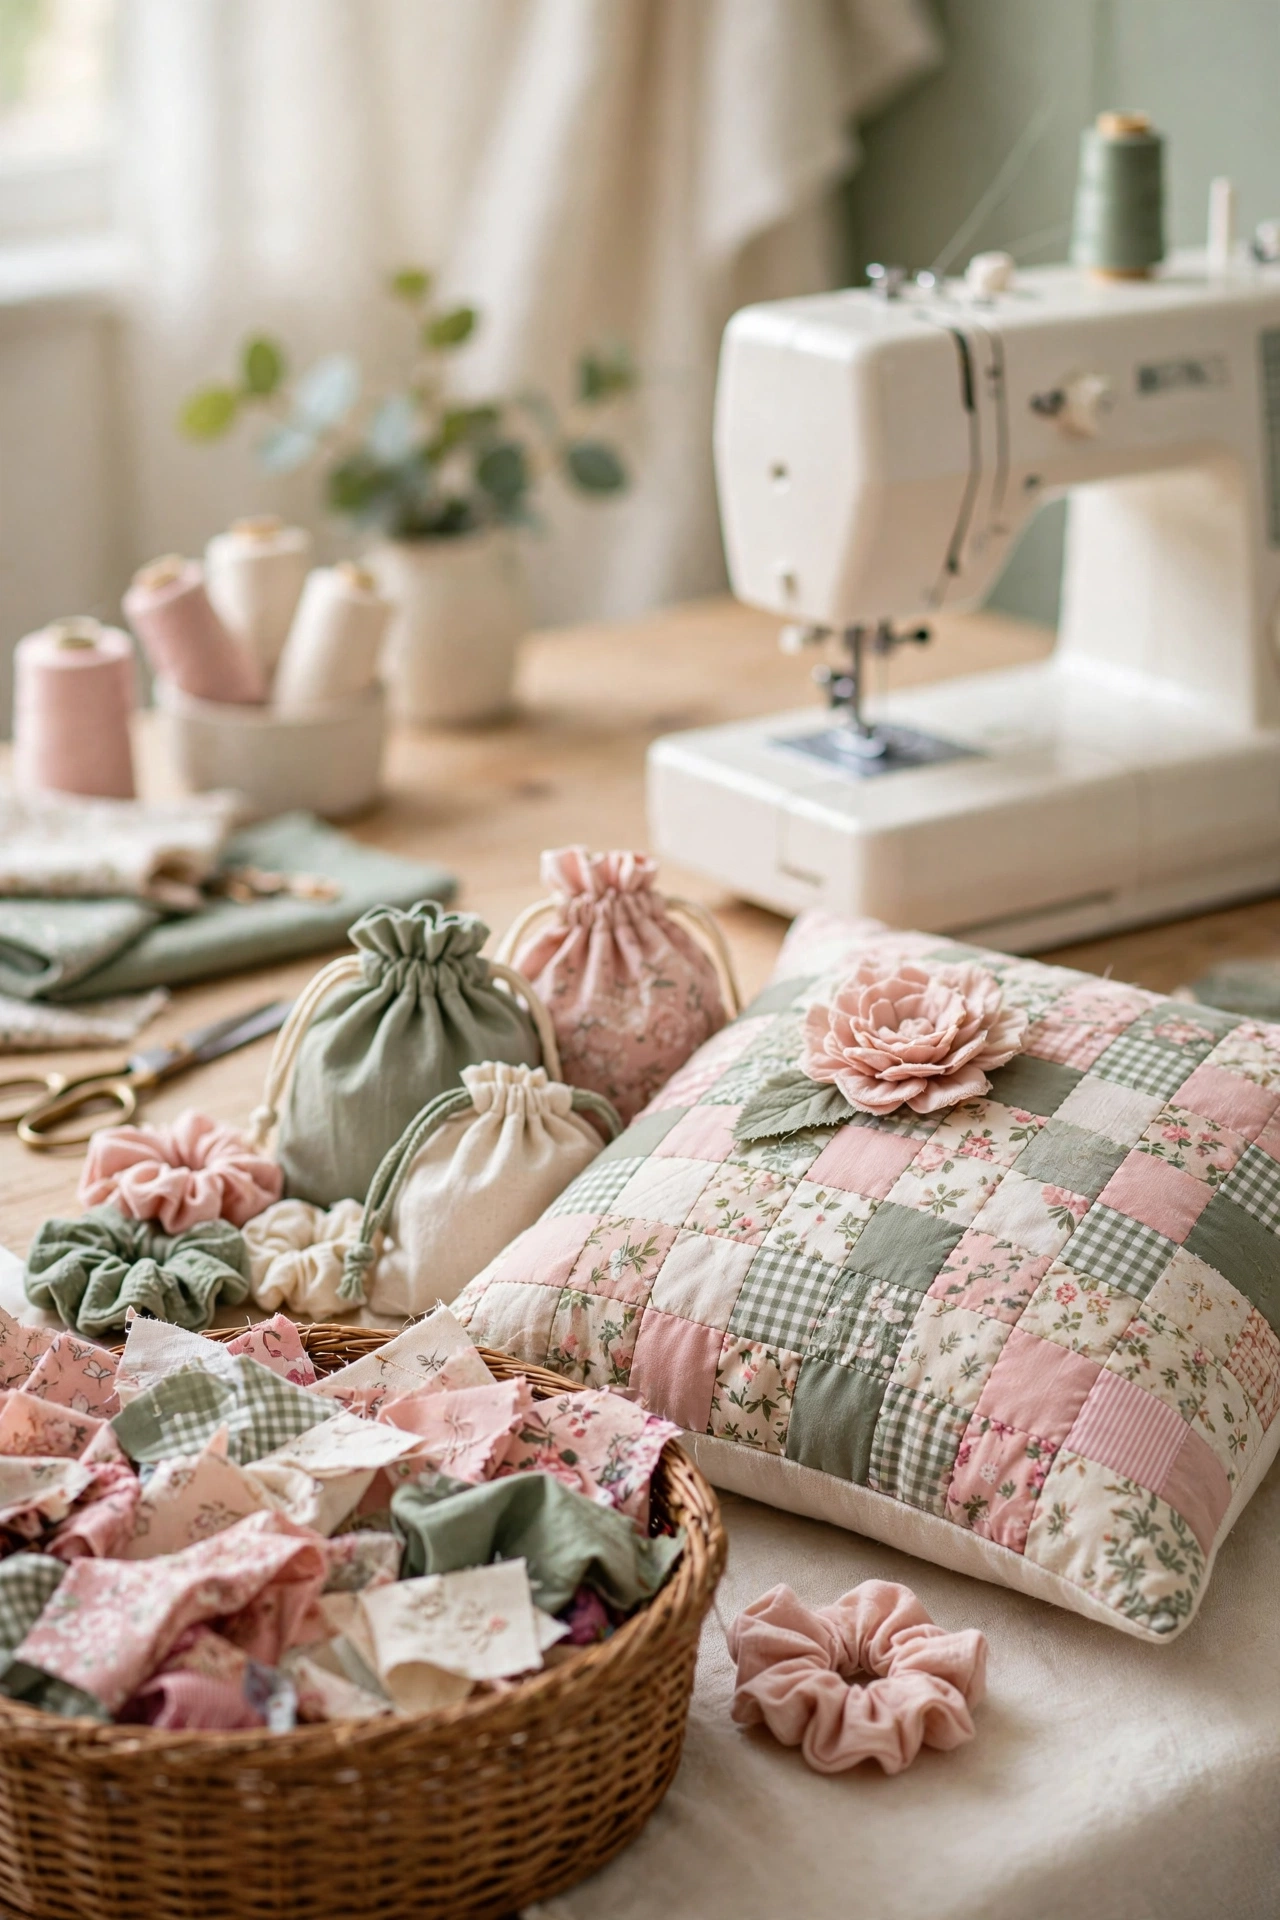
Cushion covers topped with a big, layered fabric flower are the most forgiving statement project in the scrap world. Cut circles or simple petal shapes in graduated sizes from your prettiest scraps, layer them largest to smallest, stitch or button them together through the center, and sew or glue the finished flower onto a cushion cover made from a larger remnant or bought ready made.
It works because fabric that clashes in a quilt harmonizes in a flower, since real flower gardens are not color coordinated either. Mix florals with checks, spots with stripes, silk with cotton. A covered button, a vintage brooch, or a cluster of small buttons makes a lovely center, and the flower needs no precision: uneven petals read as petals.
The pillow suits sofas, reading chairs, and children's beds, and it is an unusually impressive gift for something assembled from leftovers. Make the cover with an envelope back so it can be washed, and keep your petal templates, because you will be asked to make more of these.
One mistake is small scale. A flower pillow wants a BIG flower, since timid little blooms disappear into the cushion. Cut your largest petal layer at least a third of the cushion's width and the design will look deliberate and generous.
Drawstring Pouches
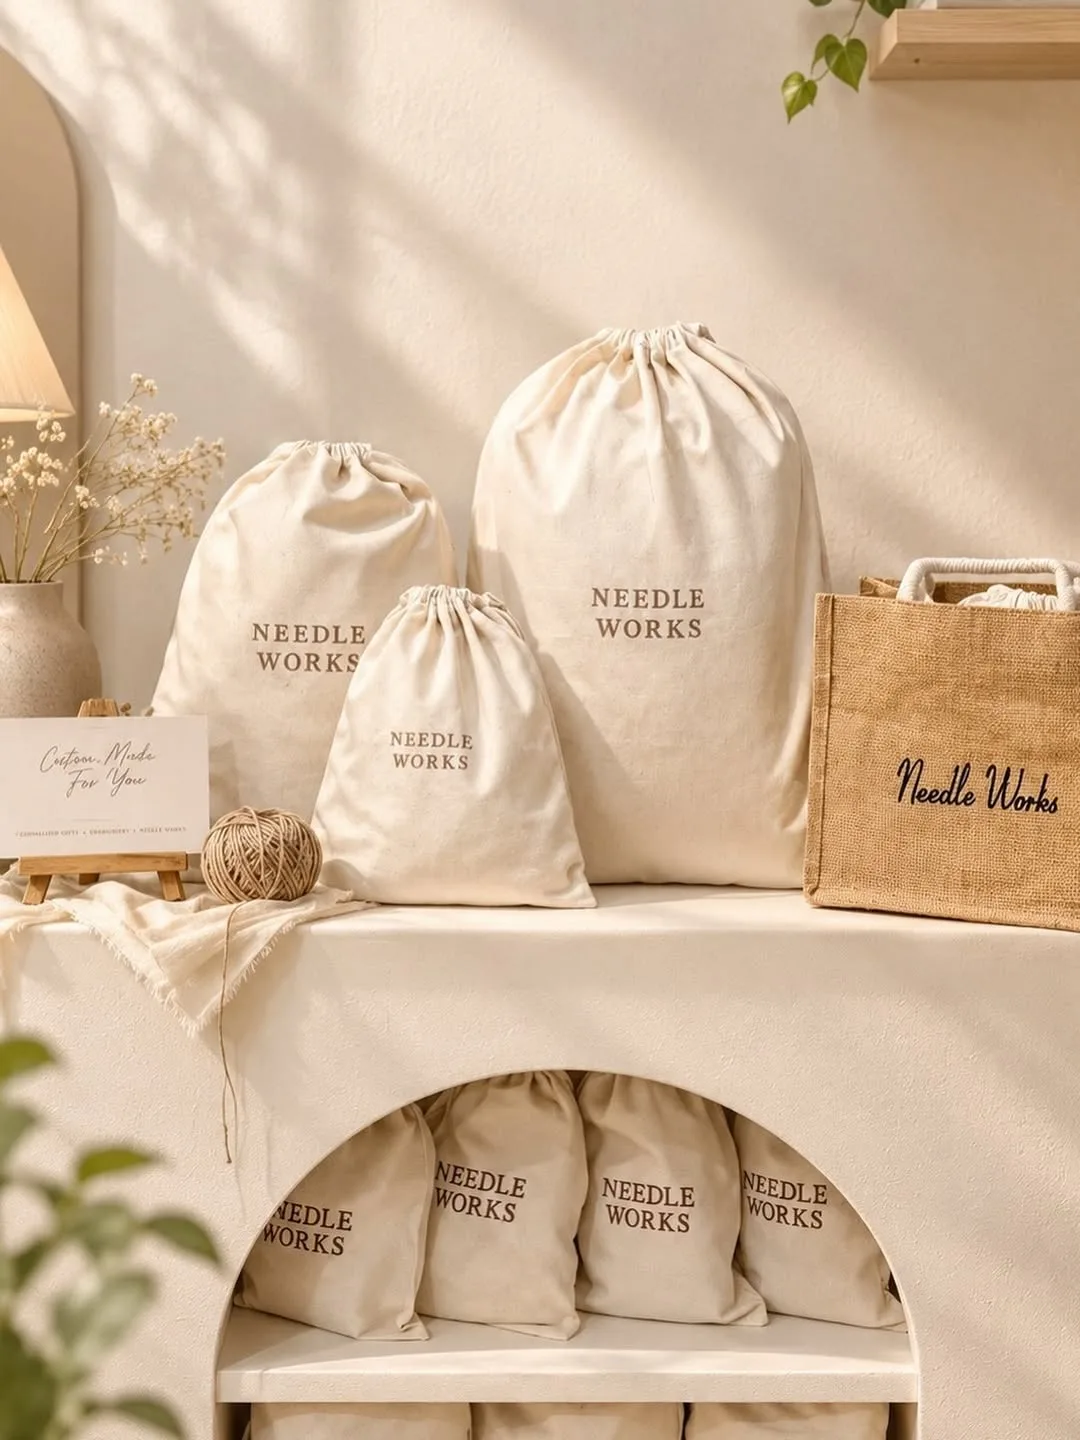
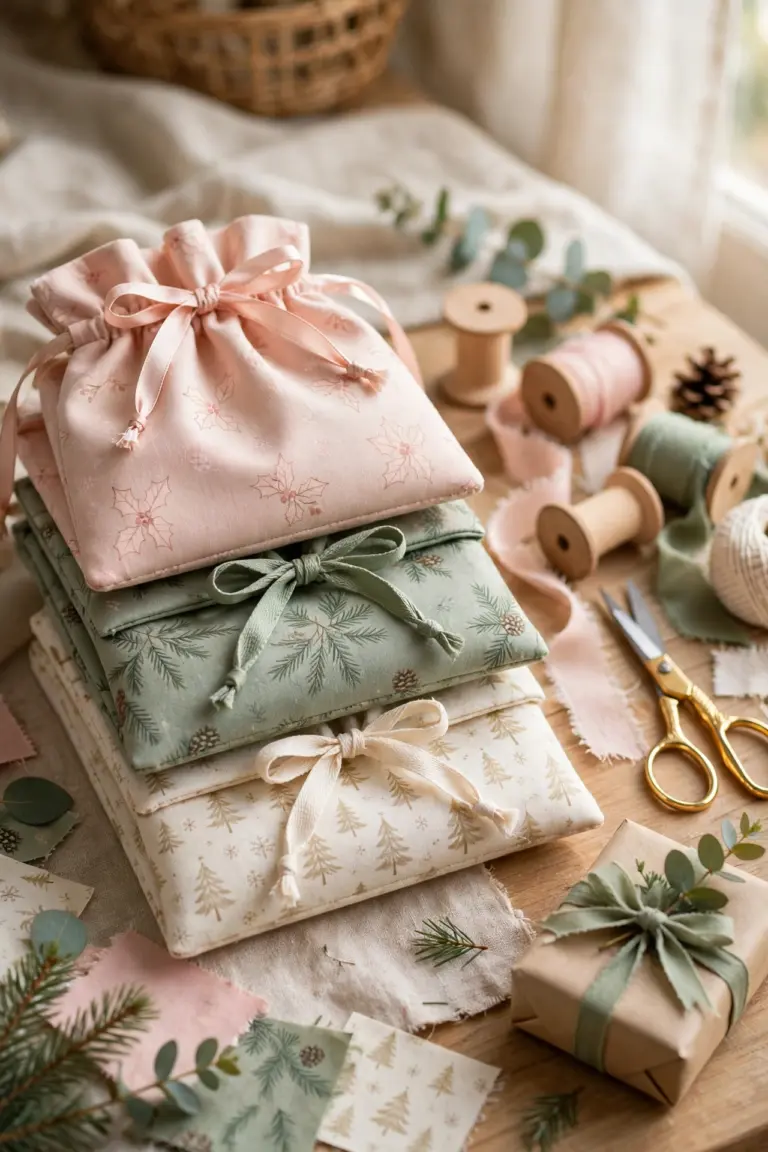
Two rectangles and a ribbon make a pouch, and a pouch is useful for absolutely everything: chargers and cables, makeup, marbles, jewelry, gift packaging, travel organization, and the eternal mystery of small things at the bottom of handbags. The method is the same at every size: sew a simple bag, fold down a casing at the top, thread ribbon or cord through it, and knot the ends.
Once you have made one pouch, you own a skill that produces infinite variations. Line yours with a contrasting scrap for a flash of color when it opens, or add a layer of soft interfacing for structure. Pouches in party print fabrics become reusable gift bags, and a household that owns twenty fabric pouches quietly stops buying wrapping paper forever.
Pouches also rank among the fastest scrap fabric projects on this list: a simple pouch takes about fifteen minutes, and a batch of six fits comfortably in an afternoon while using up a satisfying pile of medium scraps.
The mistake is a casing sewn too narrow for its ribbon. Measure the ribbon first, make the casing a generous quarter inch wider, and threading becomes a pleasure instead of a wrestling match with a safety pin.
Scrunchies
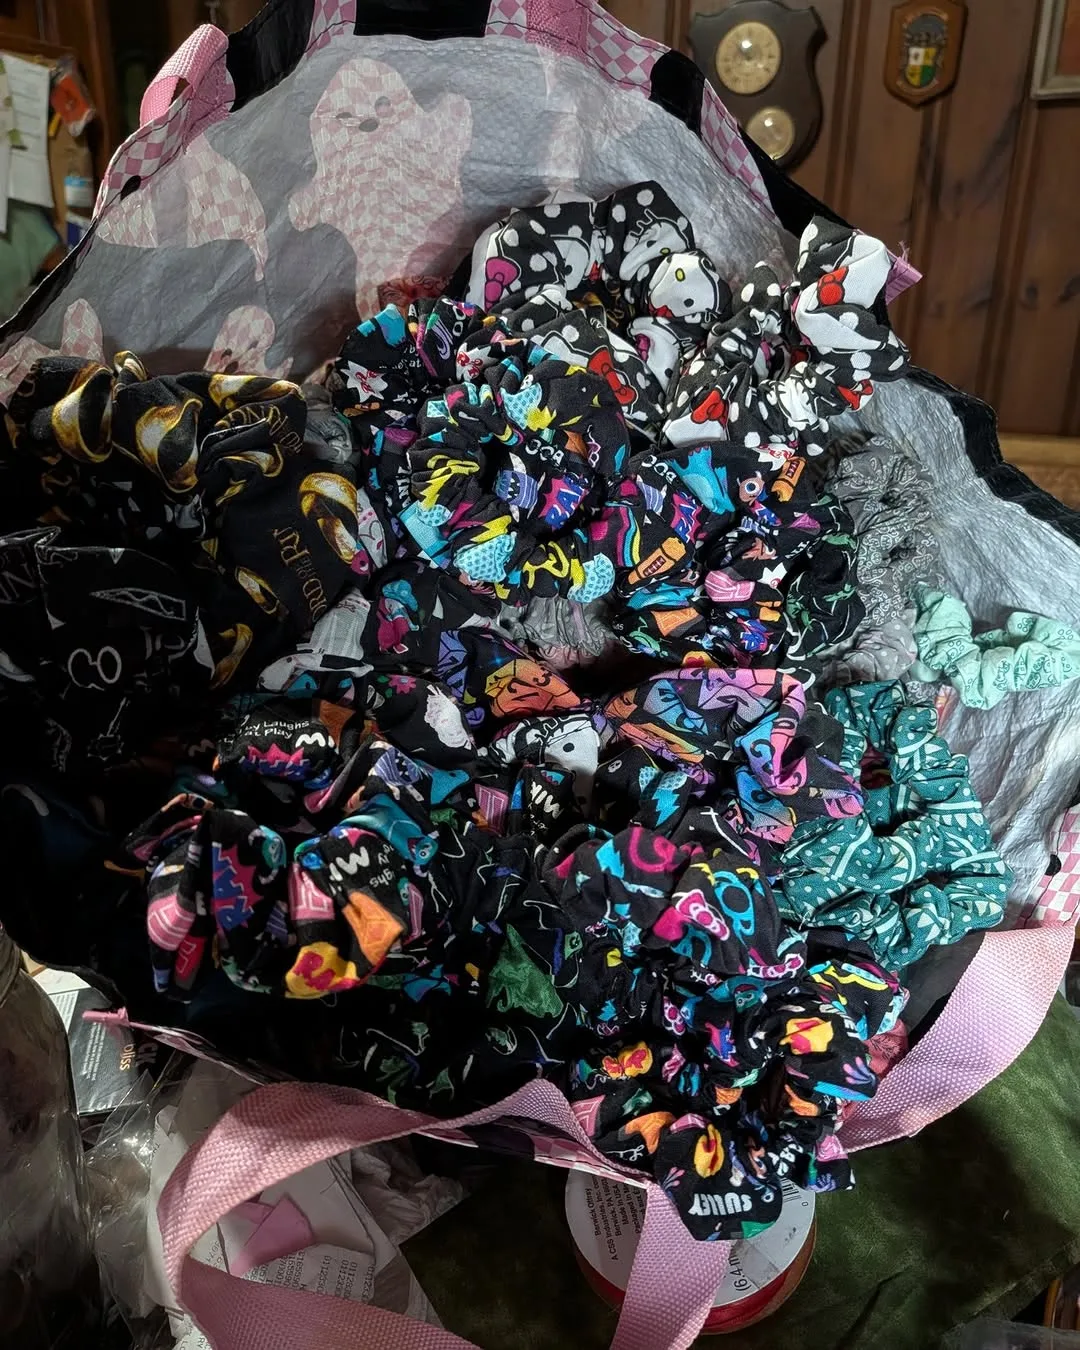
One strip of fabric, a piece of elastic, and ten minutes: the scrunchie is the classic first sewing project of the modern era, and it earned that title honestly. Scrunchies need only a strip roughly 4 by 18 inches, which means the long offcuts from garment sewing, the pieces usually first into the bin, are exactly the right size.
They are gentle on hair, which is why they returned from the 1990s to stay, and they are giftable and sellable in bundles of three coordinated colors. The sewing is one long seam, a turn, a thread of elastic, and a few closing stitches; mistakes are literally invisible inside the gathers.
Vary the width for slim or statement scrunchies, use satin scraps for a dressy set, and cotton for everyday wear. If you have a young person in your life, expect to make these in industrial quantities once word gets out.
The mistake is elastic cut too long, which makes a scrunchie that slides out of hair by lunchtime. Measure elastic against a shop scrunchie you like, or around your wrist twice with a firm stretch, and test the first scrunchie for a full day before batching twenty.
Fabric Bookmarks
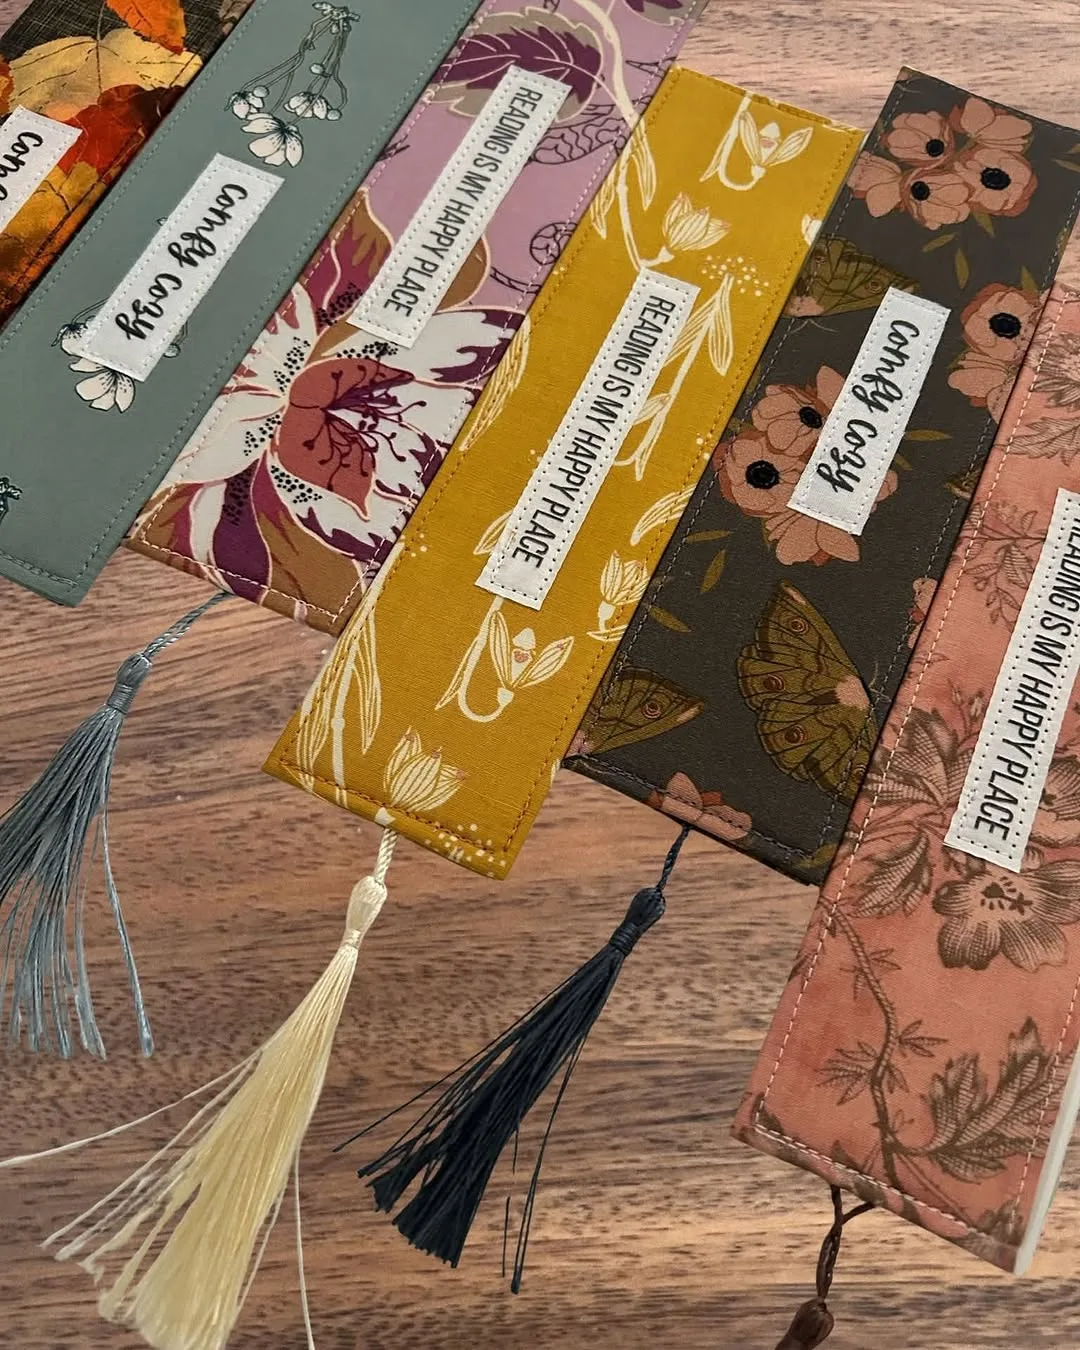
Two small rectangles, a ribbon or tassel, and five minutes: bookmarks are the smallest complete project in sewing, and one of the most used objects on this entire list. Back your fabric with interfacing or a thin piece of card if the scraps are flimsy, sew or glue the layers together, trim with pinking shears for a no fray edge that needs no turning, and add your tassel at the top.
Fabric bookmarks are the perfect home for that tiny piece of a beloved print, the fabric from a child's first dress or a grandfather's shirt, because a bookmark is handled daily and kept for years. A bookmark made from meaningful fabric is not a scrap project; it is a preservation project disguised as one.
Make them for book clubs, teachers, party favors, and stocking fillers, and keep a few in your own books: readers always need one more, and the one made from special fabric is the one that never gets lost between the pages.
The mistake is making them too thick or too floppy. A bookmark should slide into a book and stay flat, and one layer of interfacing is the sweet spot. Test yours in a real book overnight before making the gift set.
Patchwork Coasters
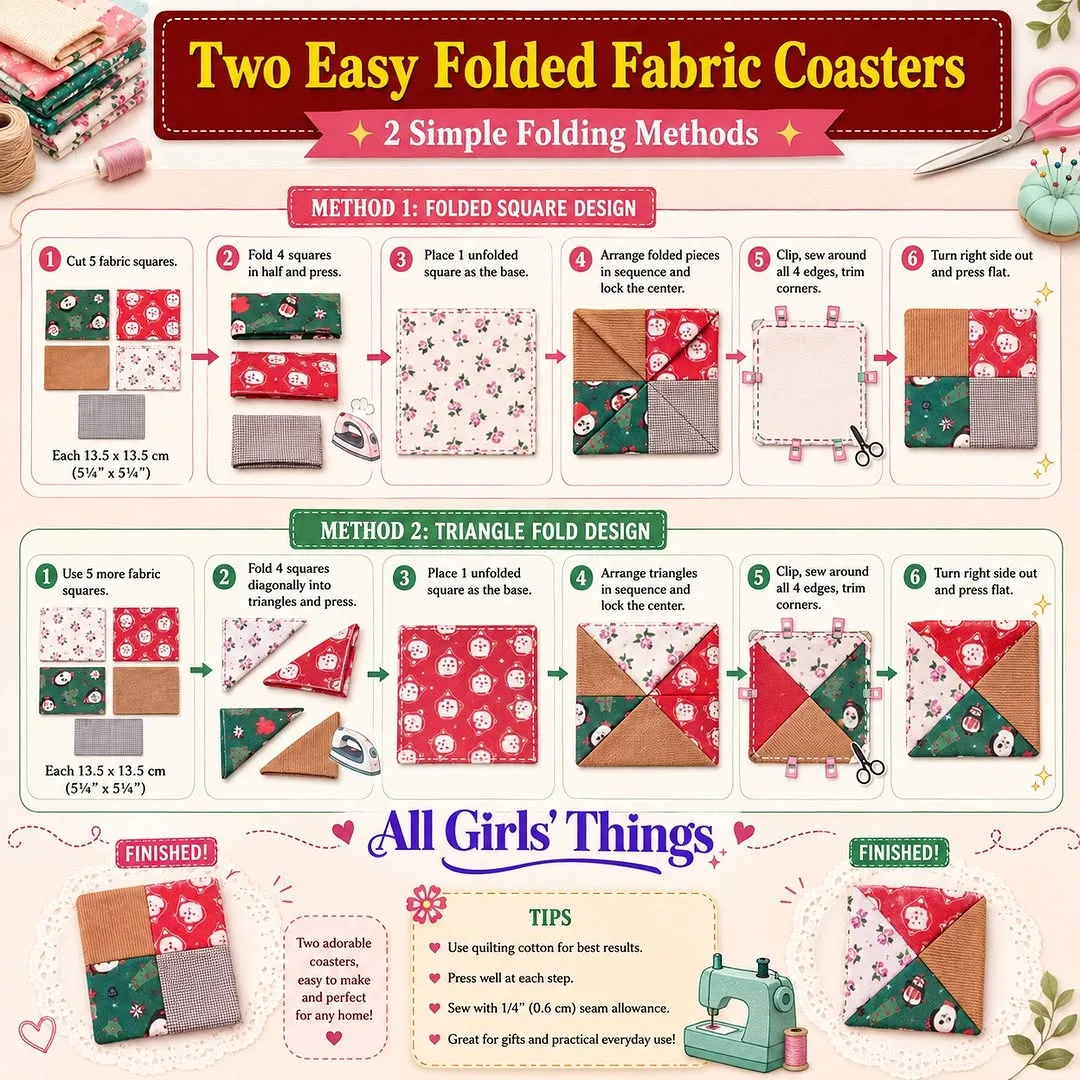
Sew four or six small squares together into a patchwork top, add a layer of batting or an old towel for absorbency, back it with a plain square, turn, press, and topstitch: you have a coaster, and, incidentally, a complete miniature lesson in quilting.
Coasters are where beginners should practice matching seams and corners, because the scale is tiny, the stakes are a coffee mug, and small imperfections vanish under that mug forever. Few scrap fabric projects forgive mistakes so kindly. Make sets of four or six in a color family and tie them with ribbon, because they are the fastest respectable handmade gift in the scrap repertoire, perfect for housewarmings and hosts.
Use heat resistant backing if your household drinks serious tea, and make your first set in the wildest prints you own. You will smile every morning, and you will never again hesitate over whether two fabrics "go together."
The mistake is skipping the absorbent middle layer. Two layers of pretty cotton alone let condensation walk straight through to the table. Batting, fleece, or toweling inside is the function; the patchwork is the beauty on top of it.
Bunting and Mini Garlands
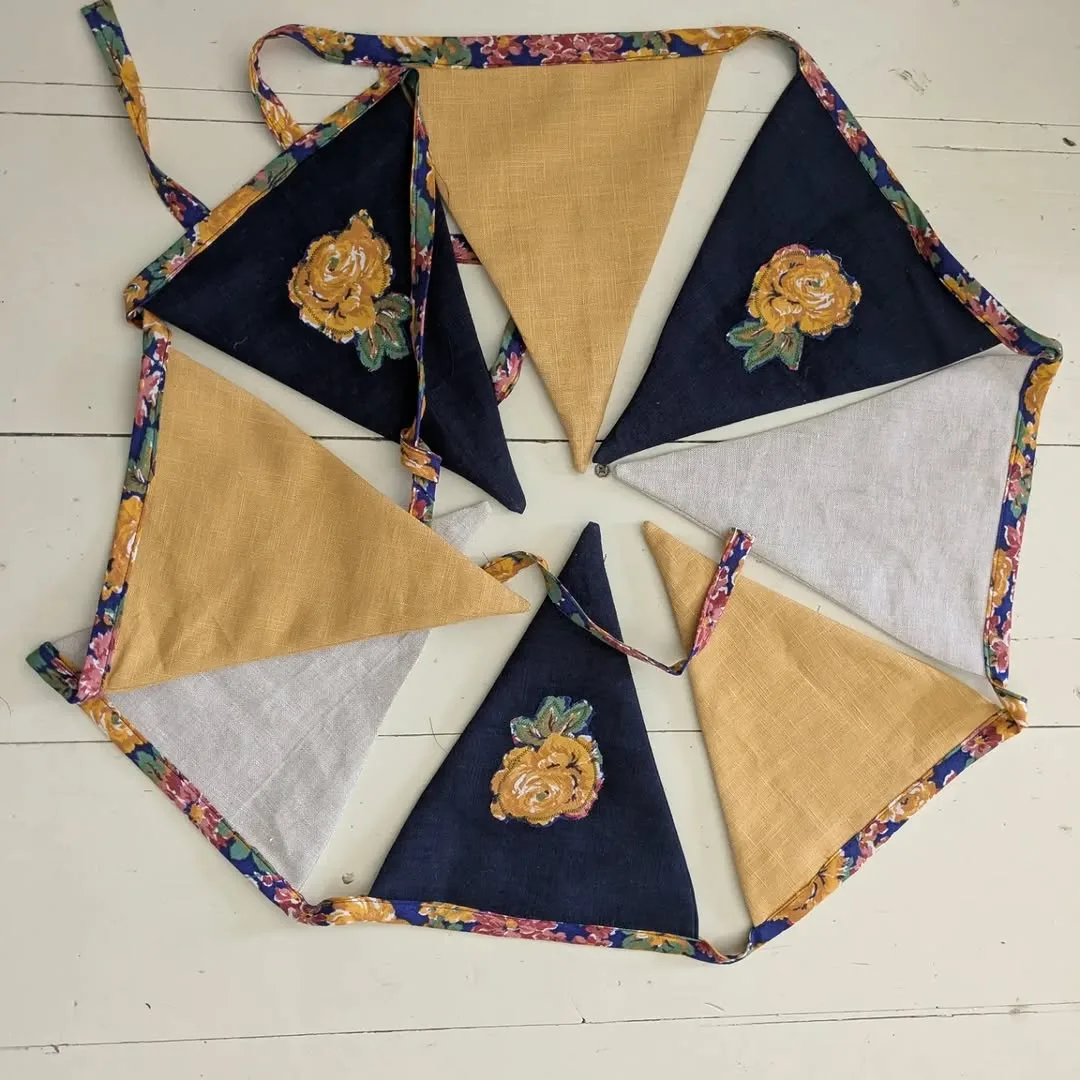
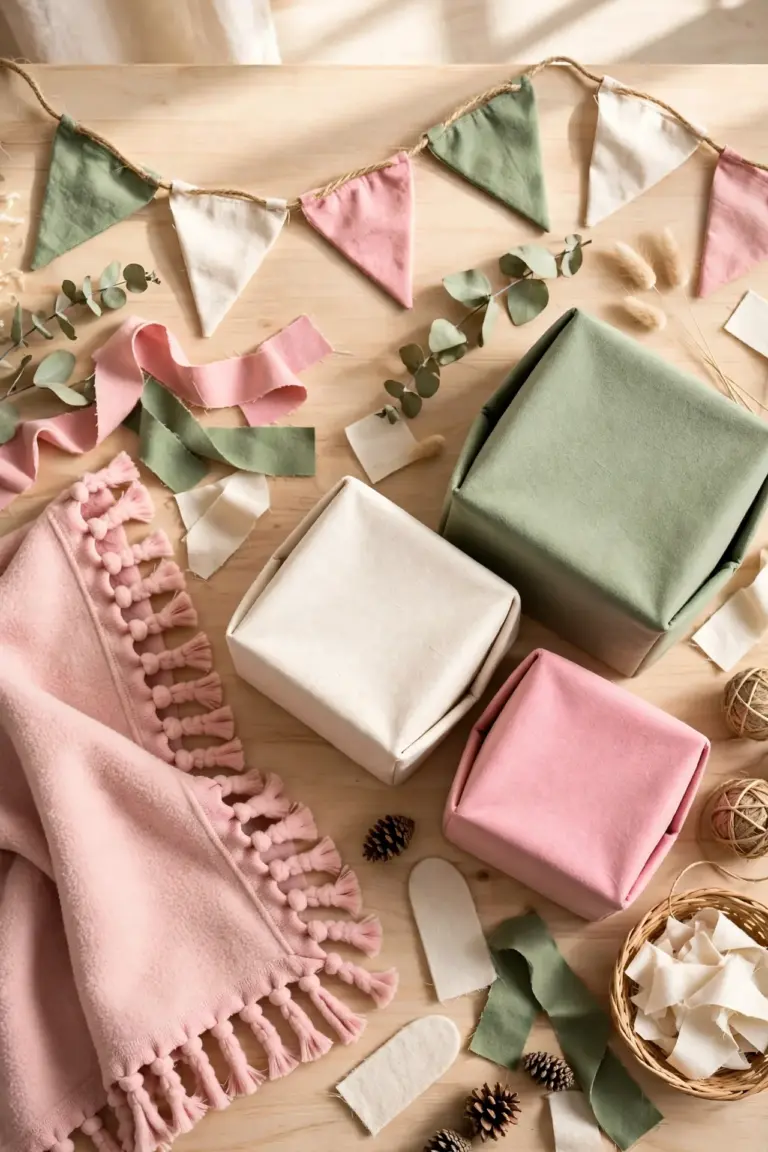
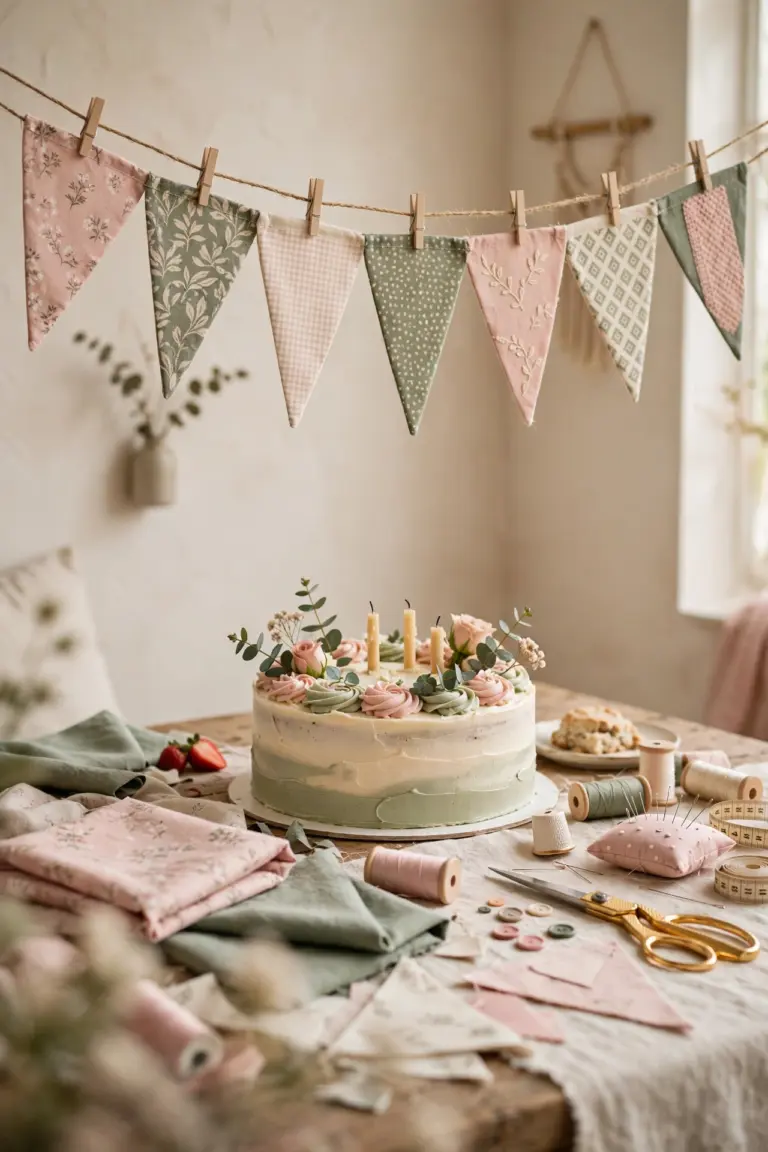
Triangles on a string are the happiest use of scraps ever invented. Full size bunting for birthdays and garden parties uses your medium pieces (our step by step fabric birthday banner tutorial covers templates, letters, and finishing in detail), but do not overlook the mini versions: tiny garlands for a shelf edge, a dollhouse, a nursery mobile, a cake table, or the top of a bookshelf use triangles as small as two inches and consume scraps nothing else wants.
Pinking shears make single layer flags a no sew proposition: cut, fold the tops over string, glue or stitch a line, done. Bunting also tolerates total fabric anarchy: every flag a different print is not a compromise, it is the traditional look.
If you try only one of these scrap fabric projects this year for pure joy per minute spent, make it this one. A string of mini bunting over a desk or a child's bed turns an ordinary corner into a celebration that stays up all year.
The mistake is sparse flags. Bunting should look abundant, with flags close together, gently overlapping in spirit. A stingy string reads as laundry; a generous one reads as a festival.
Lavender Sachets
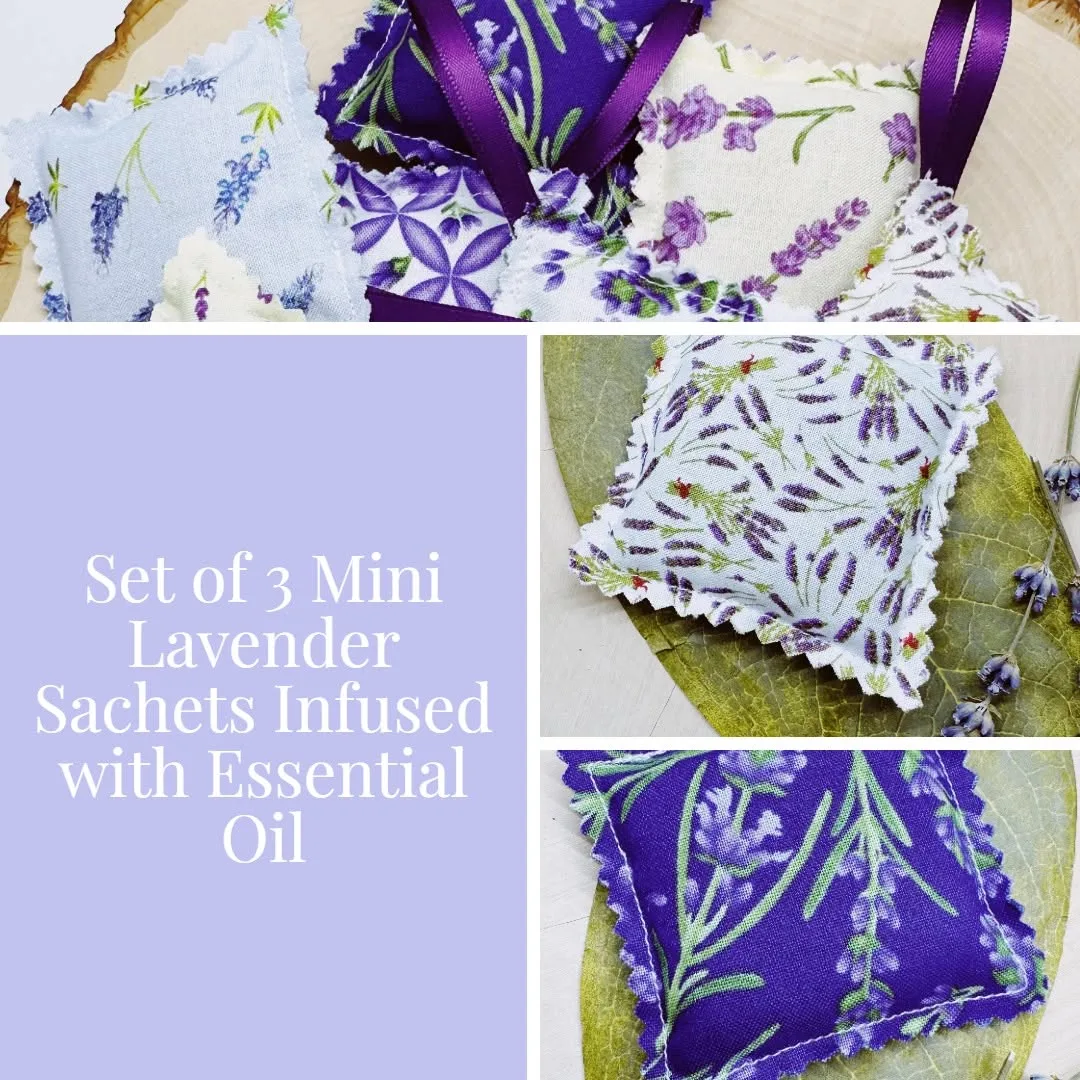
Small squares sewn into little pillows and filled with dried lavender make the smallest, sweetest smelling project on this list. Sachets ask for scraps as small as 4 by 4 inches, two short seams, and a spoonful of filling: dried lavender if you have it, or rice scented with a drop of essential oil, or cedar shavings for wardrobes.
Tuck them into drawers, suitcases, linen cupboards, and gift boxes; sell them in bundles at craft fairs; hang one in the car. The sewing is so simple that sachets are the traditional choice among scrap fabric projects for teaching a child to sew a straight line, with the finished object small enough to complete before attention wanders.
Tie finished sachets in stacks of three with ribbon and they present like a boutique product. Replace the filling when the scent fades in a year or two, and the same little pillow serves for a decade.
The mistake is overfilling. A sachet should be soft and nearly flat, because stuffed hard, it strains its seams and will not sit neatly in a drawer. A tablespoon of filling, spread evenly, is the professional measure.
Key Fobs and Bag Charms
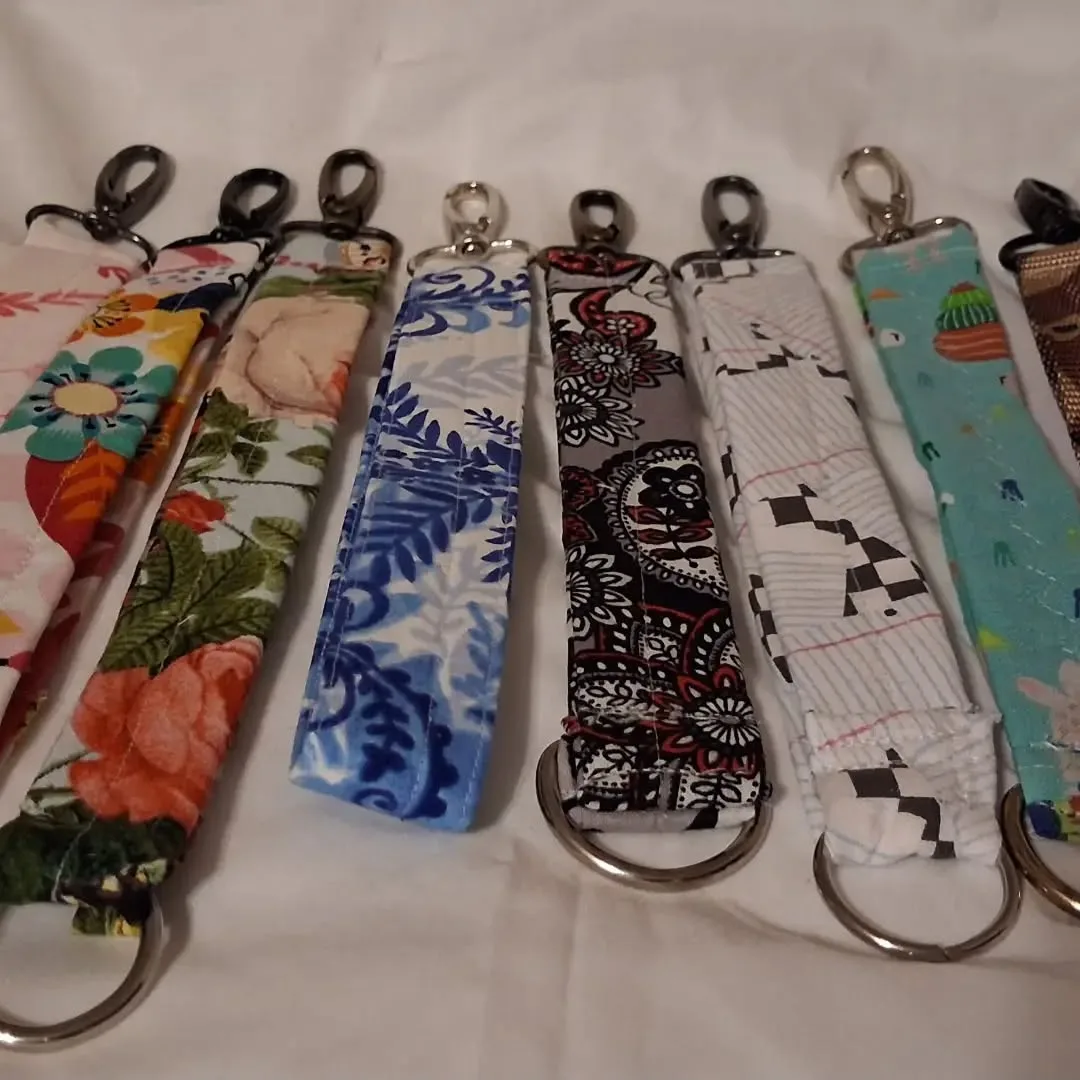
Folded, stitched strips of fabric with a split ring or a swivel clip: a key fob takes ten minutes, one narrow strip of fabric, and produces an object that gets used and seen every single day. Add a layer of interfacing or webbing inside the strip for satisfying sturdiness, topstitch both edges in a contrasting thread, and the fob looks shop bought.
Bag charms are their playful cousins: a small stuffed shape, a tassel, a mini pom pom on a clip. These are the ideal project for a favorite print you cannot bear to bin: a strip of it now lives on your keys, where you will see it twenty times a day instead of never.
Sets of fobs in coordinated scraps make superb quick gifts for teachers, drivers, new homeowners (for the new keys!), and teenagers, and they are a proven craft fair seller.
The mistake is hardware that fights the fabric: a split ring too small for the folded strip's thickness. Buy rings a size up from your instinct, and test the first fob on your own keys for a week before gifting the design.
Reusable Makeup Remover Pads
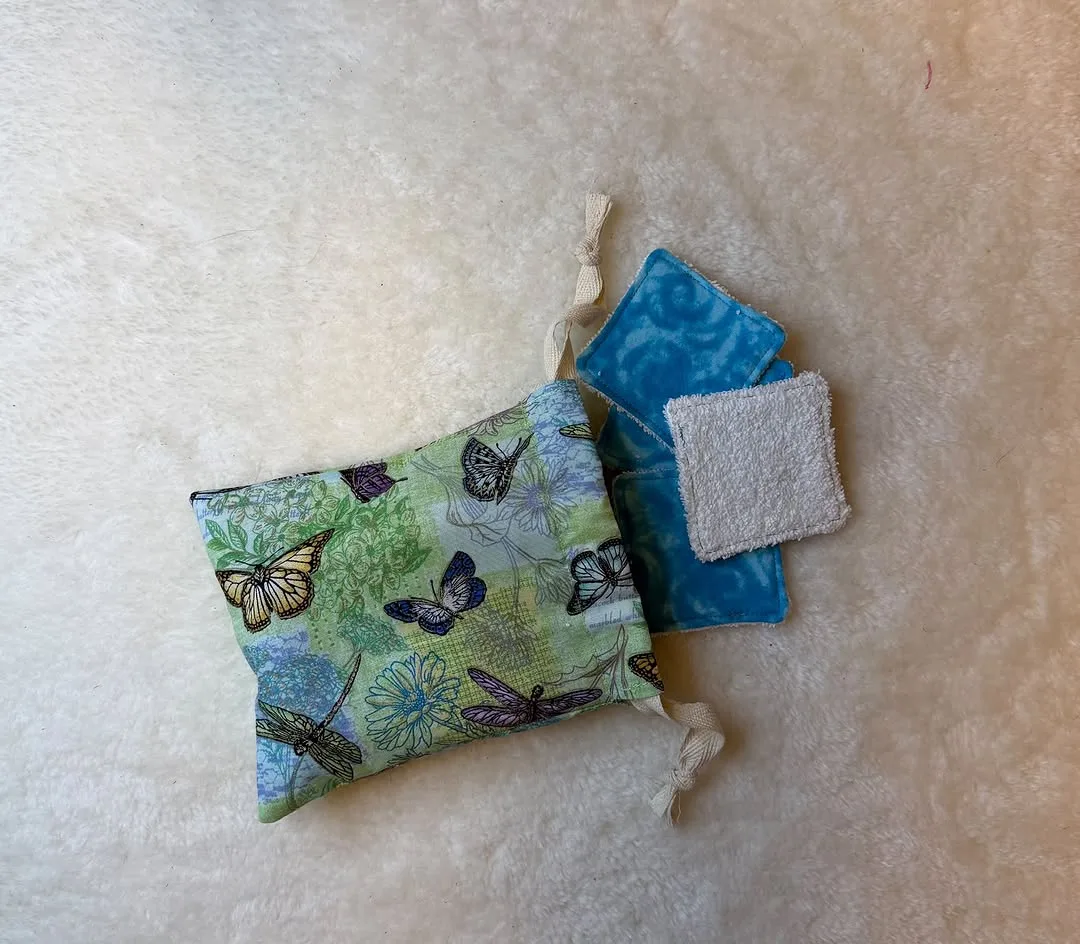
Circles or squares of soft fabric, backed with toweling, stitched around the edge: reusable face pads replace disposable cotton rounds forever, and they are the most genuinely useful tiny project in this guide. Old flannel shirts and pajamas are the perfect face side fabric, soft, washed a hundred times, and free, while a worn out towel provides the absorbent back.
Cut circles about three inches across with a jar lid as your template, zigzag or serge the edges together, and make a dozen in one sitting. They wash in a small mesh bag with your towels and last for years.
Reusable pads carry a special satisfaction: they use up TWO kinds of household textile waste at once (the shirt and the towel), cost nothing, and remove a recurring purchase from your shopping list for good. Among scrap fabric projects, few reward you so often, because you will use them every single day. Make a set for yourself, then make them as gifts with a pretty jar to keep them in.
The mistake is fabric that is too rough or too synthetic for faces. Test a finished pad on your own cheek before batching, because if it scratches you, it will scratch everyone, and the whole batch becomes very pretty dusters.
A Simple Patchwork Tote
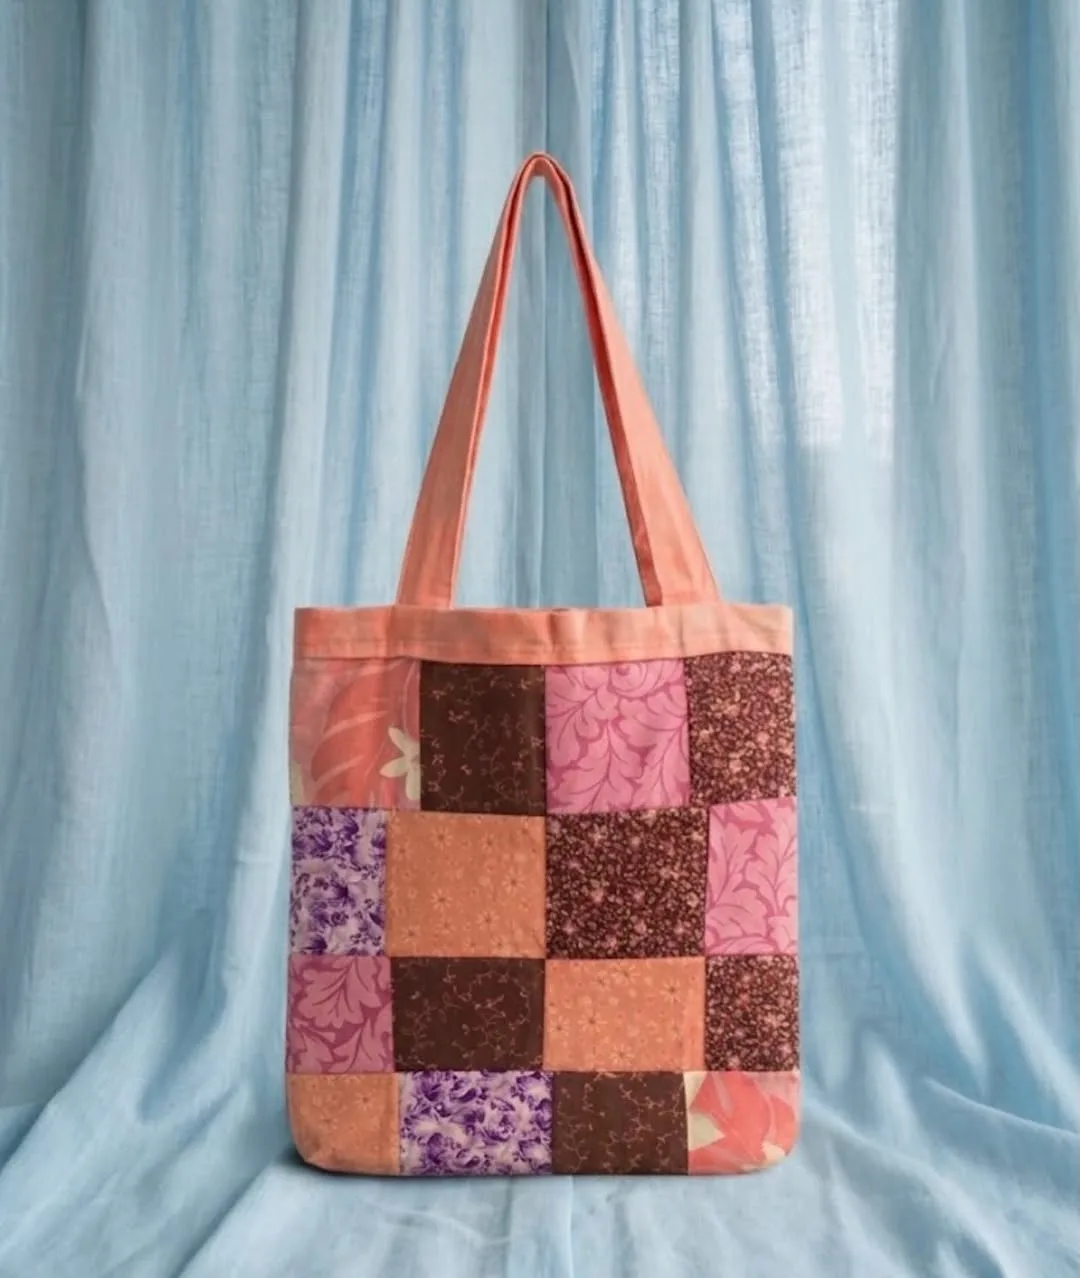
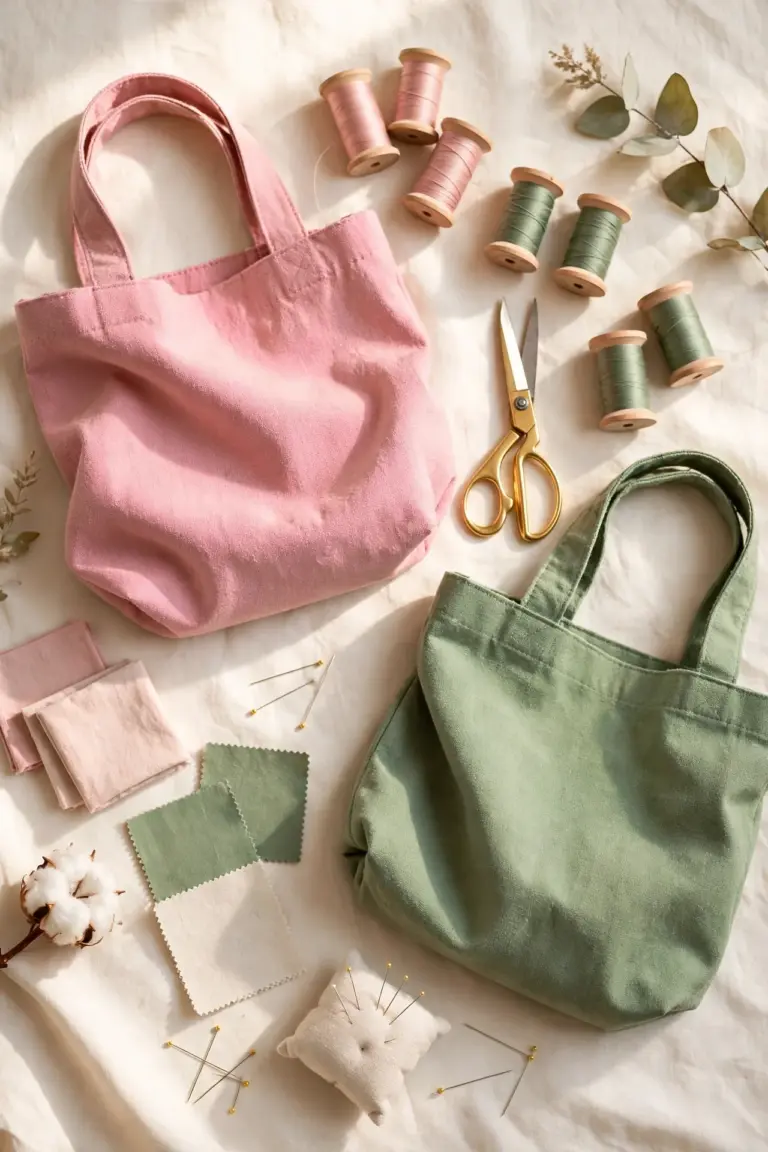
Your largest scraps' finest destiny: sew them into one patchwork panel, with squares, strips, or a free form crazy patchwork all working, use it as the front of a simple tote bag, back it with a plain sturdy fabric, line it if you like, and add webbing or fabric handles.
Every patchwork tote tells the story of the projects its fabrics came from, which makes it the most personal bag you will ever own, and it works for its living carrying shopping, library books, and market flowers. This project teaches the most complete set of beginner skills on the list (piecing, straightening, simple bag construction) at a pace that forgives everything.
Keep the design simple, with no zips or pockets on your first one, press the patchwork panel thoroughly before assembly, and choose your strongest fabrics for the base and handles, where the weight sits.
Warning: patchwork totes are habit forming, and every sewer who makes one ends up making a series. The mistake to avoid is thin fabric at the stress points, because a tote that fails under library books teaches the wrong lesson. Reinforce handles with double stitching and an X box at the joins.
What Size Scrap Can Do What? A Quick Guide
Long strips (3 to 5 inches wide): scrunchies, key fobs, bookmark strips, pouch ties, bunting coverings. Medium pieces (roughly 5 to 10 inches): sachet squares, coaster squares, pouch bodies, pennant flags, face pad circles, flower petals. Larger remnants (fat quarter size and up): cushion fronts, tote panels, banner flags, linings. Tiny scraps (under 3 inches): save them in a separate jar for appliqué shapes, lavender sachet layers when pieced, and the centers of fabric flowers.
Almost nothing is truly unusable, because it is only waiting for a smaller project. When in doubt, press a scrap flat and keep it sorted; an unpressed scrap in a heap looks like rubbish, while the same scrap pressed and stacked looks like fabric, because it is.
How to Organize Scraps So You Actually Use Them
Sort scraps into three groups by size, strips, squares (roughly 4 inches and up), and small pieces, because size, not color, is how projects ask for fabric. Keep them visible in a clear box or an open basket near your machine; scraps hidden in a dark cupboard are scraps forgotten, and forgotten scraps become clutter instead of projects.
Press scraps before they go into the box: thirty seconds of ironing transforms a crumpled offcut into a usable piece of fabric and doubles the chance it ever gets used. When a project leaves leftovers, cut what remains into a standard useful shape right away, a coaster square, a bookmark blank, a strip, before it enters the box; this five minute habit, practiced by quilters for generations, is the entire difference between a scrap system and a scrap problem.
Set the rule that makes it all work: when the box is full, it is scrap project day. It also helps to keep a tiny note listing what your stash actually contains, because projects are chosen from memory, and memory always under reports what you own. Review the note before buying fabric for any new project and you will be surprised how often the perfect lining, backing, or accent is already waiting in the box, free.
From Scraps to Gifts: A Batch Making Plan
Scrap fabric projects multiply beautifully, and one organized afternoon can stock your gift drawer for a season. Cut everything first: choose two projects (say, coasters and sachets) and spend the first hour only cutting, every square, strip, and rectangle for a dozen of each, stacked in piles. Cutting in bulk is faster and keeps your machine time uninterrupted.
Sew in assembly lines: sew all the coaster tops, then all the backings; fill all the sachets, then close them all. Repetition builds speed and rhythm, and the twelfth item is visibly better than the first, so make the first two the ones you keep. Finish and bundle: press everything, trim threads, tie sets with ribbon, and add small tags. Presentation is what turns "made from leftovers" into "handmade gift," and it takes five minutes per bundle.
Store them ready. A box of finished, wrapped, tag ready gifts means birthdays, thank yous, and host gifts never cause a scramble again. You will open that box with the calm of a person who sews from a box of scraps everyone else thought was rubbish.
Scrap Projects to Sew With Kids
Scrap fabric projects make perfect teaching material: free, forgiving, and small enough that a child's project finishes inside their attention span. Lavender sachets are the classic first lesson, two short seams, a spoonful of filling, and a finished object in fifteen minutes that smells wonderful and can be given to a grandparent the same day. Fabric bookmarks let a child choose their own special print and see it in daily use.
Mini bunting for their bedroom or a dollhouse teaches measuring, cutting with safety scissors, and the deep satisfaction of a room transformed by something they made. Older children graduate happily to scrunchies and drawstring pouches, which involve real skills, casings, turning, threading elastic, dressed as quick wins.
Keep a small separate "kids' scraps" box stocked from your own leftovers, with pre cut pieces for the youngest sewers, and always let the child pick the fabric: ownership of the choice is what makes a child finish the sewing. A generation that learns to make things from what is already in the house has learned something far bigger than sewing.
Common Mistakes to Avoid With Scrap Sewing
"My scraps are all different weights." Group by weight before you sew: quilting cottons together, linens together, and save the odd piece for single layer jobs like bookmarks and appliqué. Mixing a stiff canvas with a floaty cotton in one seam is the main source of puckering, so avoid the pairing, not the fabrics. A light fusible interfacing ironed onto a too thin scrap also promotes it into the usable pile instantly.
Pieces too small for everything is the next worry. They are too small individually, and that is what patchwork is for. Join your small squares into "made fabric" first: sew pieces into one larger sheet, press, then cut your project from the new fabric. Crazy patchwork, where pieces overlap at cheerful angles, needs no measuring at all and produces the most characterful fabric in your house.
"My scraps look dull and dated." Almost always a pairing problem, not a fabric problem. An old fashioned print beside a crisp solid in a current color looks intentional and fresh; the same print beside three other old prints looks like a jumble sale. Add solids, add white, add one modern stripe, and press everything, because a pressed scrap looks twice as expensive as a crumpled one.
"I start scrap projects but never finish them." Choose smaller finishes (a sachet beats a quilt), work in batches, and keep a strict one project out rule for scrap sewing: the small scale is the charm, so protect it from ambition. A finished bookmark is worth more than an abandoned bedspread, every single time.
Budget Friendly Scrap Sewing Ideas
The radical budget truth of this entire guide: the fabric is already paid for. Every project here runs on leftovers, worn out household textiles, and the last pieces of old clothes, and the only real costs are thread, elastic, interfacing, and lavender, bought once and used across dozens of projects.
That makes scrap sewing the cheapest form of gift production in existence: a batch afternoon produces a season of coasters, sachets, pouches, and fobs for the price of a spool of thread. If you sell your makes, scrap fabric projects are where the margin lives: scrunchies, fobs, sachets, and pouches are proven craft fair sellers whose material cost is nearly zero.
Spend the little money involved where quality shows: good elastic that keeps its stretch, interfacing that makes flimsy scraps behave, sturdy rings and clips for fobs, and ribbon for finishing. Those small purchases are what separate "made from scraps" from "made beautifully from scraps," and the scraps themselves would want you to know the difference is entirely in the finishing.
FAQ
What are the best first scrap projects for a total beginner?
Lavender sachets, scrunchies, and fabric bookmarks each take under twenty minutes, need only straight seams, use the smallest and most awkward scraps in the box, and produce something genuinely useful that you will touch every day. Start there, enjoy the quick wins, then graduate to pouches and coasters with your confidence already built.
Do I need a sewing machine for these projects?
No. Every project on this list can be hand sewn with a backstitch, and several (bookmarks, mini bunting, sachets) are traditional hand sewing projects. A machine makes them faster, not better, though for the tote and cushion, a machine's sturdier seams are worth borrowing one for.
How small is too small for a fabric scrap?
If it can hold a seam, roughly 2 inches in at least one direction, it can join a patchwork, an appliqué, or a sachet. Pieces smaller than that still serve as stuffing for small toys and pincushions. The only truly useless scrap is a dirty or synthetic one that cannot be washed or pressed.
How do I stop my scrap stash from growing forever?
Adopt the full box rule: when your storage is full, you must complete one scrap project before starting a new fabric project. Also, cutting leftovers into standard shapes immediately after each project prevents the pile of awkward pieces that nobody wants to sew.
Can I sell things made from fabric scraps?
Yes: scrunchies, key fobs, sachets, coasters, and pouches are all proven craft fair sellers, and their material cost is nearly zero because the fabric was a leftover. Check that any fabric you did not buy new is clean and sound, and price for your time, not your materials.
What fabrics should I NOT keep as scraps?
Very stretchy knits (until you know how to handle them), fabrics that fray to nothing, anything with damage or stains in the middle of the piece, and upholstery fabrics too thick for your machine. Keep the joyful, sewable cotton and linen pieces and recycle the rest as rags without guilt.
Conclusion
Your scrap box is not evidence of waste, because it is evidence of everything you have already made, holding a balance of free fabric for everything you will make next. Ten projects deep, from a ten minute scrunchie to a patchwork tote with a story in every square, there is a home here for every size of leftover you own.
So press the pile, sort it by size, pick the project that matches the scraps you have most of, and sew one thing this week. The box will be a little emptier, your home a little more handmade, and somewhere in your house a key fob, a cushion, or a sachet will be quietly proving that nothing good was ever really scrap at all.
And here is the promise hidden inside every project on this list: by the third time you sew from your scraps, you will start seeing projects in fabric shop remnants and old shirts at the charity shop. You will have a gift drawer, a tidier sewing room, and a new instinct that serves far beyond sewing, the instinct to ask, before anything is thrown away, "what else could this become?" That instinct built every project in this guide. Your humble scrap box is exactly where it all starts.